Lake Make-over Extravaganza

So, it’s pretty exciting when someone says they found you on Instagram! When a past client’s friend found me on IG and referred her mom, I felt pretty special.

Mrs. B.E. (as I will call her) and her spouse, use upstate NY as a summer residence and live near the New York Finger Lake: Canandaigua. A gorgeous vibe greets you downtown, which has a spacious view of the lake. Ancient, gigantic homes line the streets. Lazy black-eyed Susans, American flags, and home-made lemonade stands liter the streets. The vibe is total summer. The hills above are covered in the upstate NY best-kept-secret vineyards. Families mingle at the farmer’s market or share local ice cream on the corner. A million tiny micro-breweries and small businesses encourage the farm-to-table hometown feel that gives the whole town a Mayberry feel. You can buy local homemade anything. NY Maple syrup-flavored popcorn, craft beer, local award-winning NY wine, fresh fruits and veggies, farm-to-table coffee, hand-crafted Adirondack chairs, antiques… the list goes on and on…


Plenty of retired couples live in nearby cottages, and my client joins the ranks in enjoying the gorgeous summer lake life.

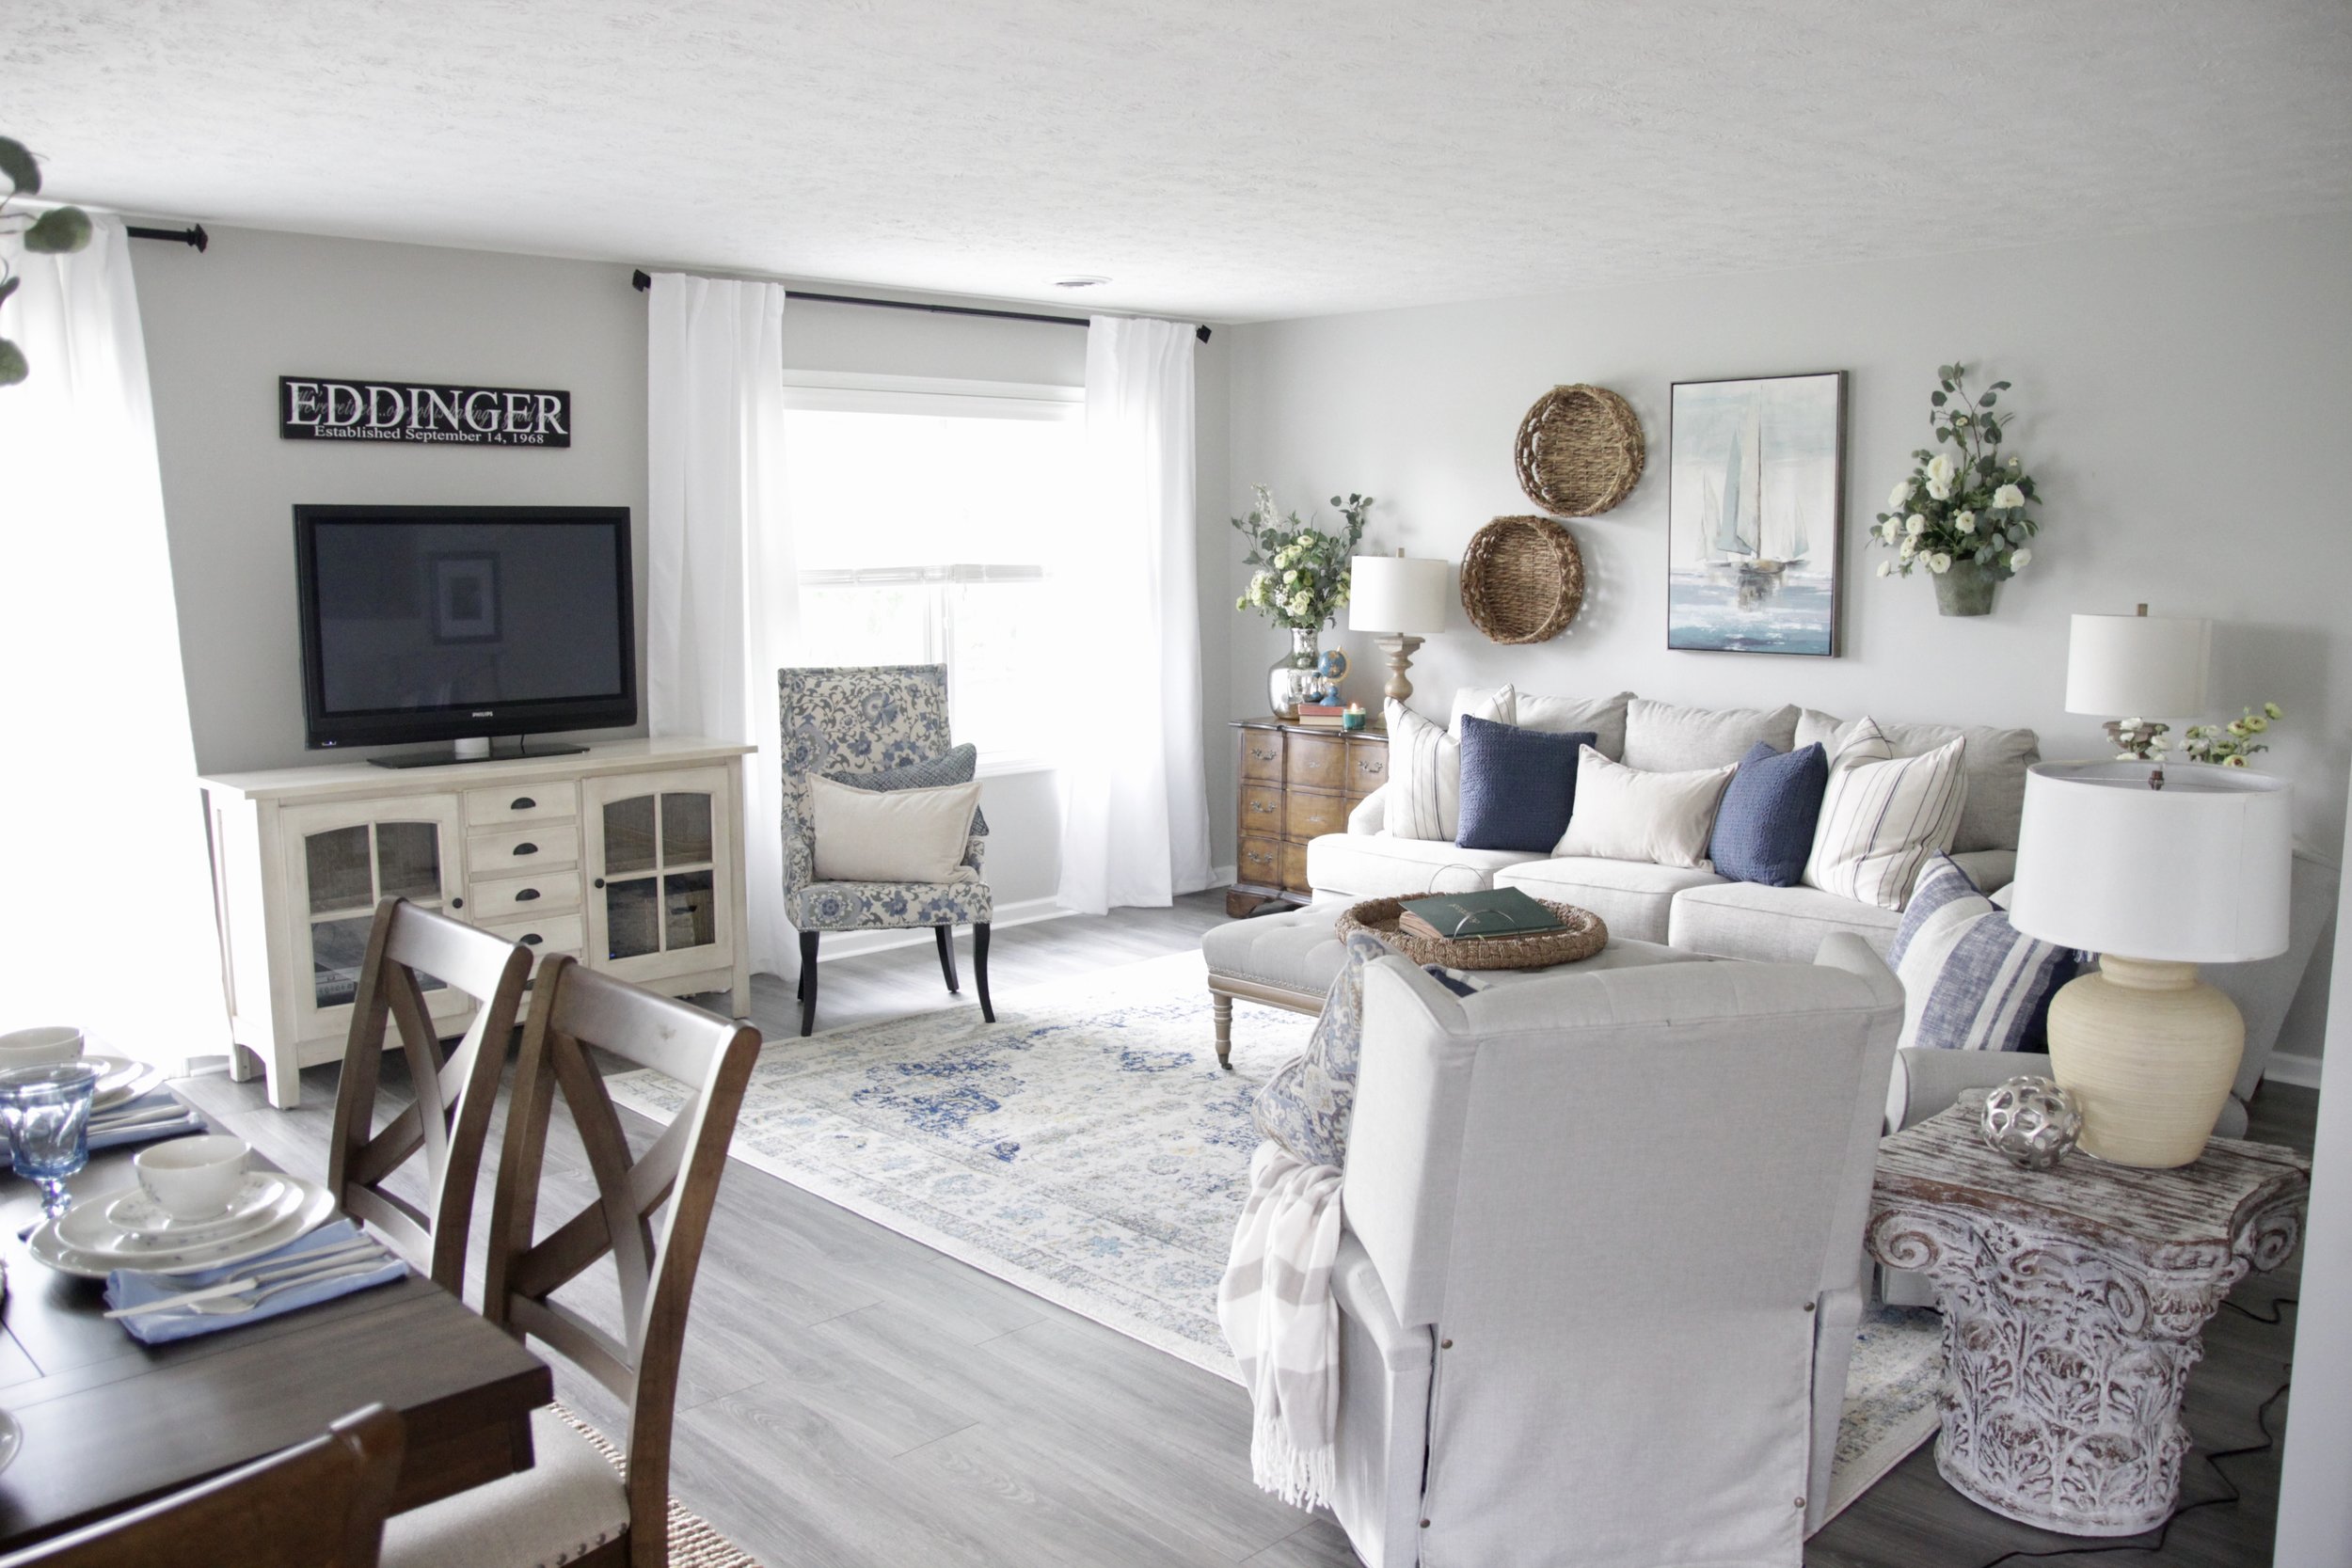
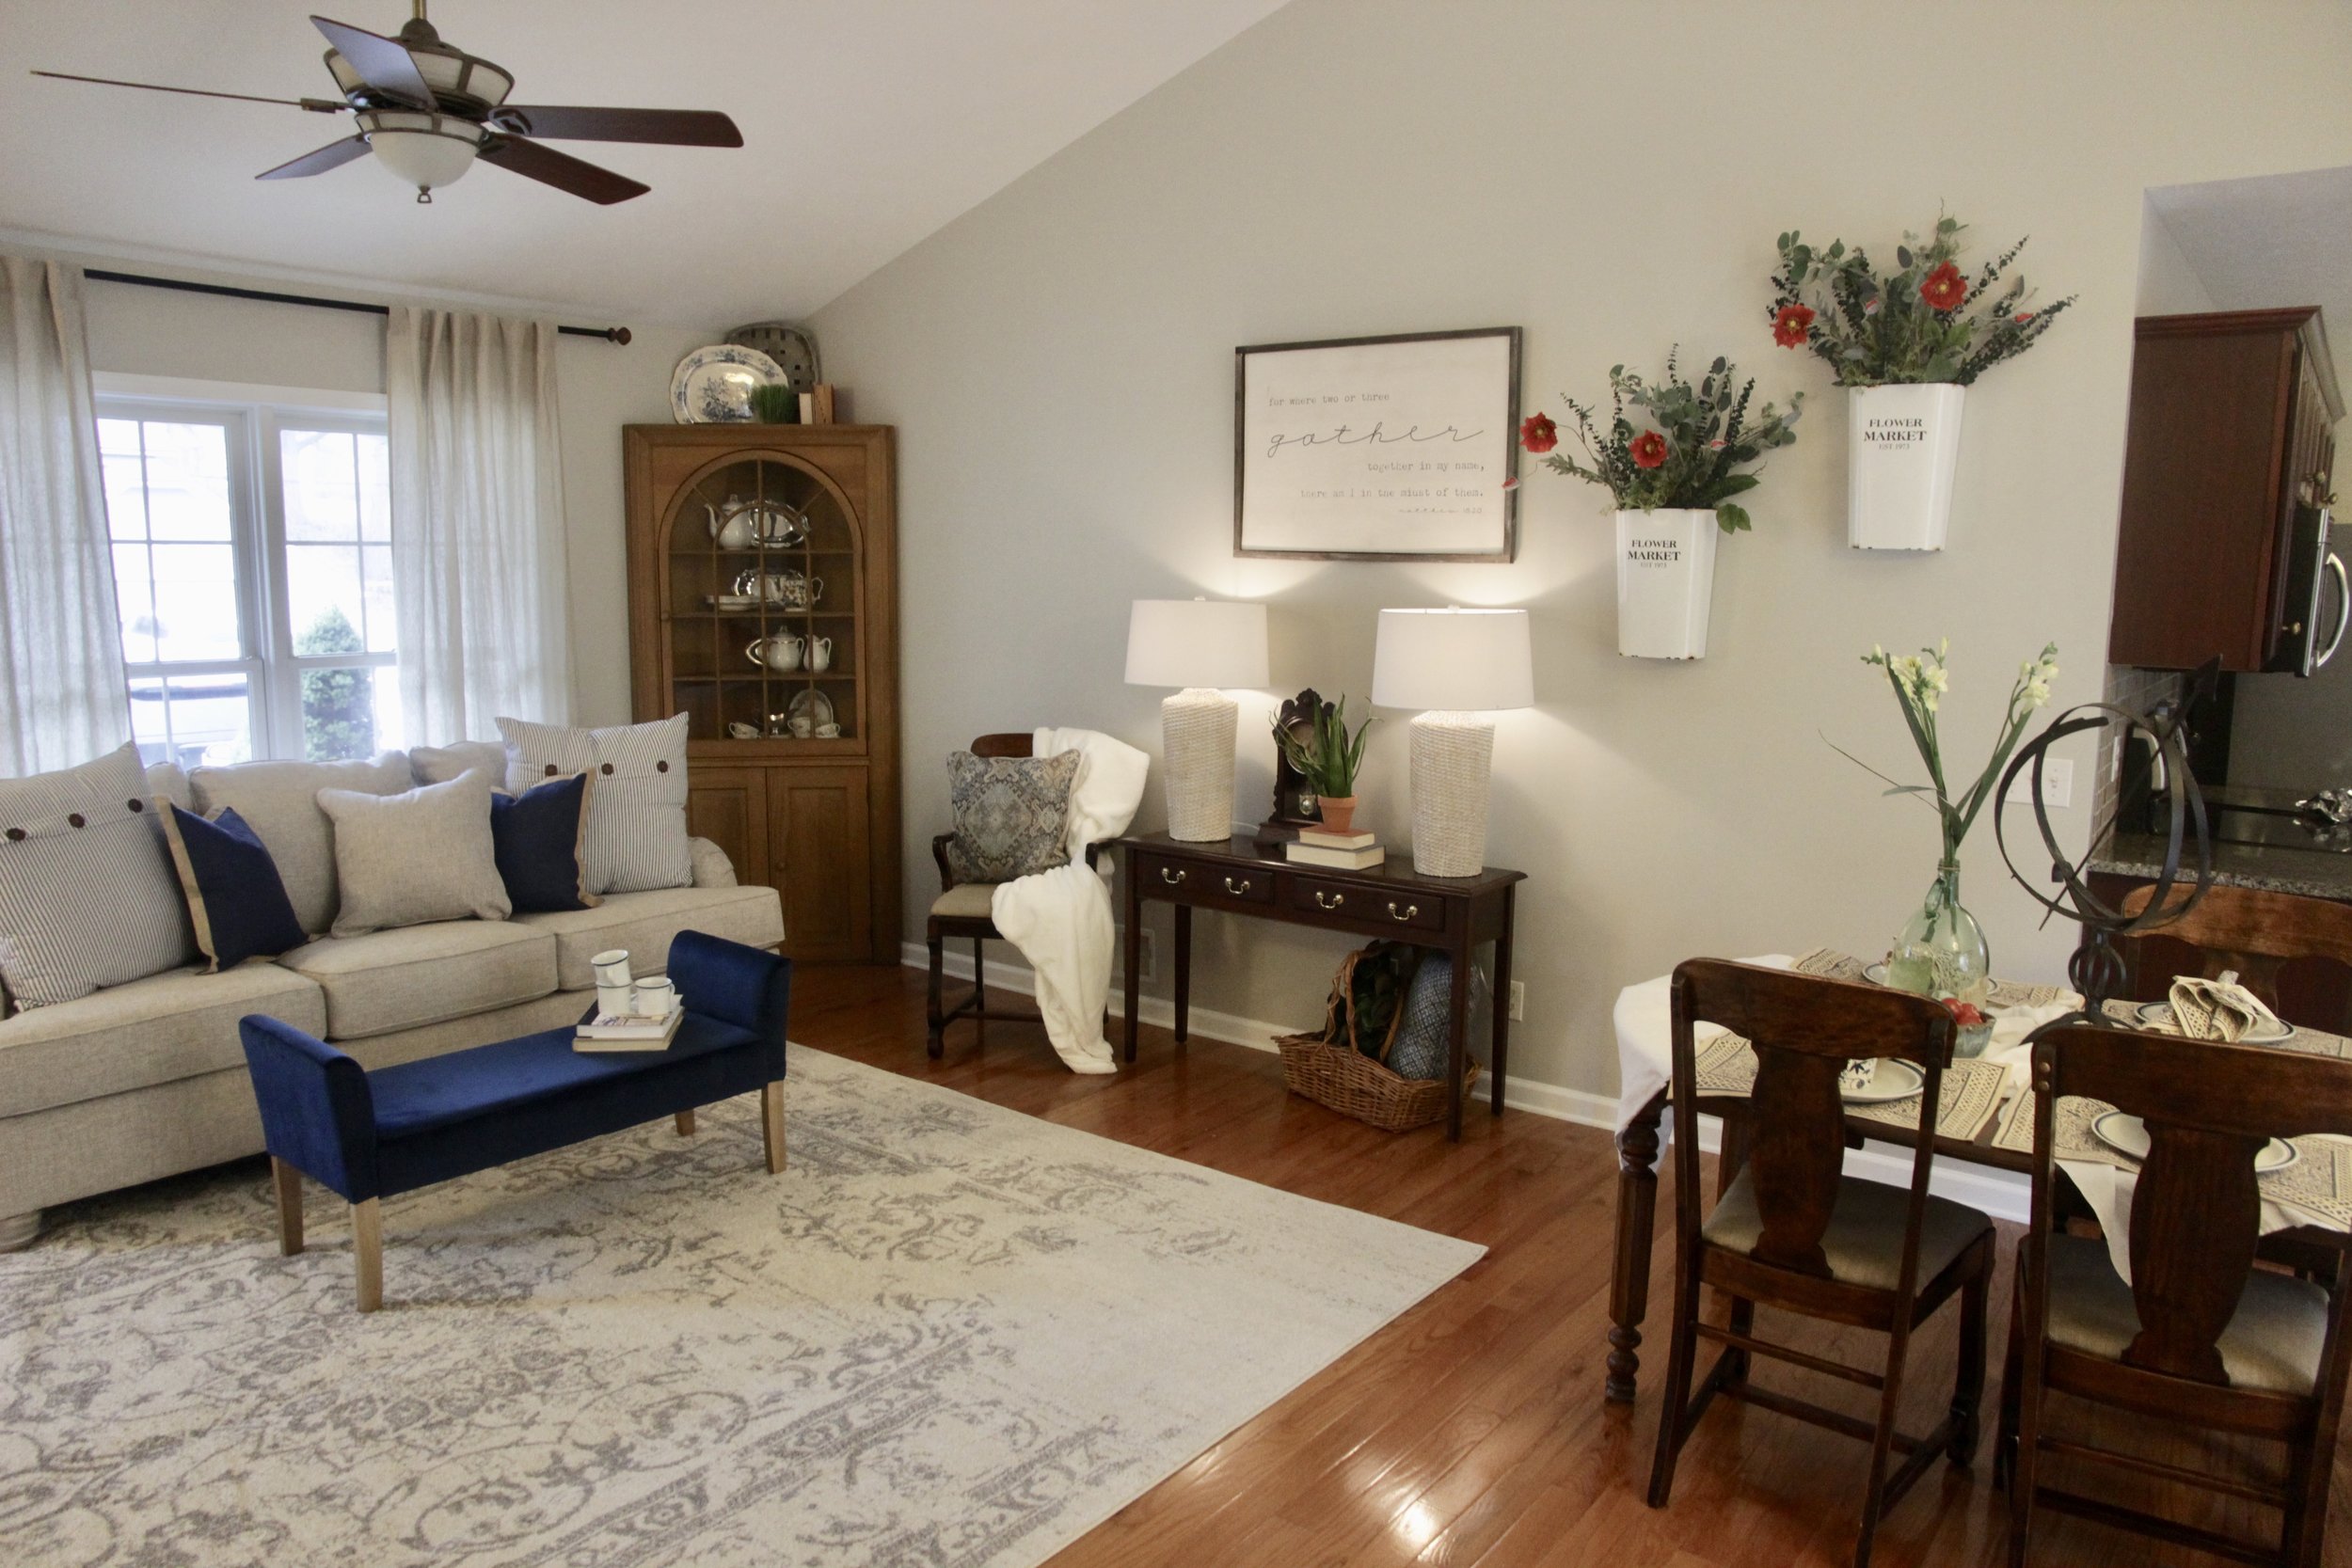
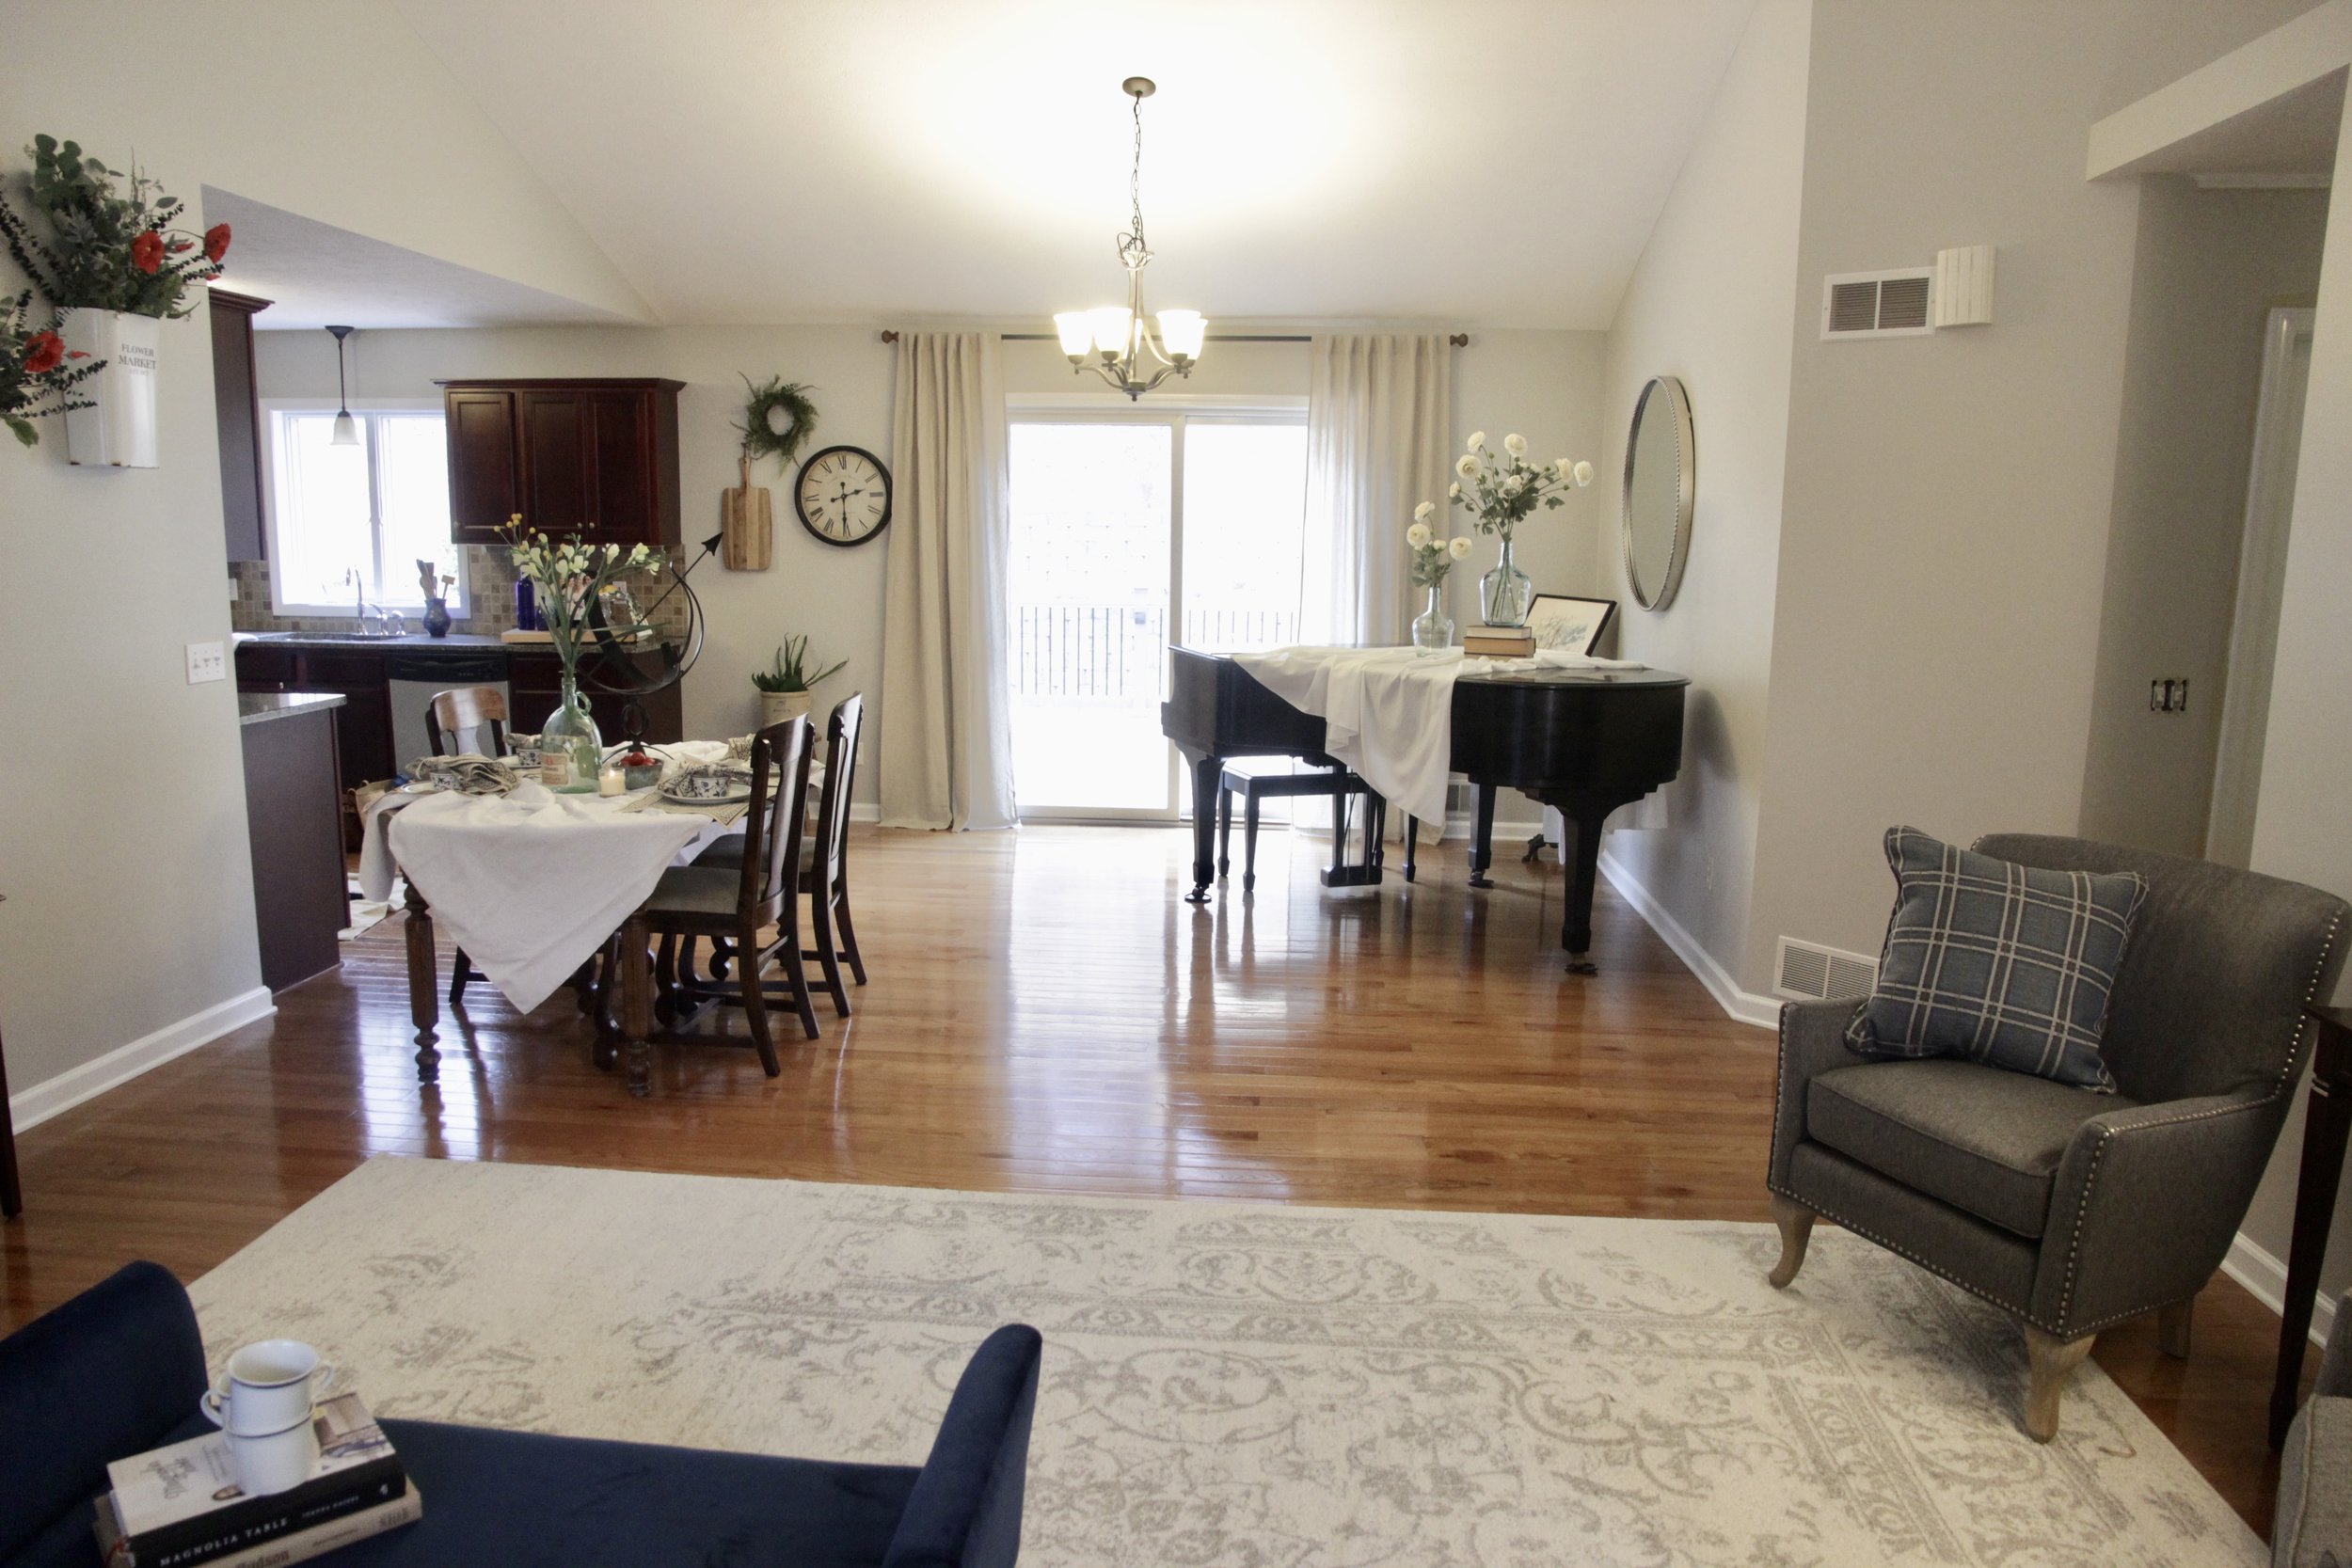
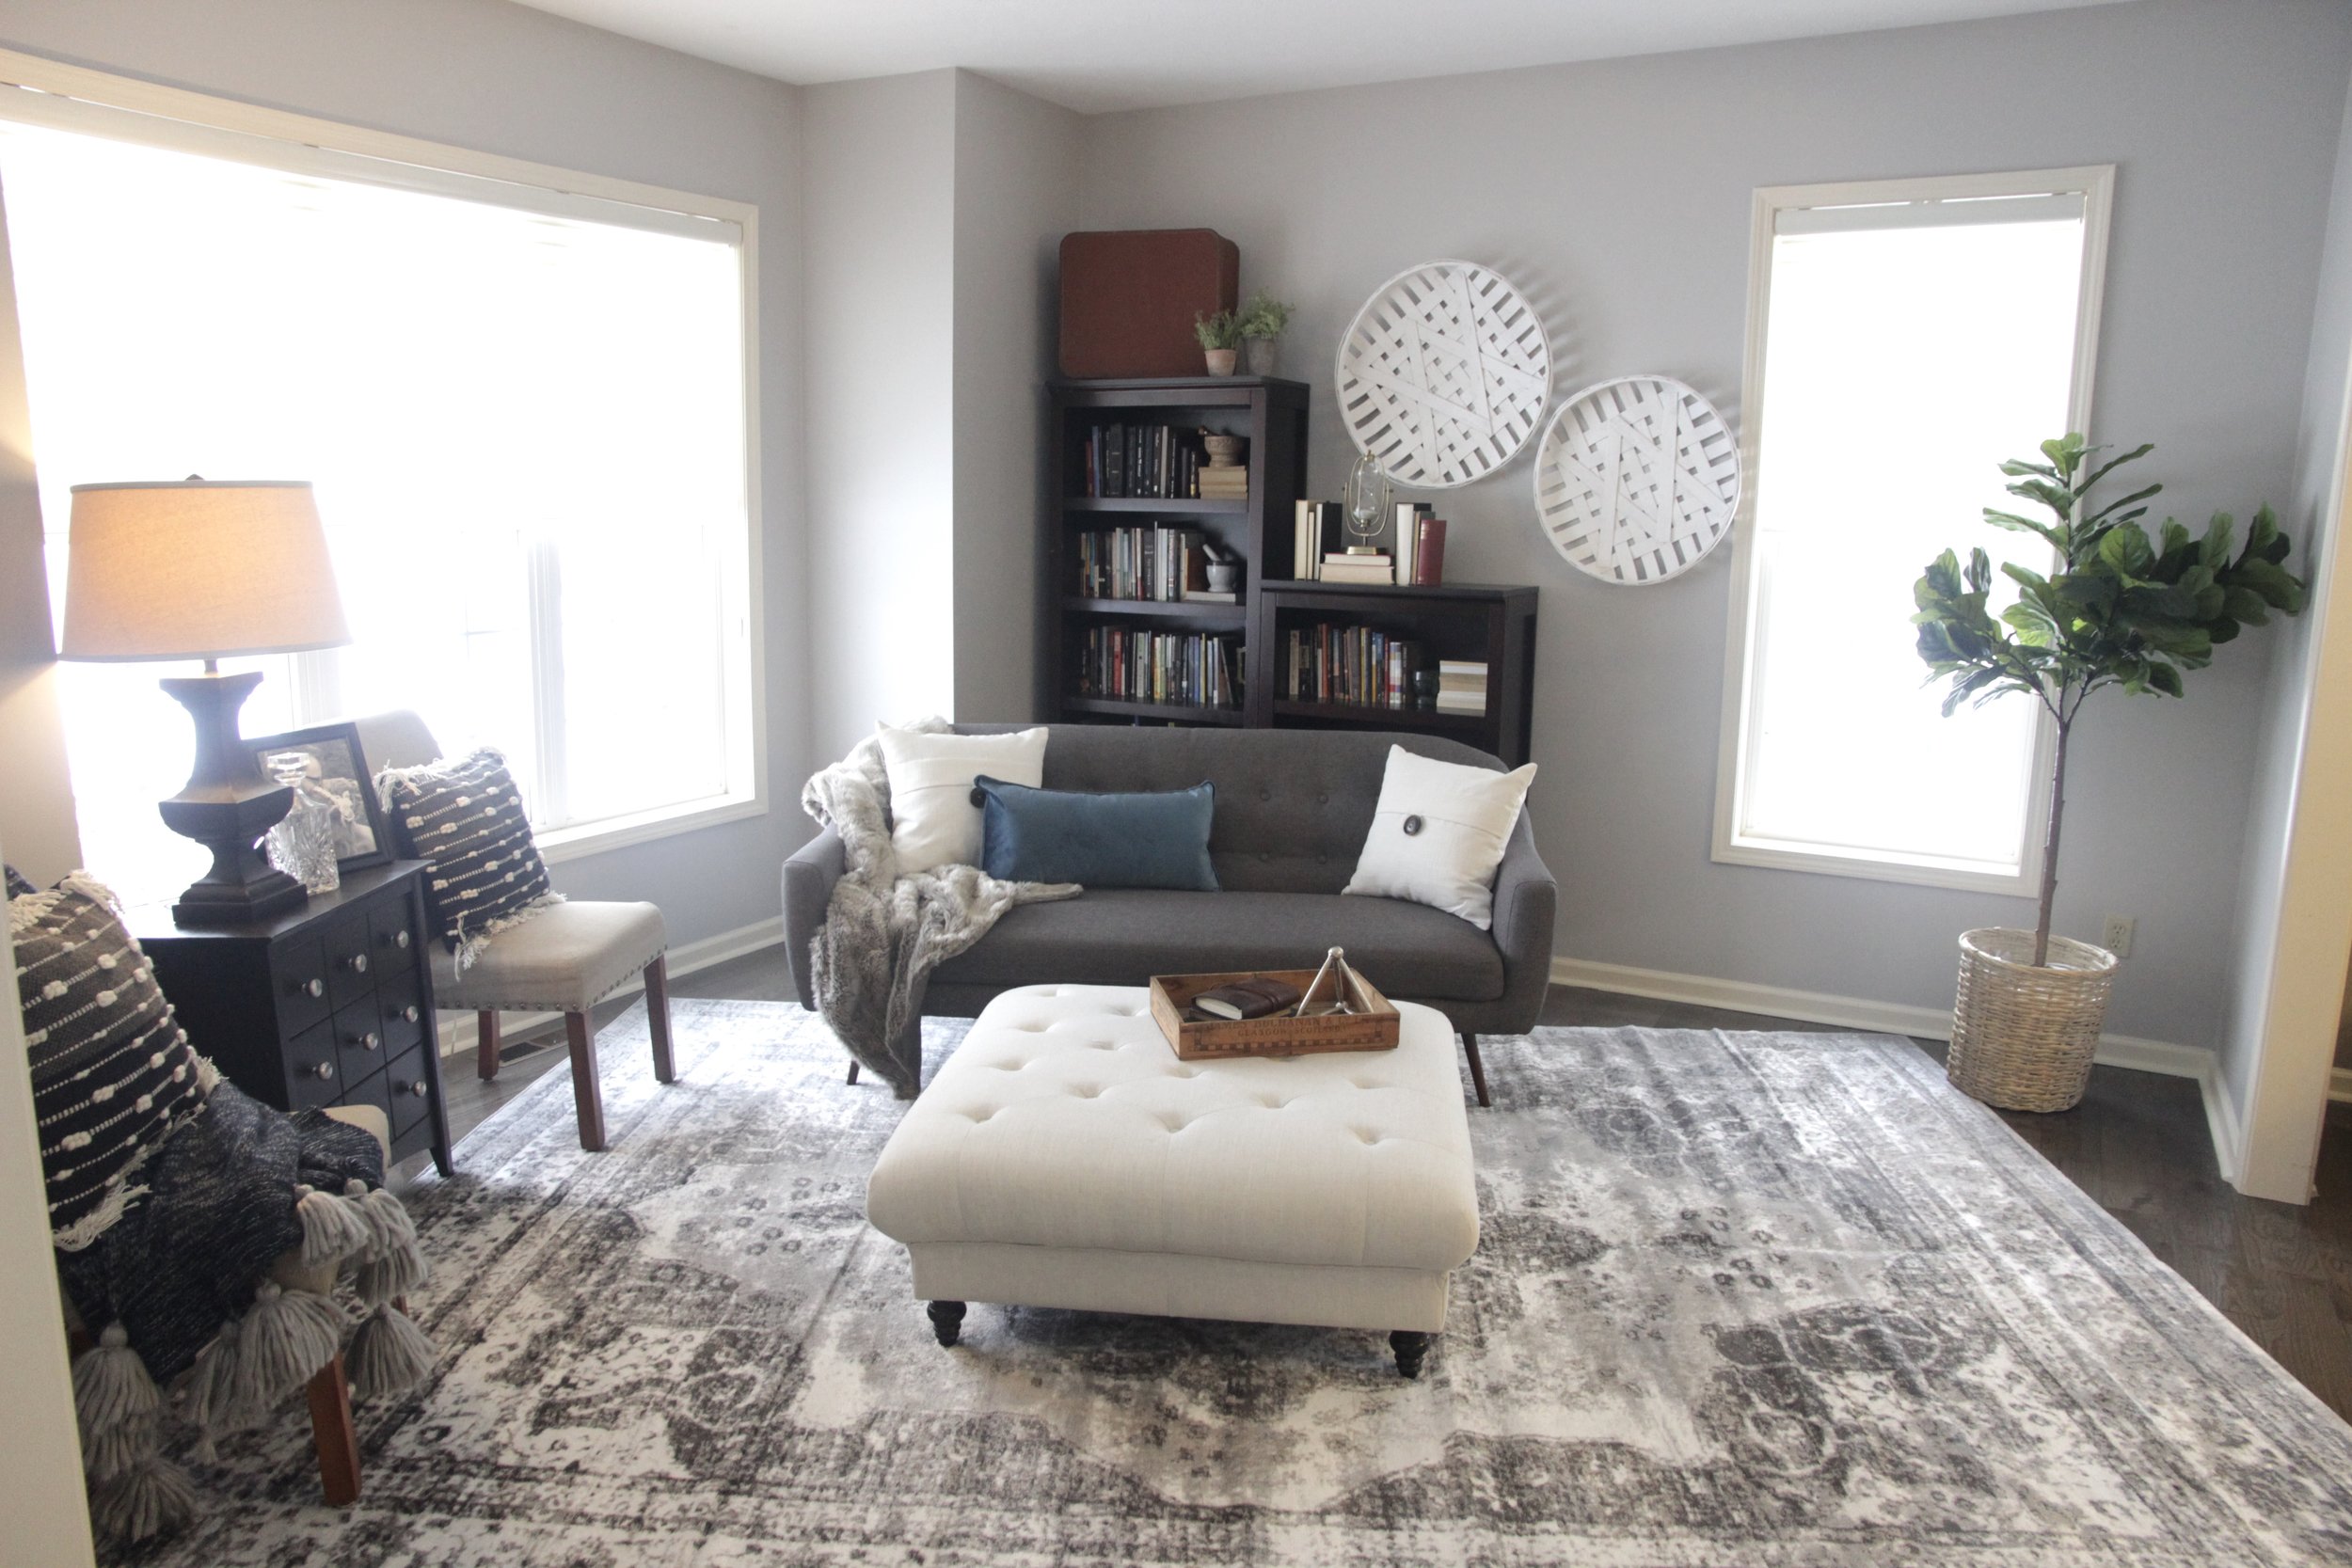
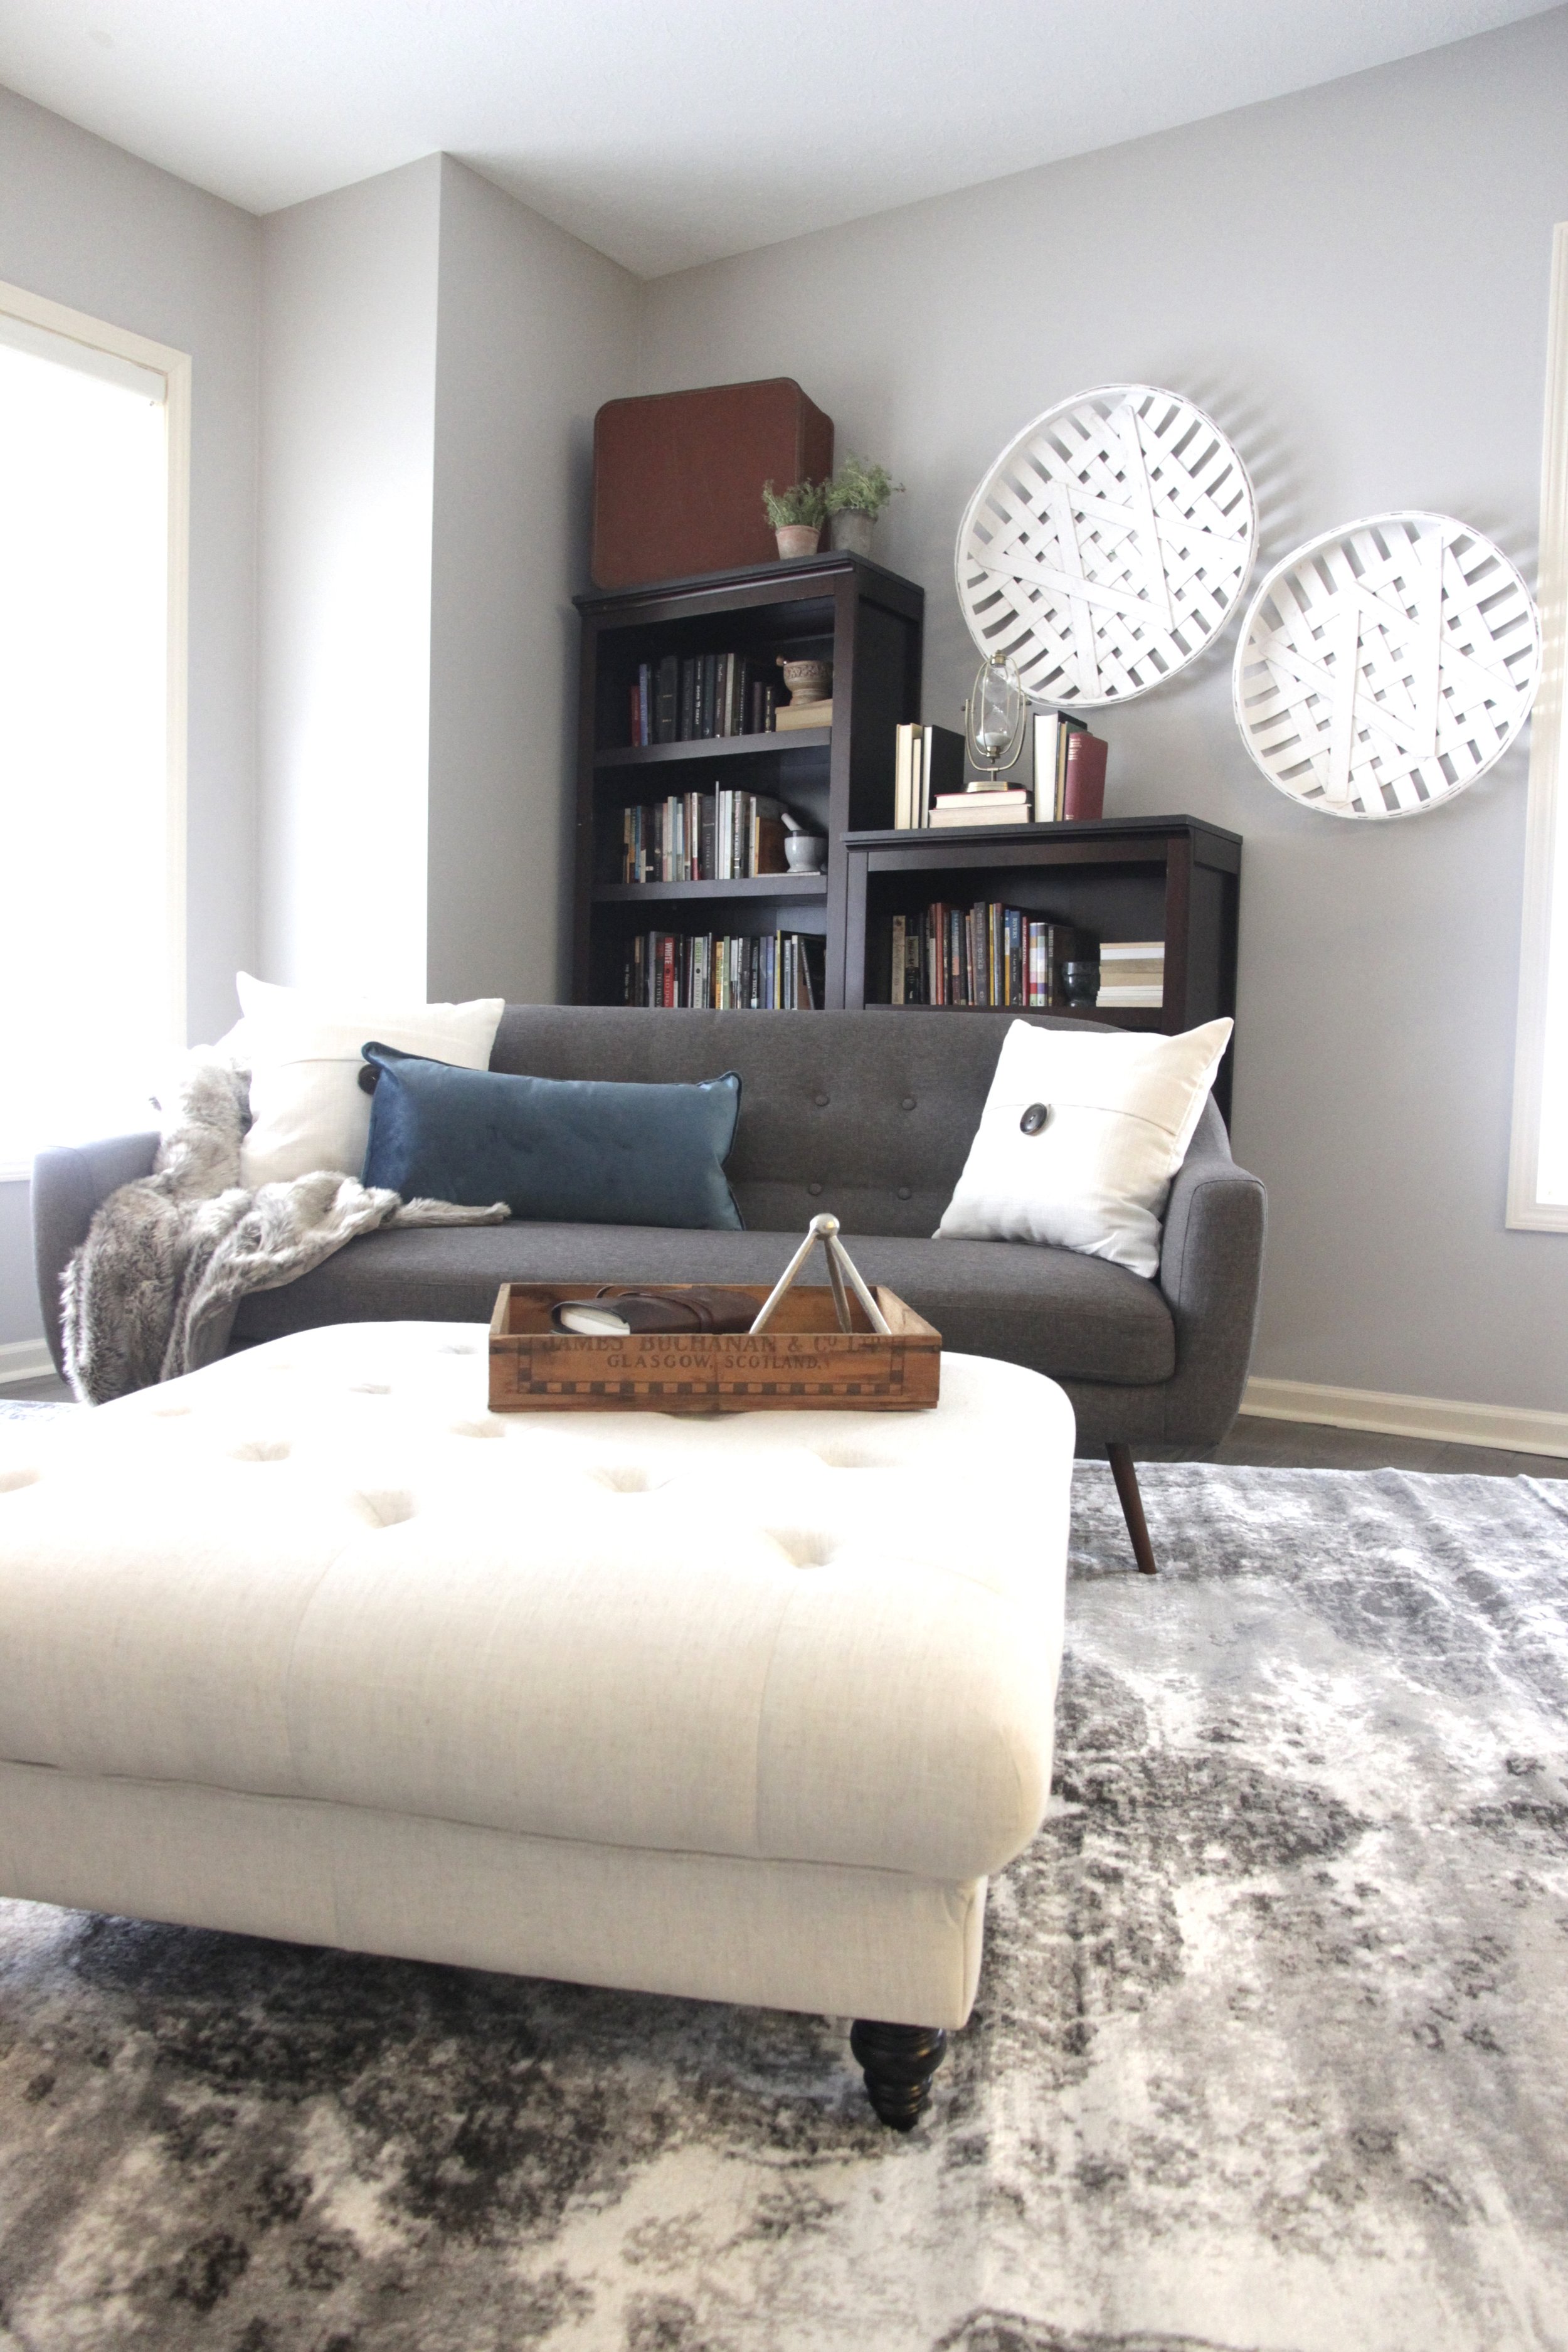
Her requests: A summer hideaway that feels light and bright. Keep it simple and comfortable. Neutrals always preferred. A Traditional feel, with lake-side touches, please. A breakfast bar that fits the budget.

We are thankful to share with y’all, that this tour has been loved by Raymour and Flannigan! Click the button!

BEFORE PHOTOS:

IMG_0670.JPG

BEFORE PHOTOS:

IMG_0675.JPG

BEFORE PHOTOS:

IMG_0672.JPG

AND

The

AFTER

TOUR…

AFTER PHOTOS:

fullsizeoutput_3574.jpeg

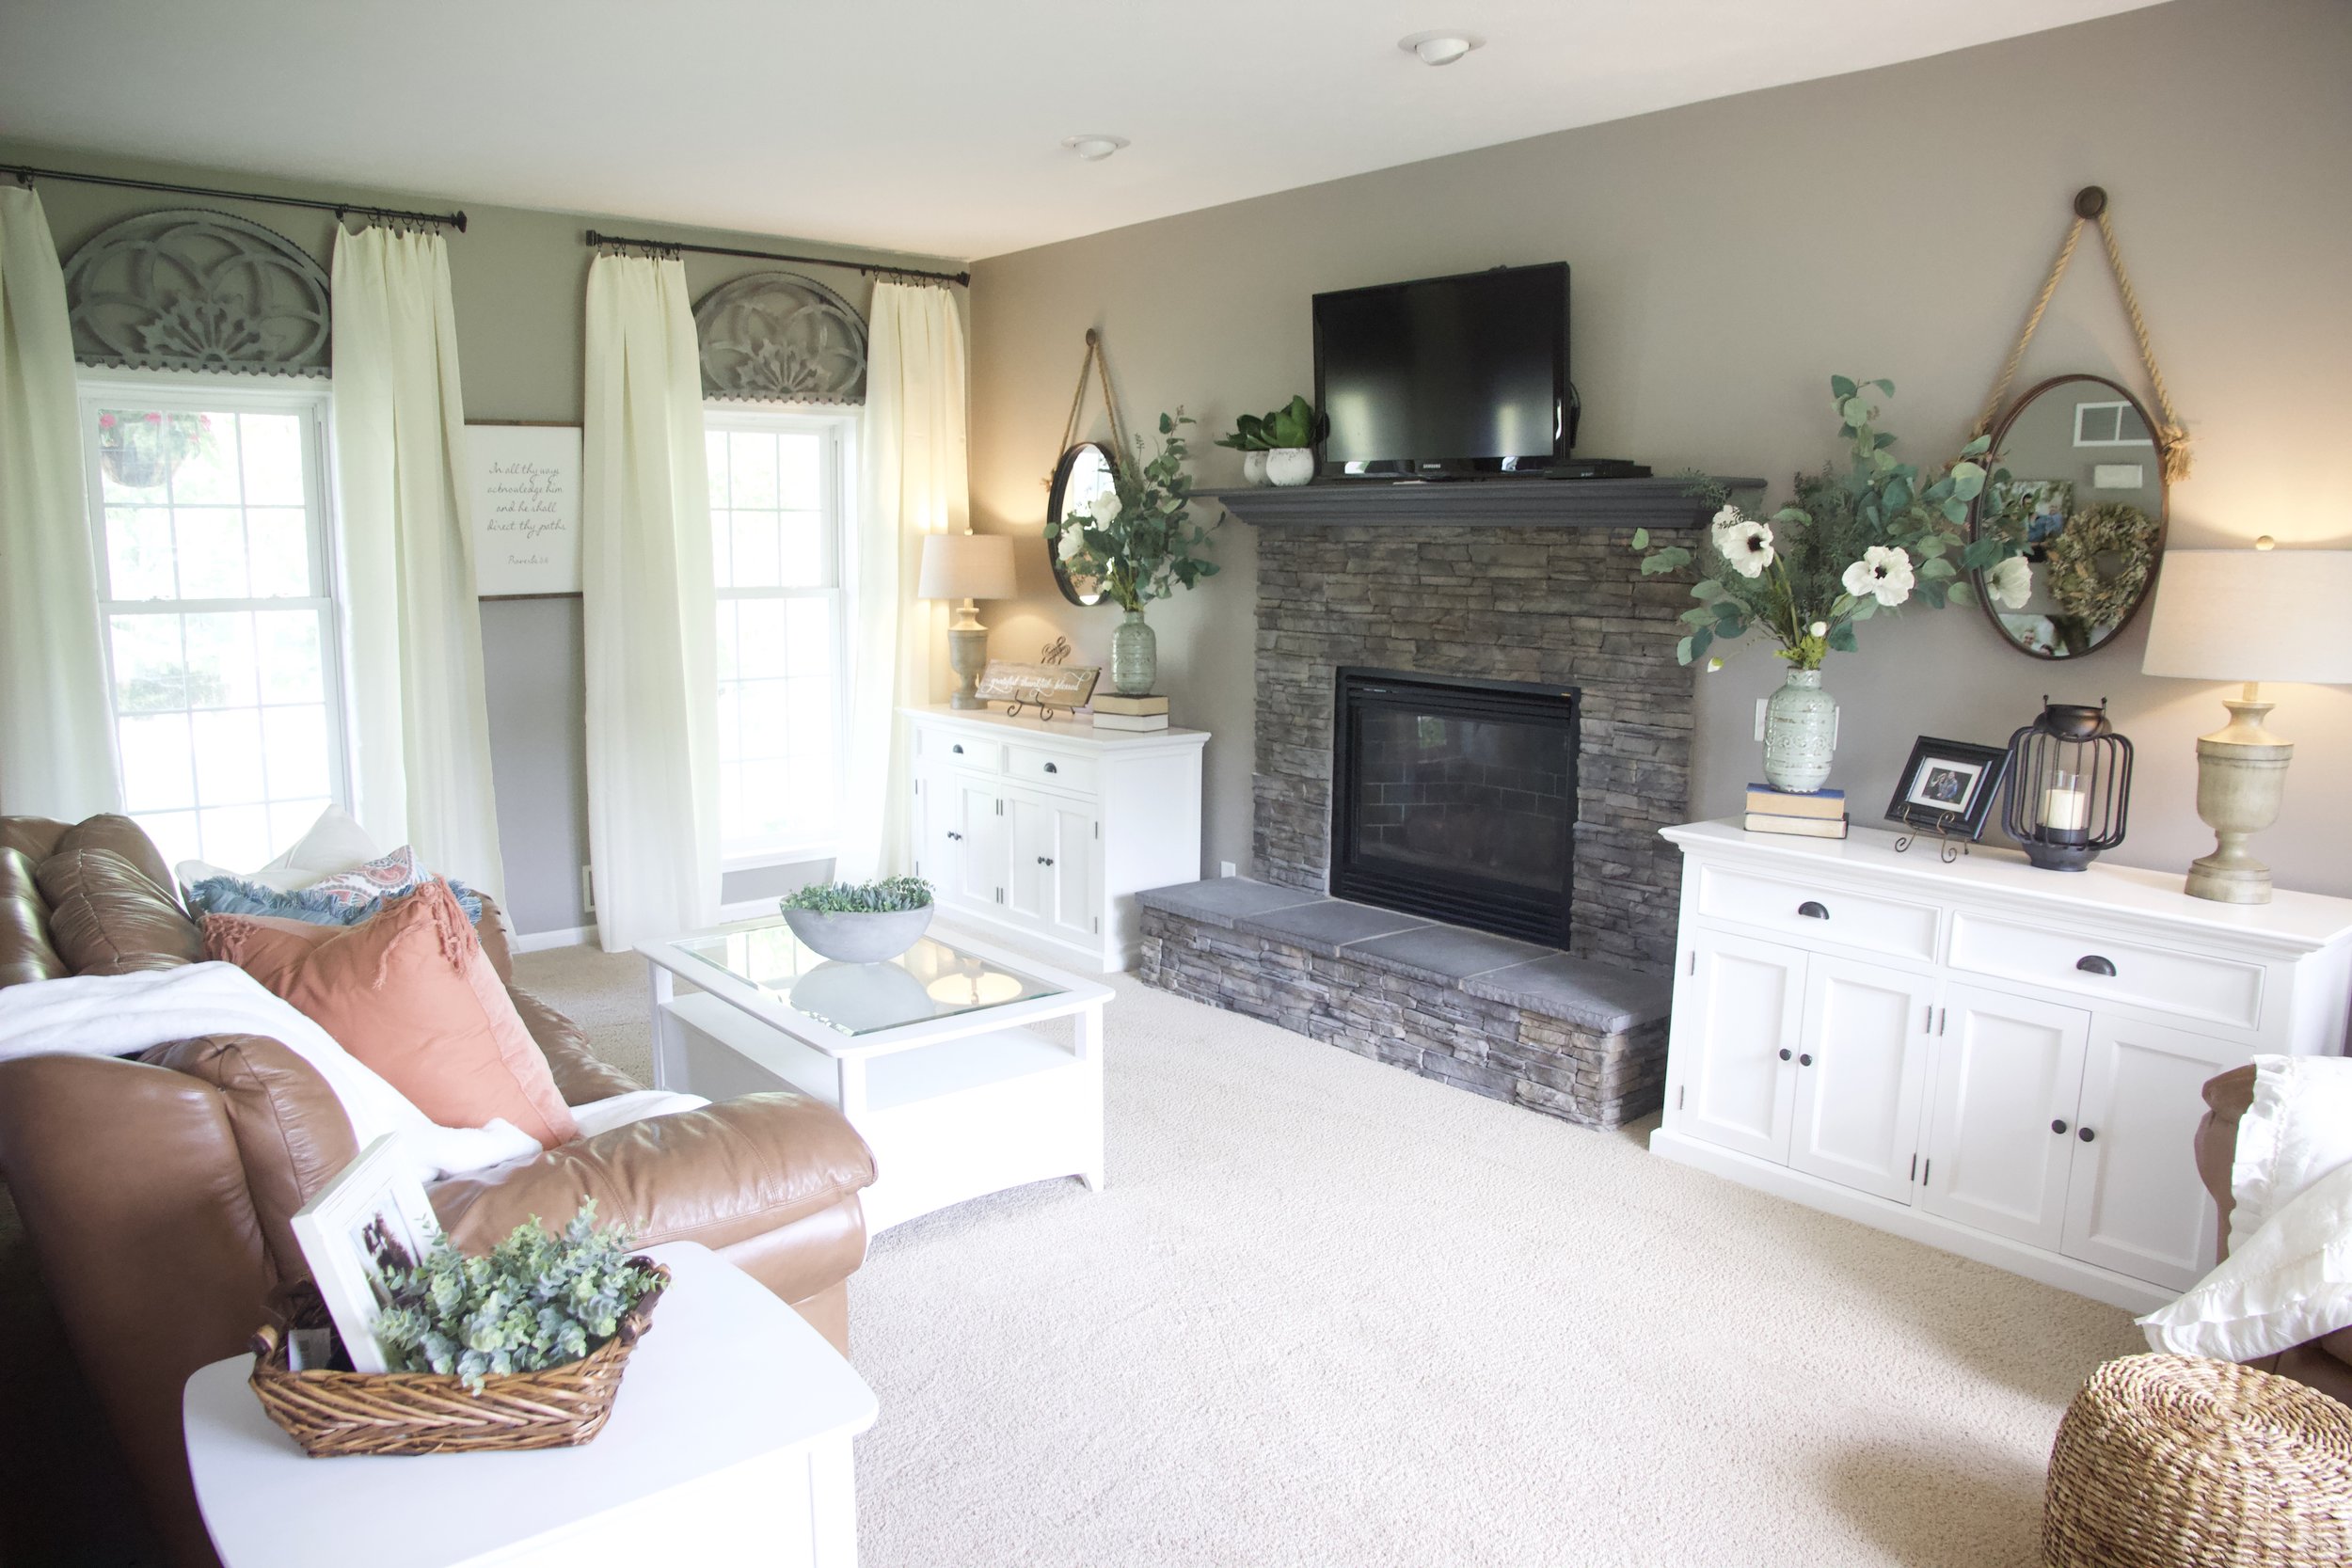
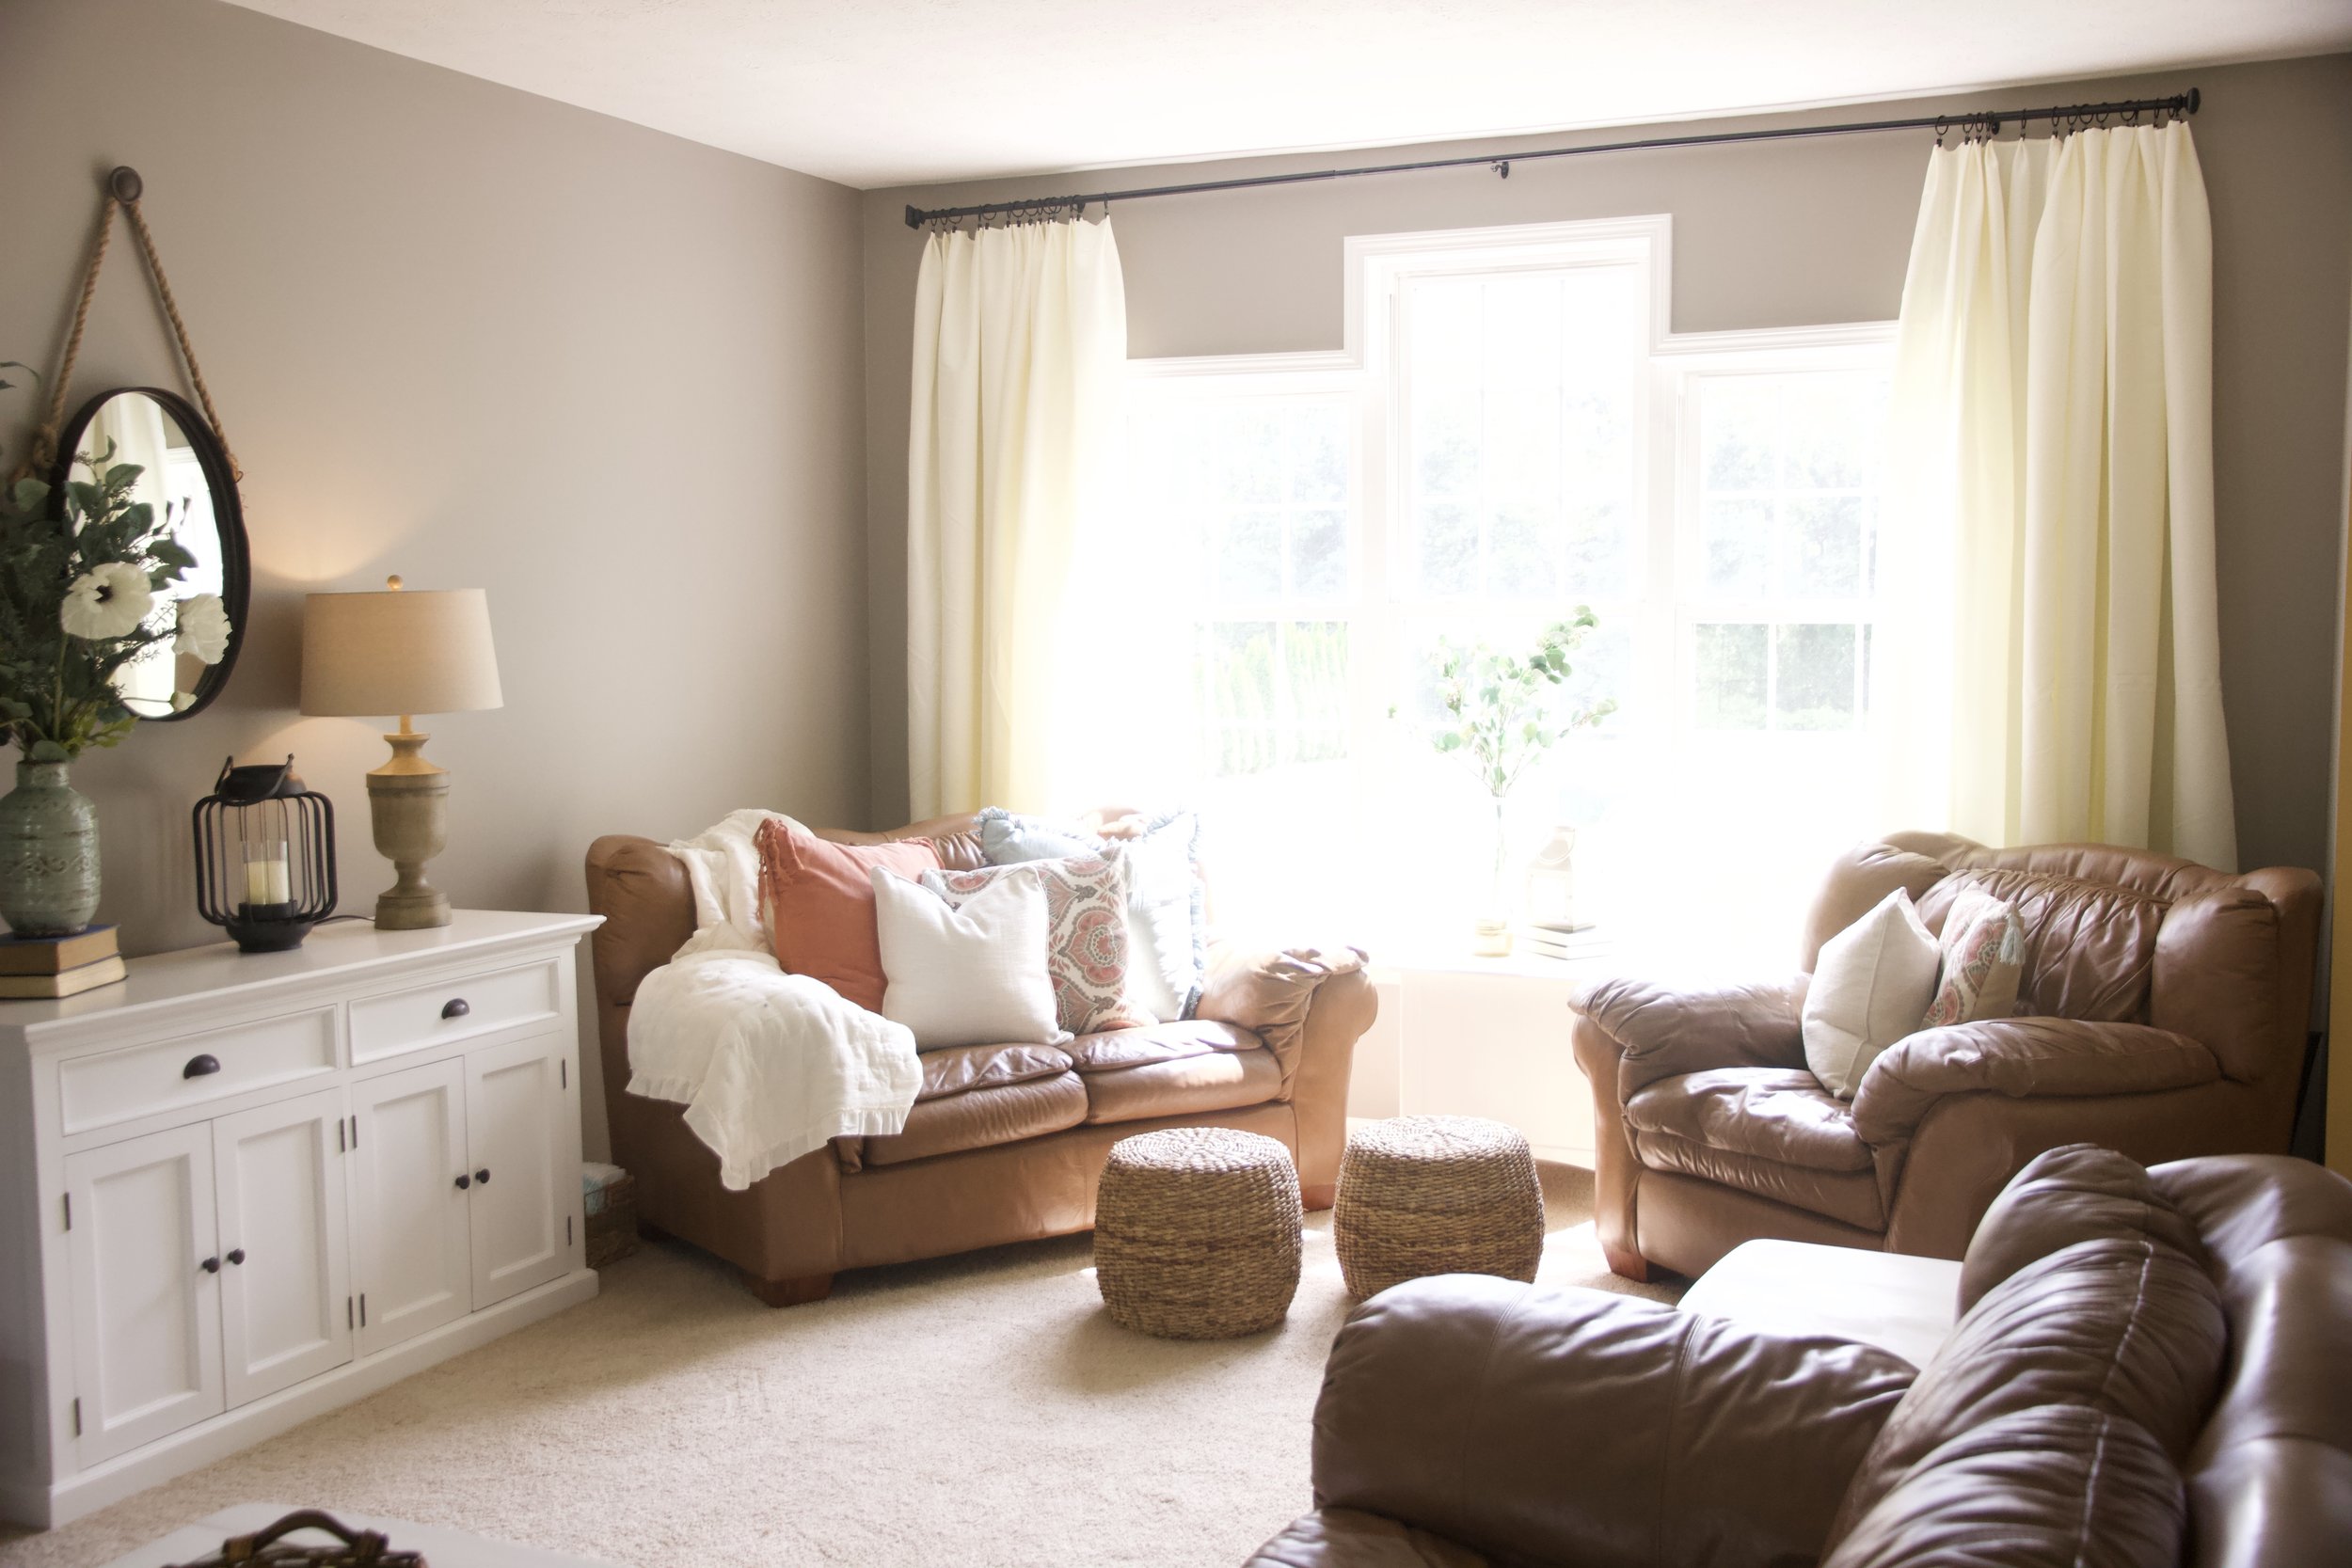
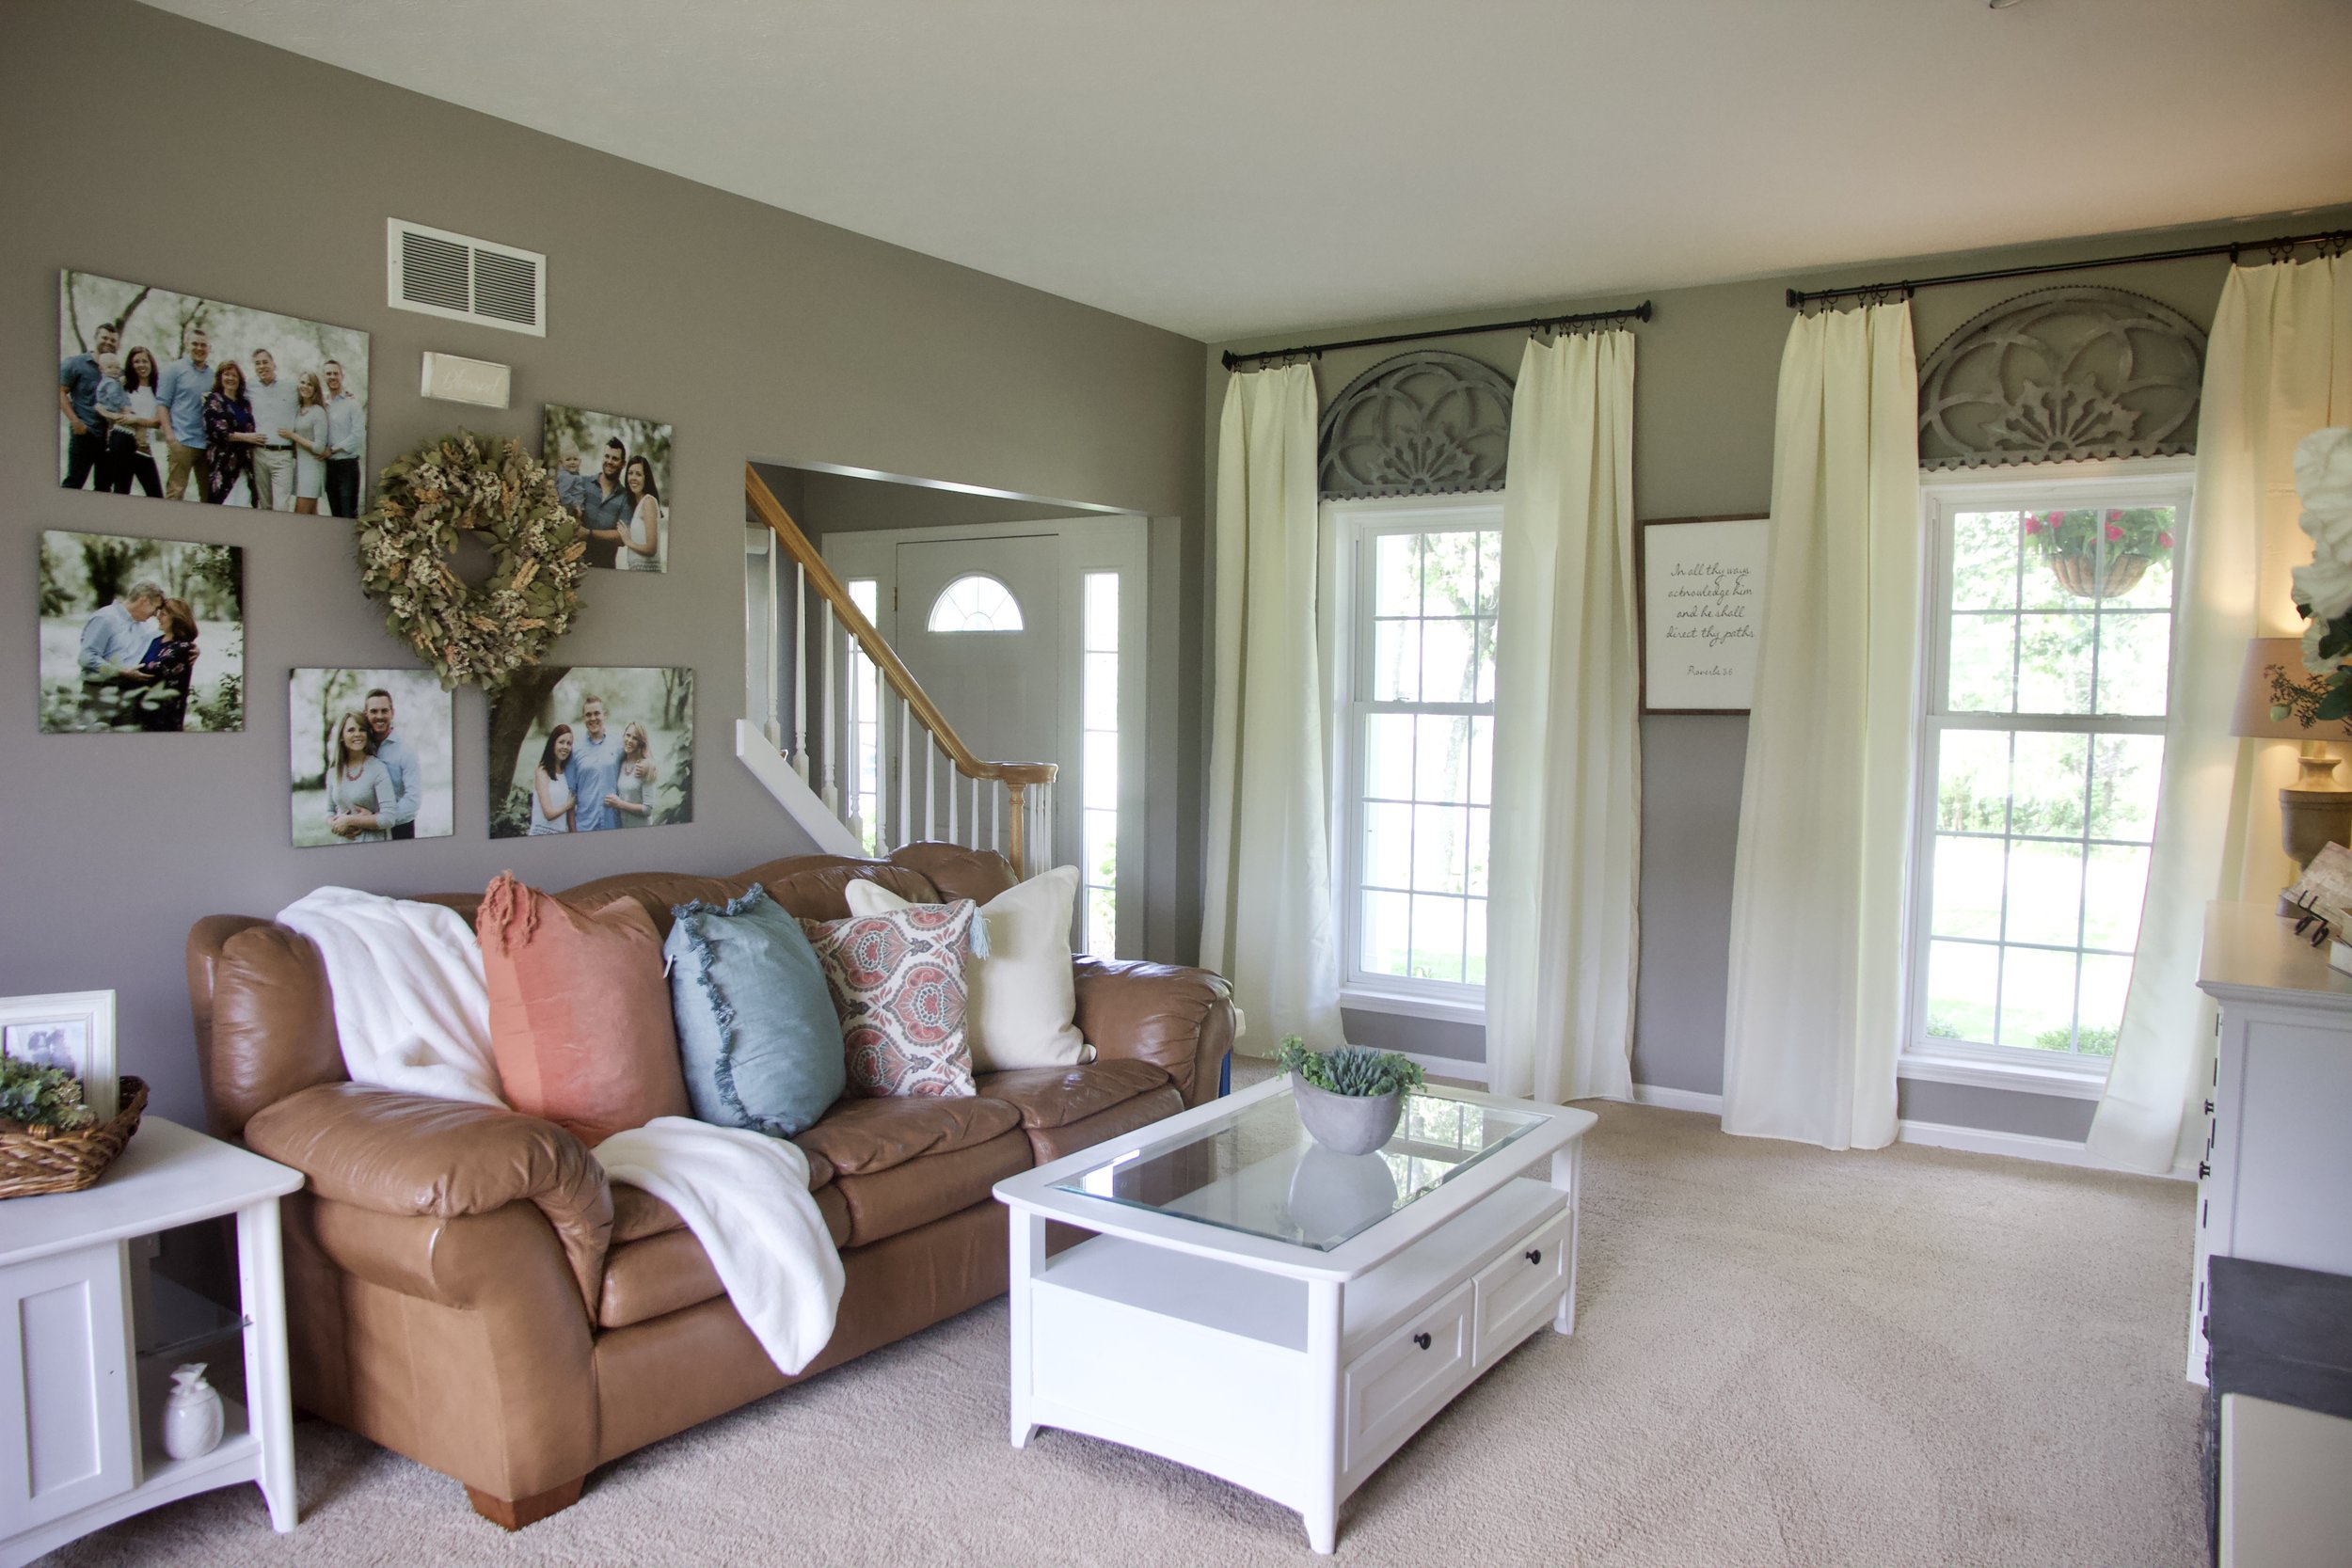
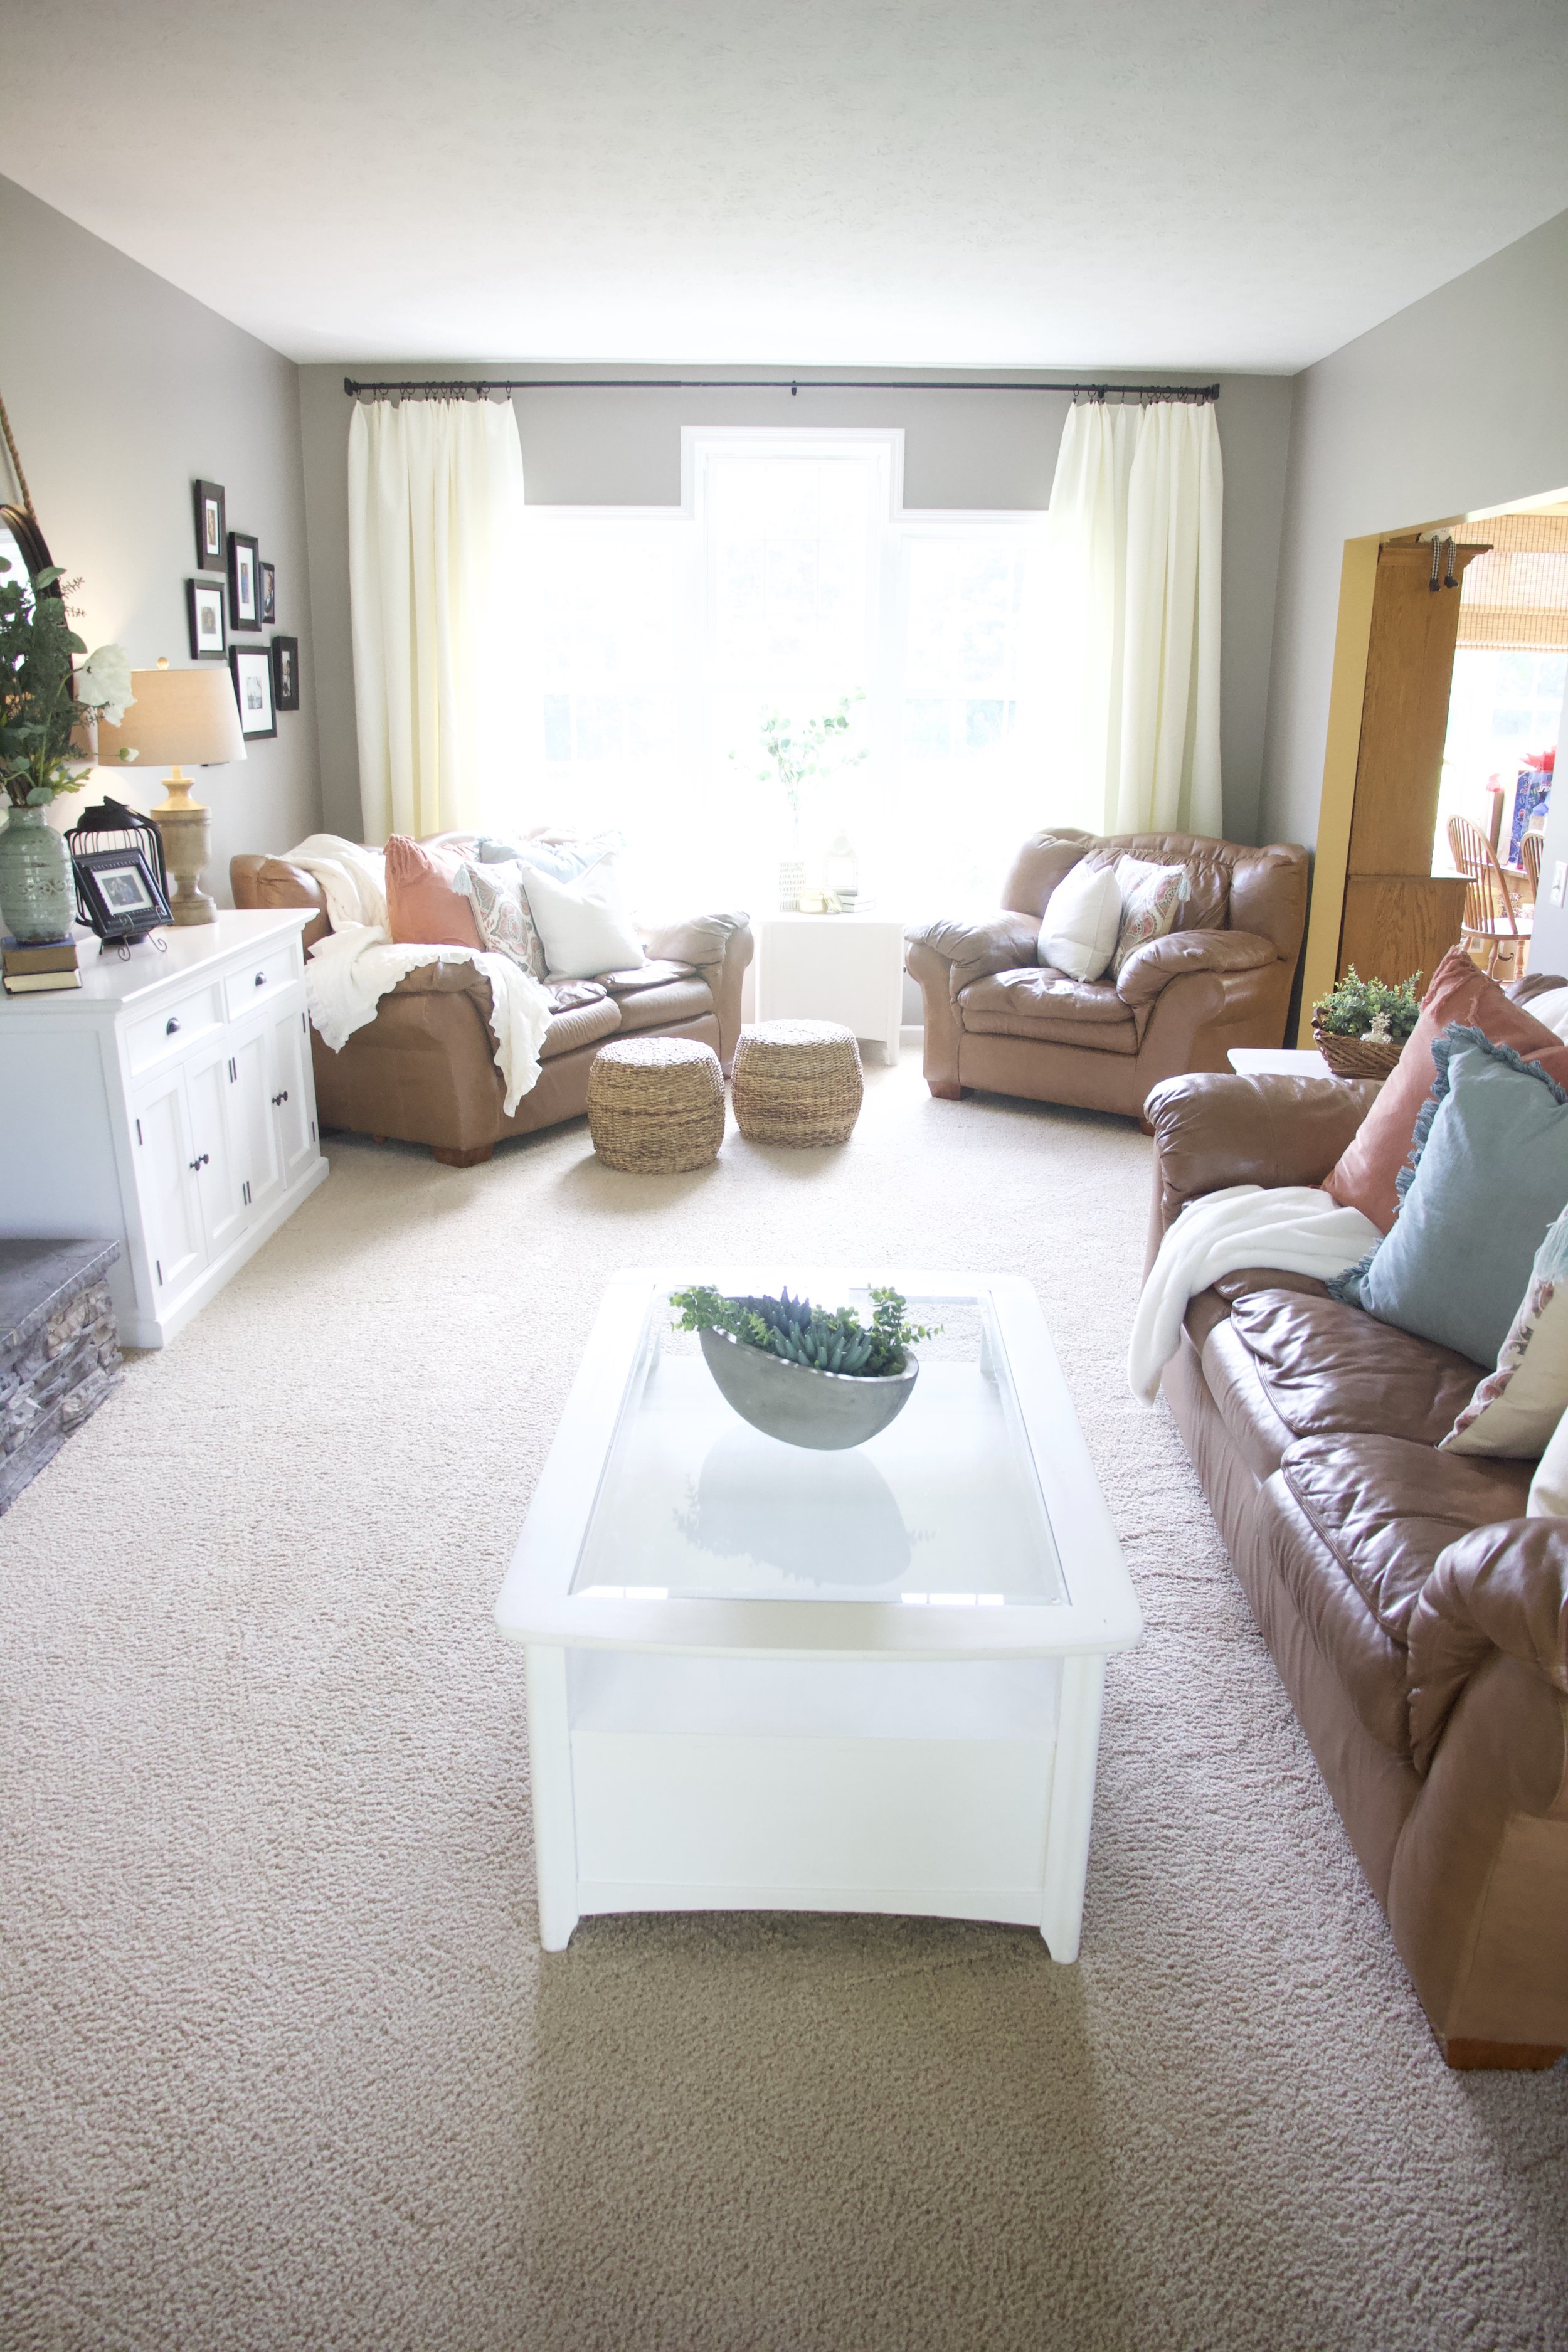
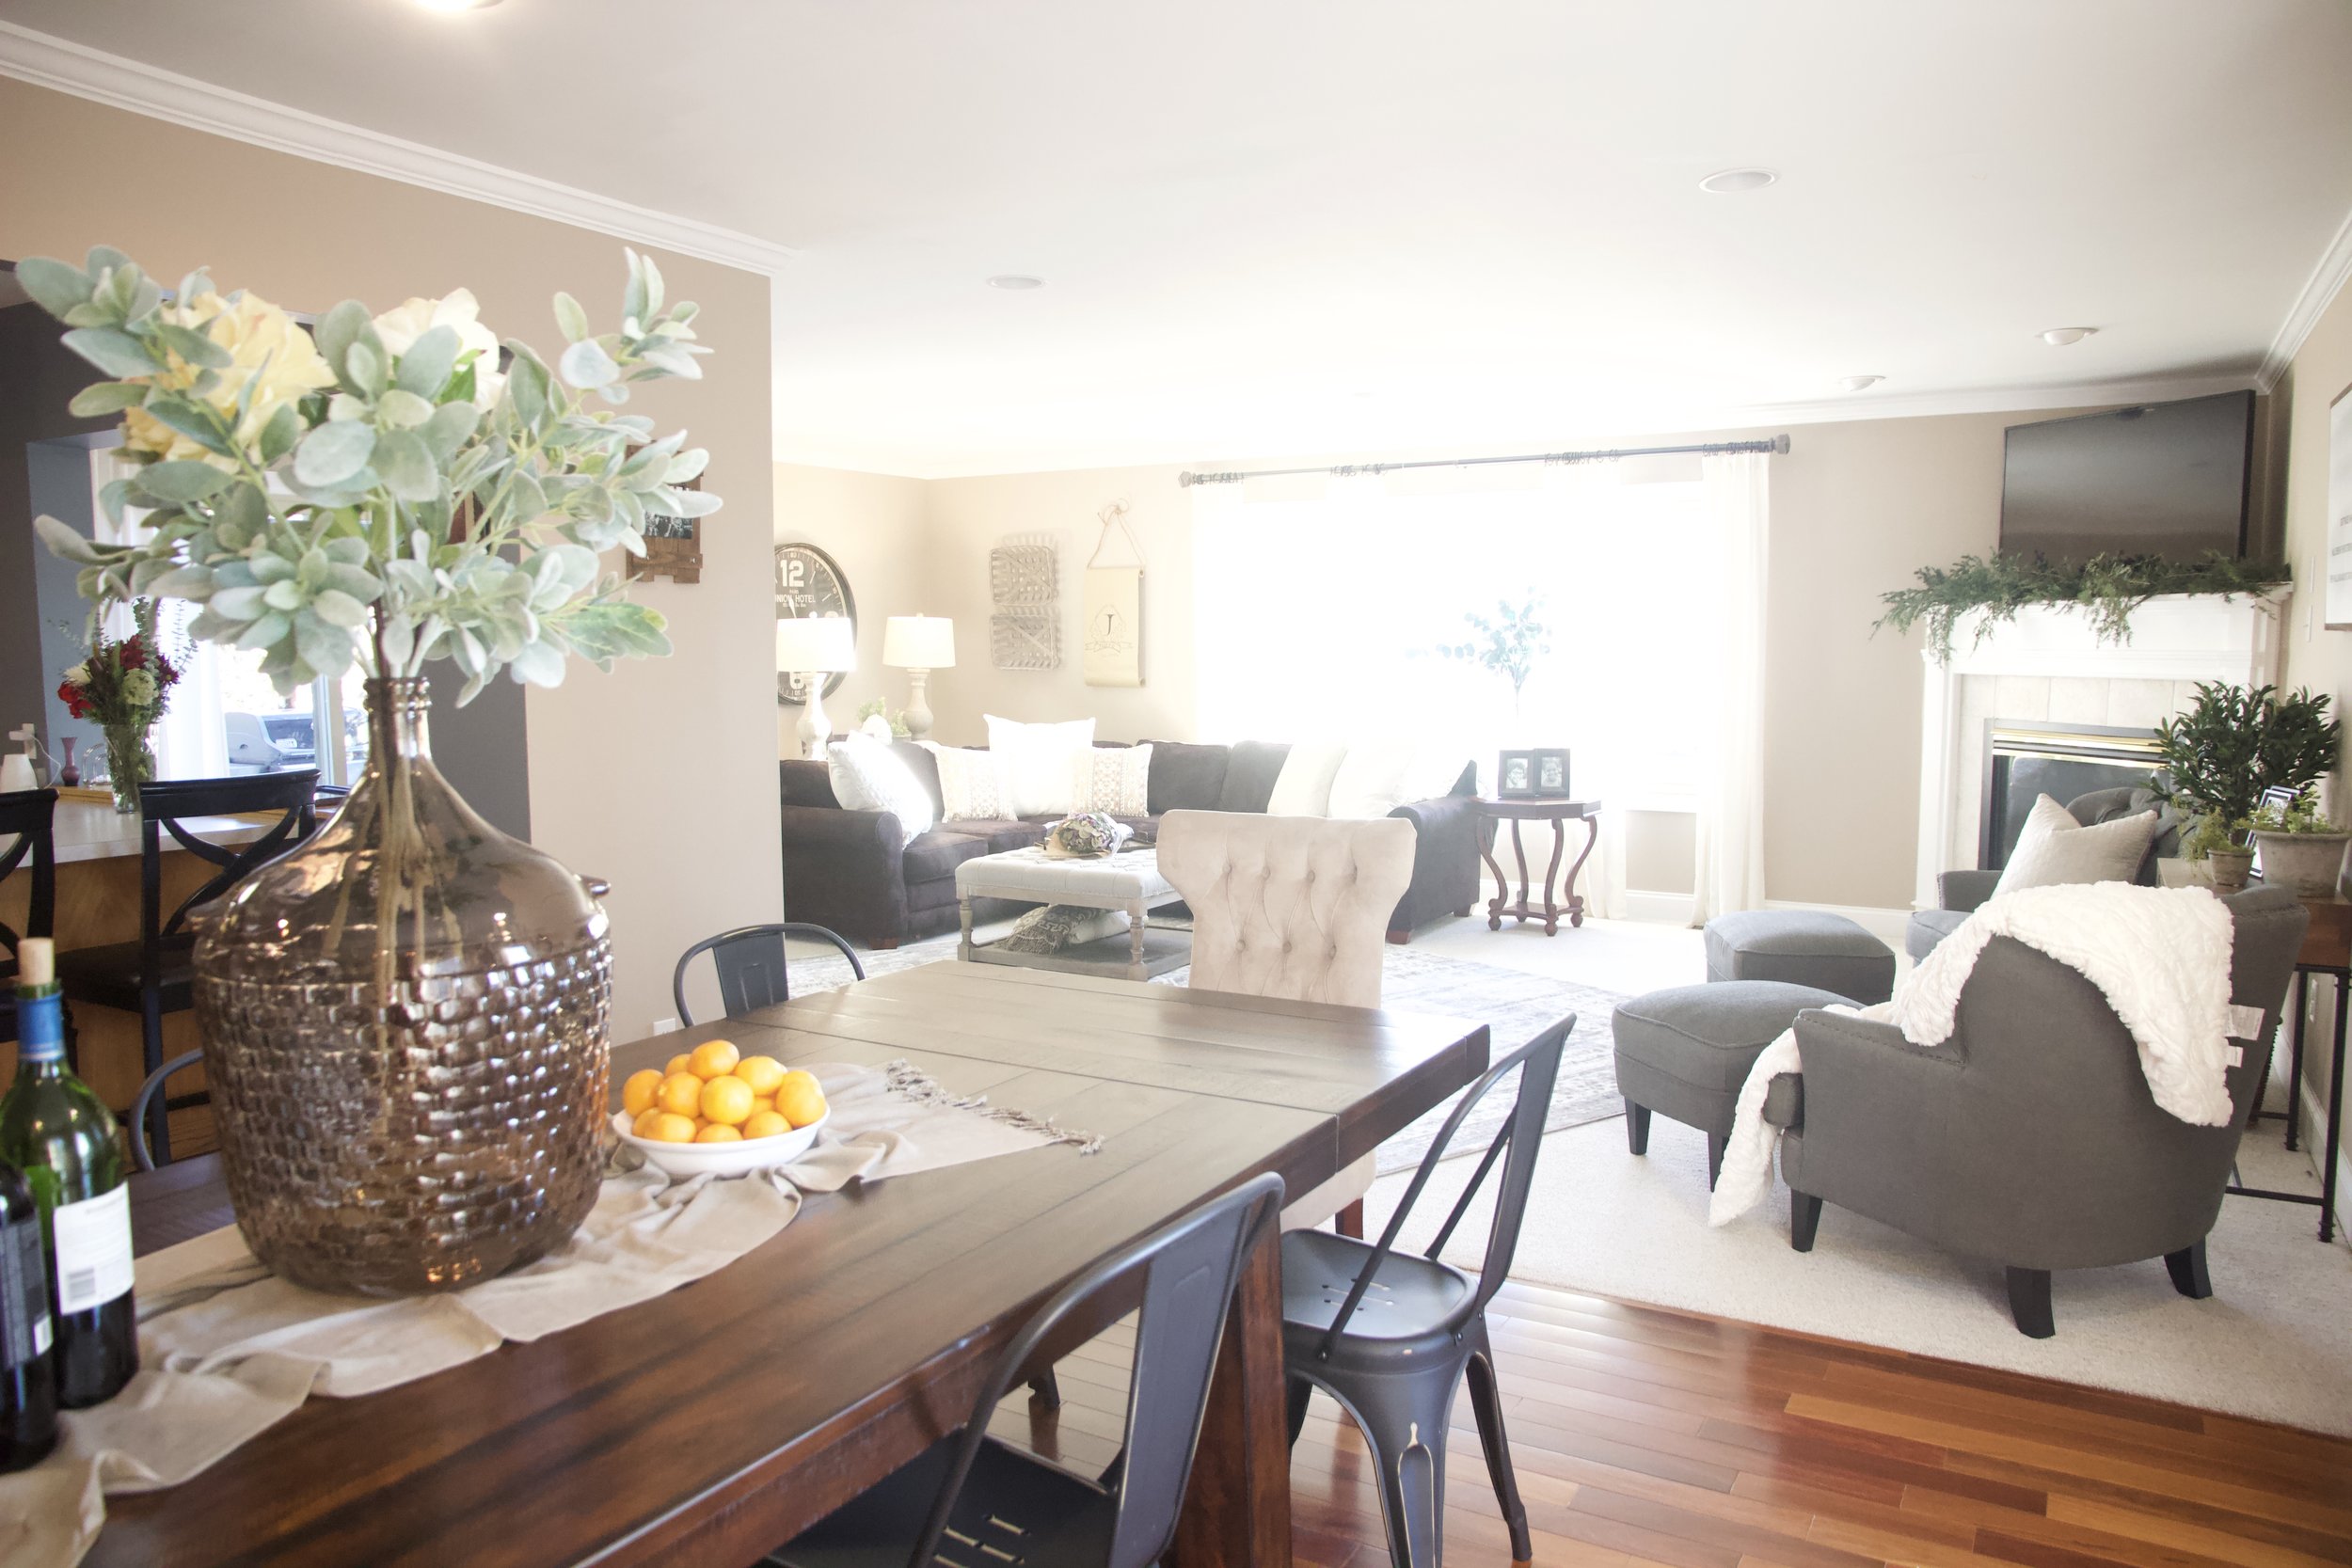
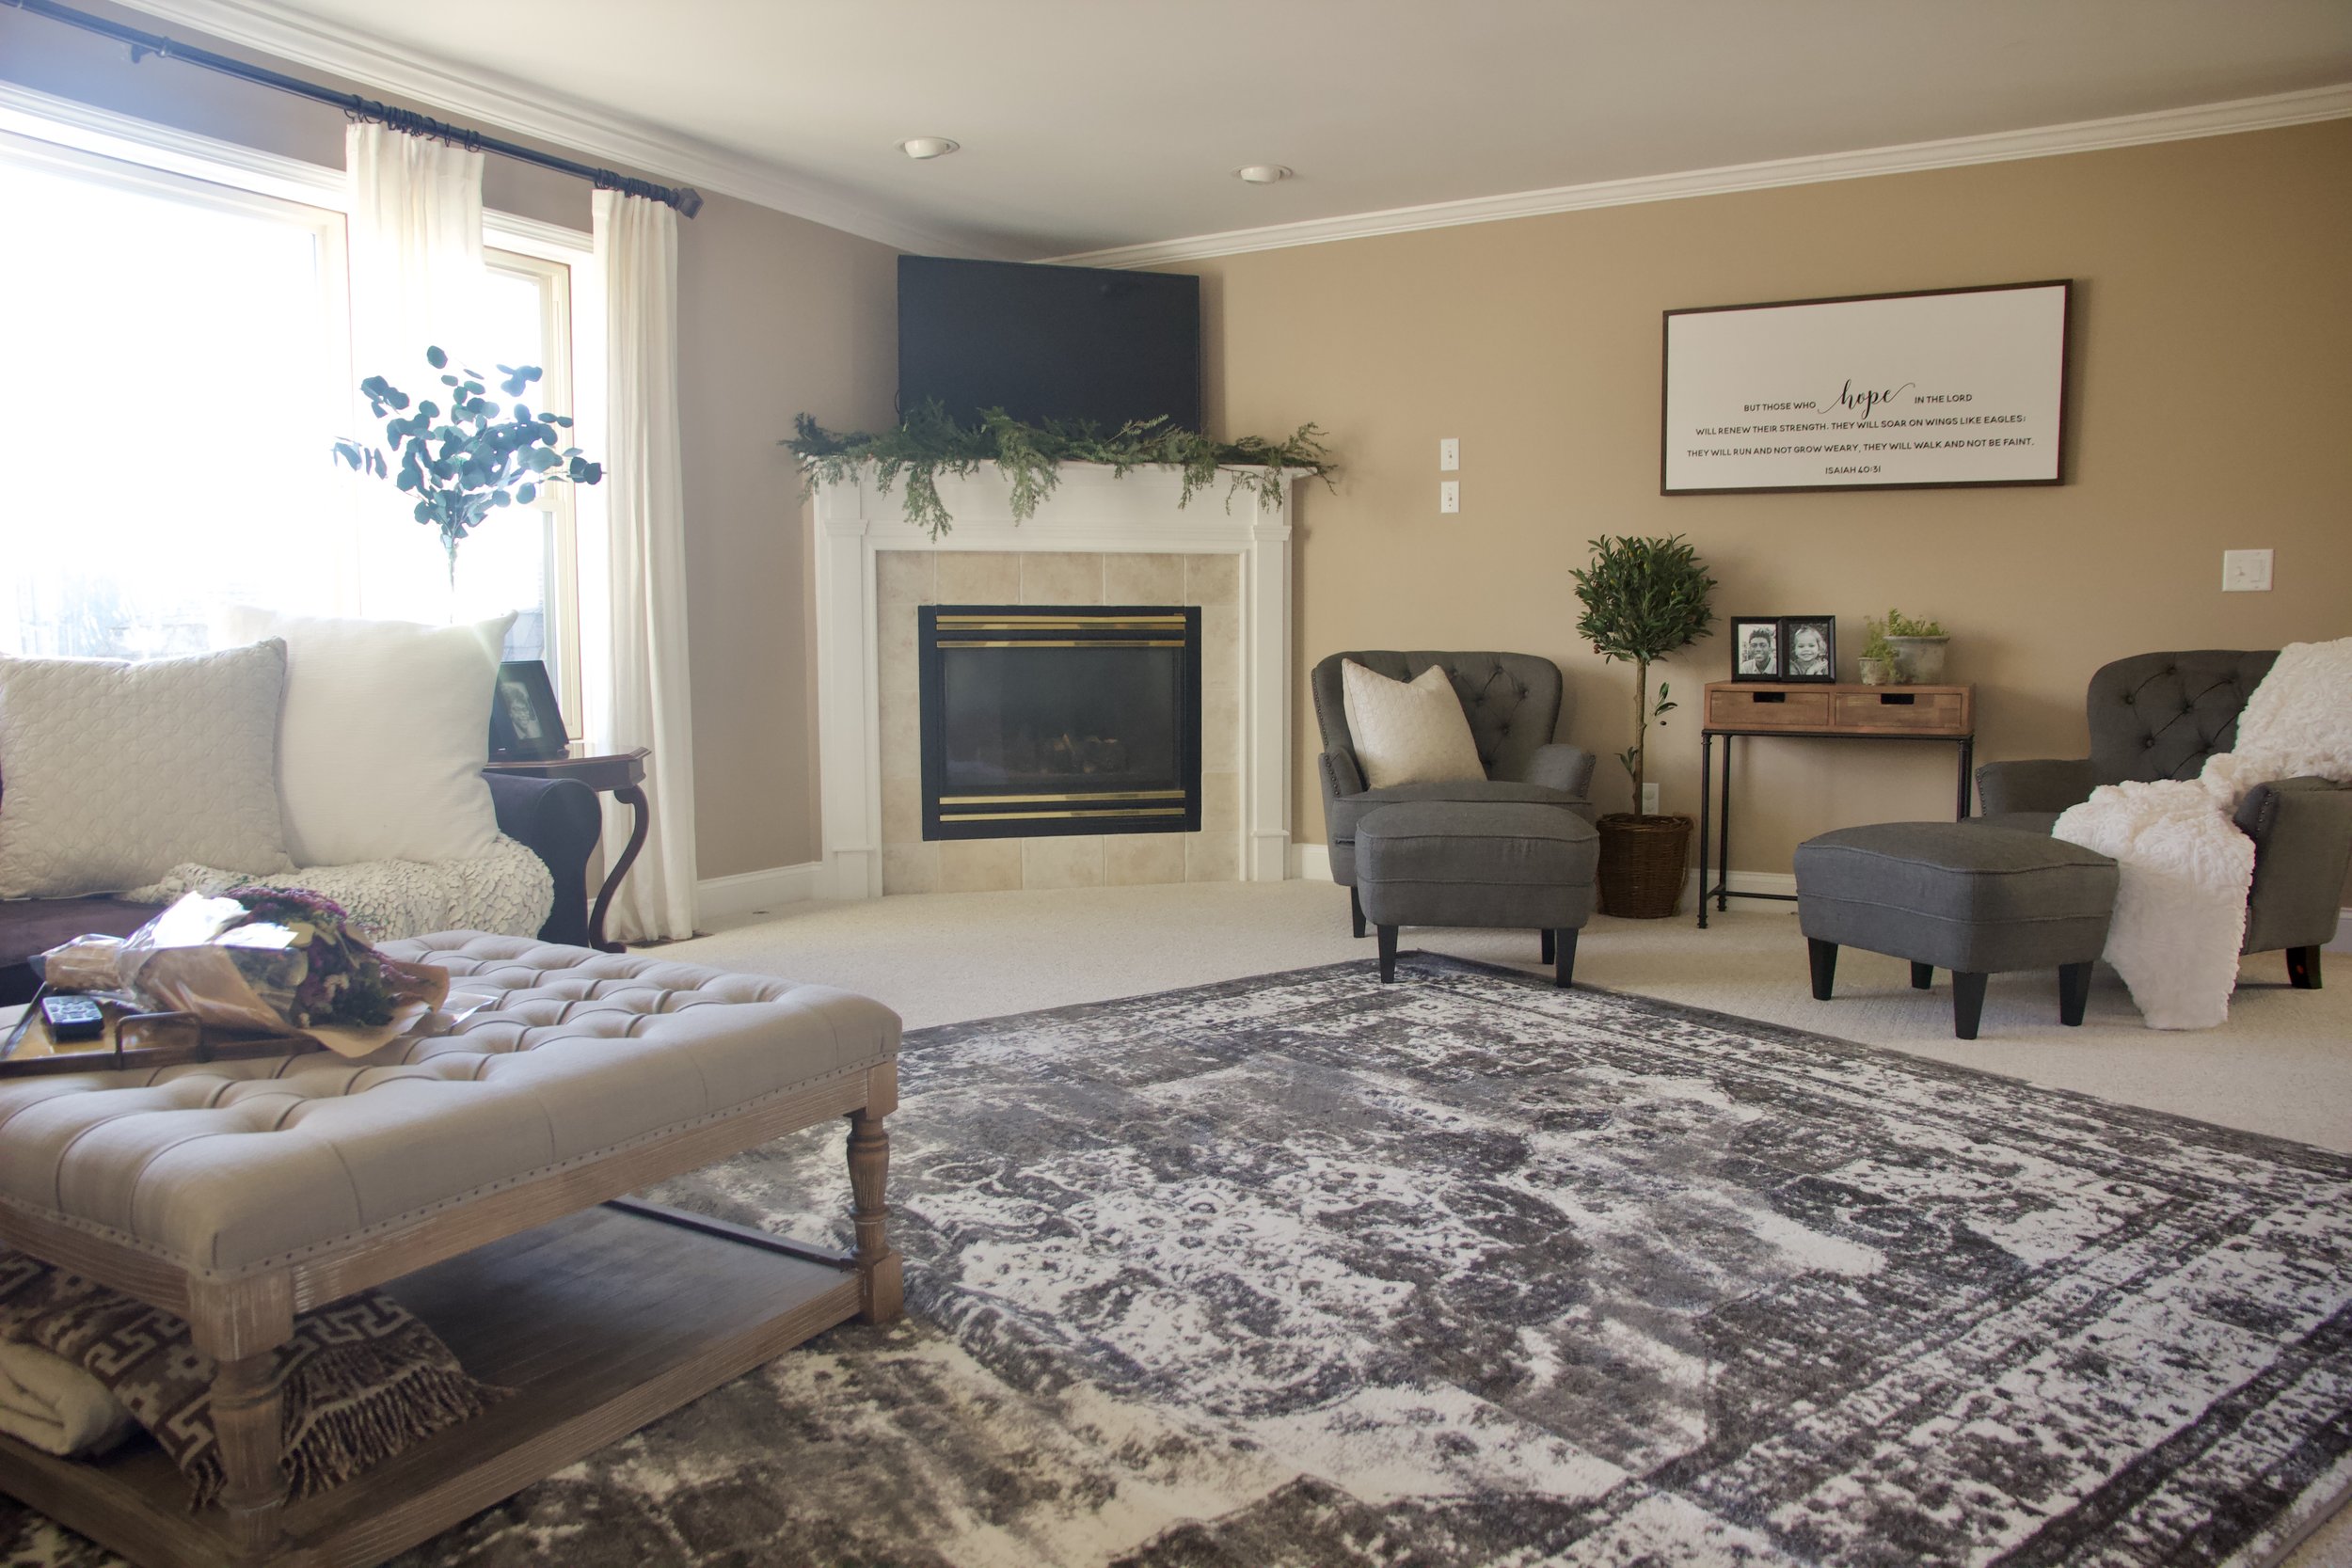
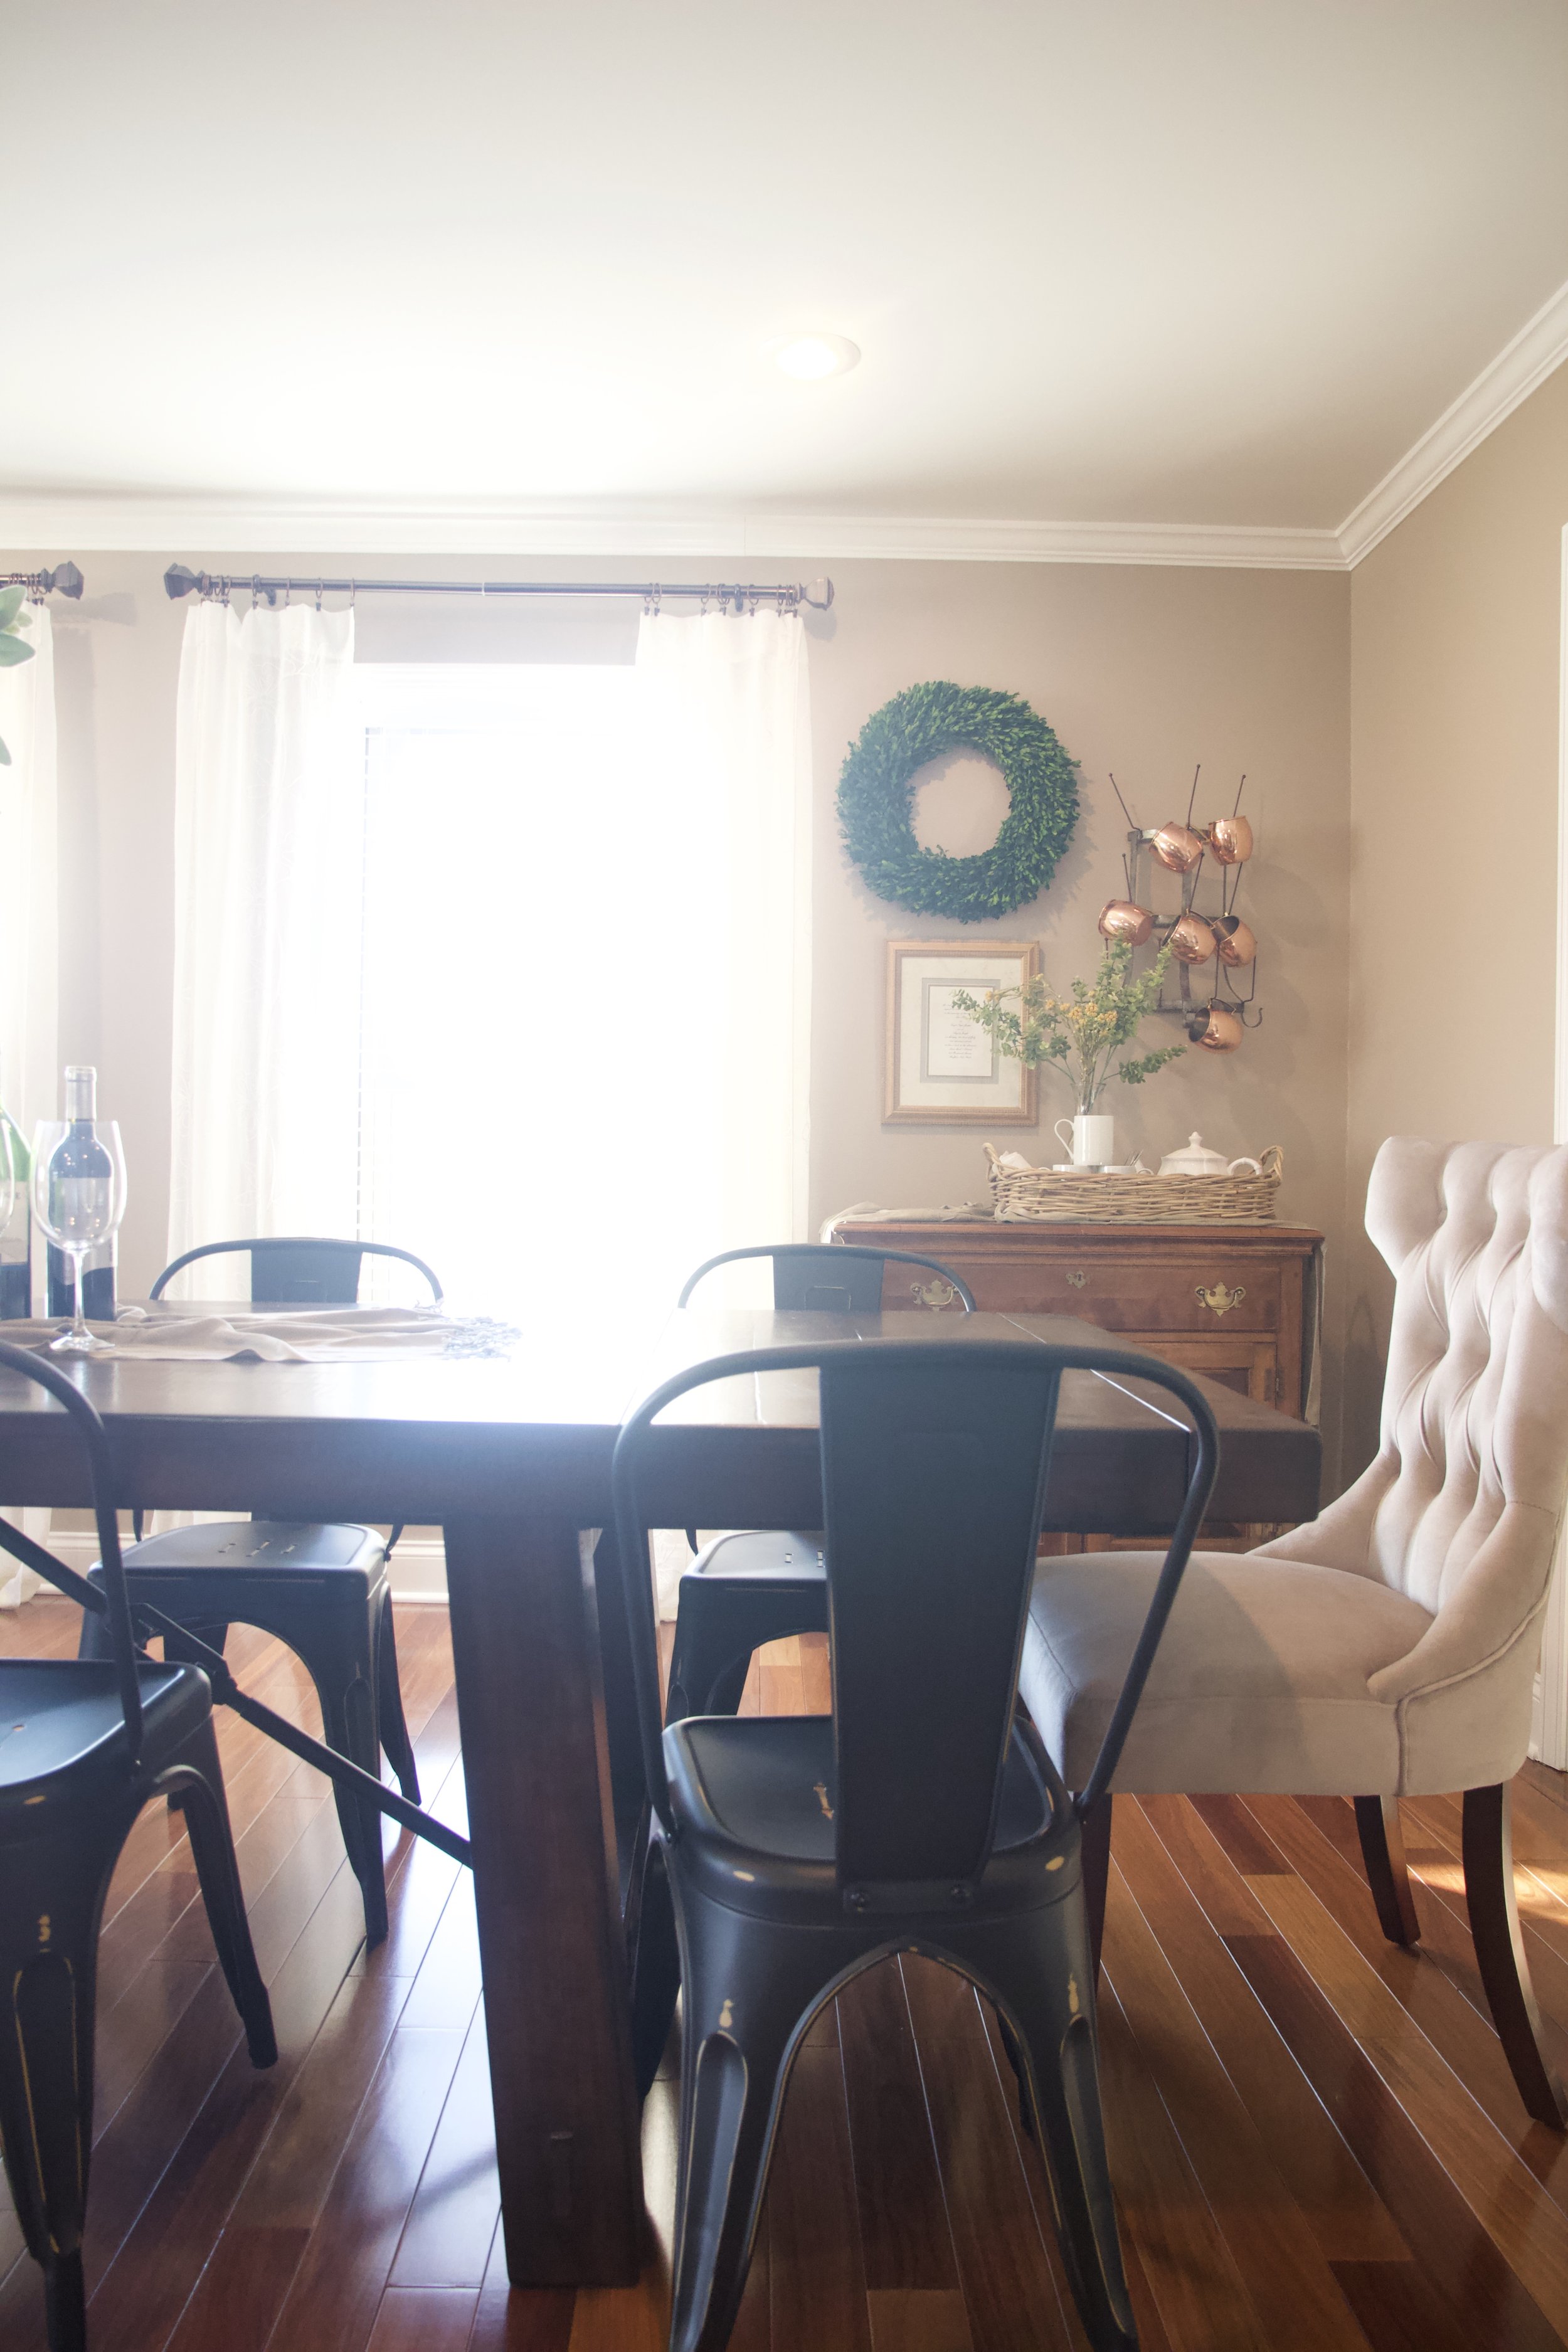
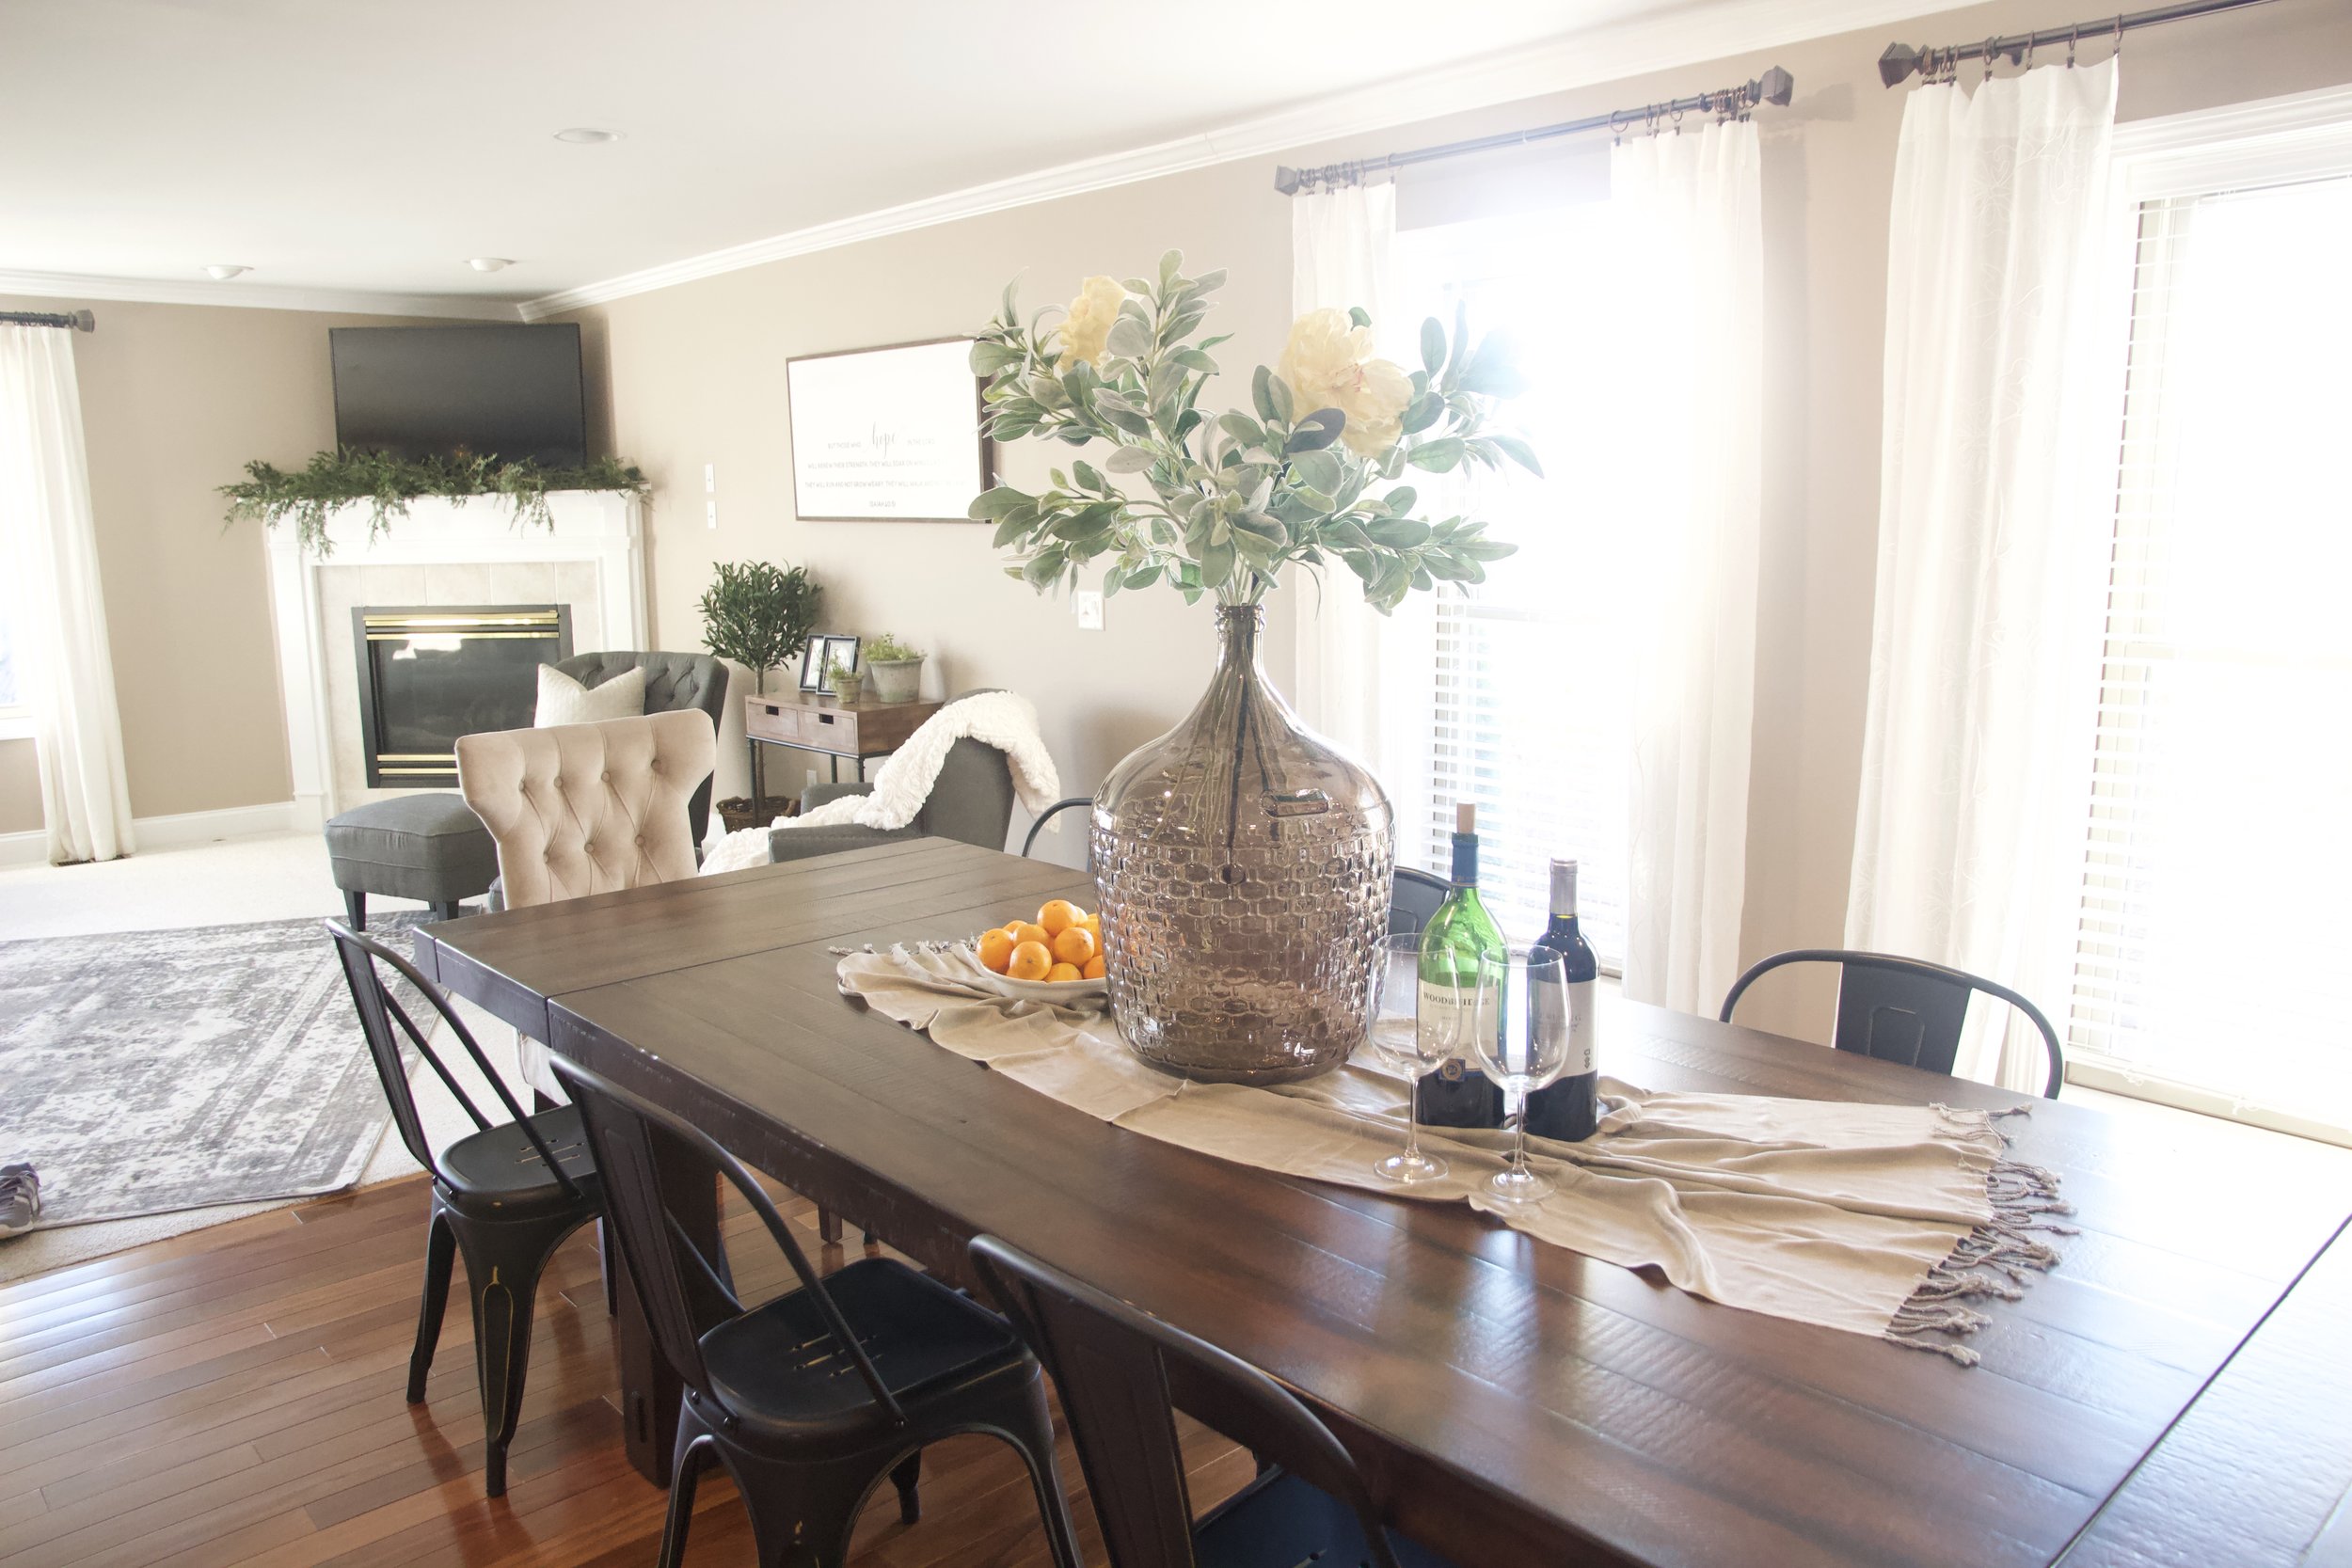
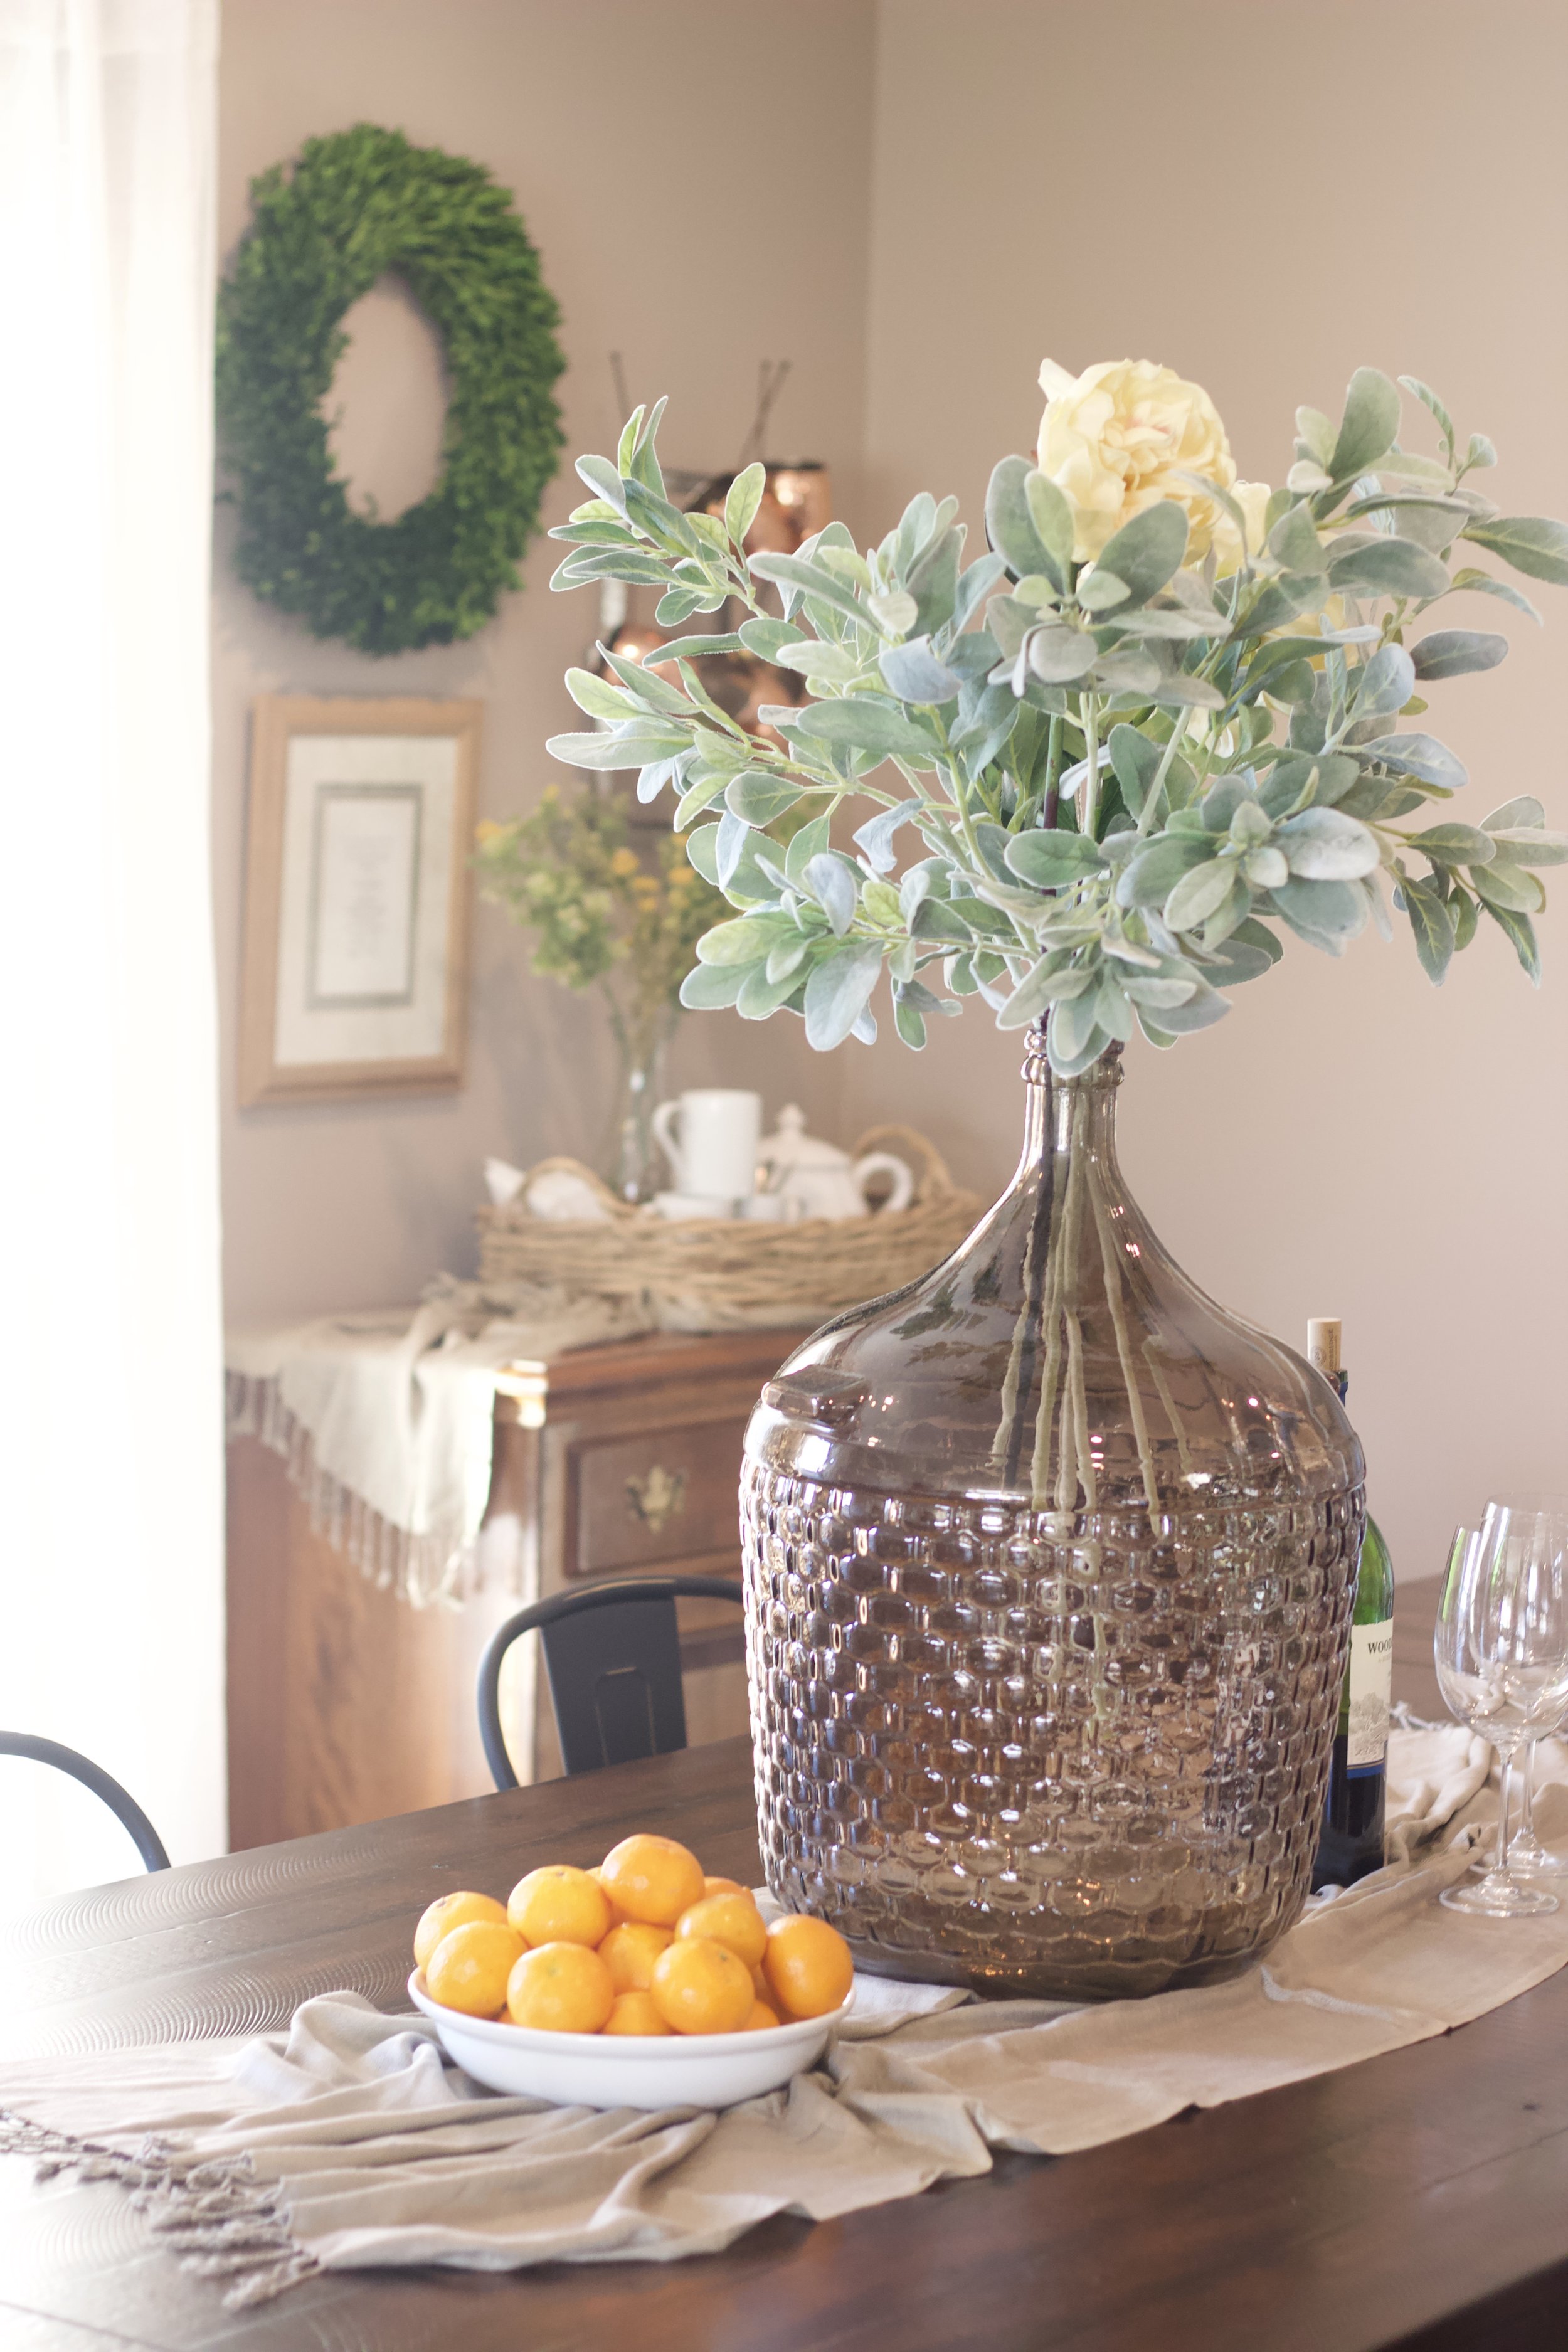
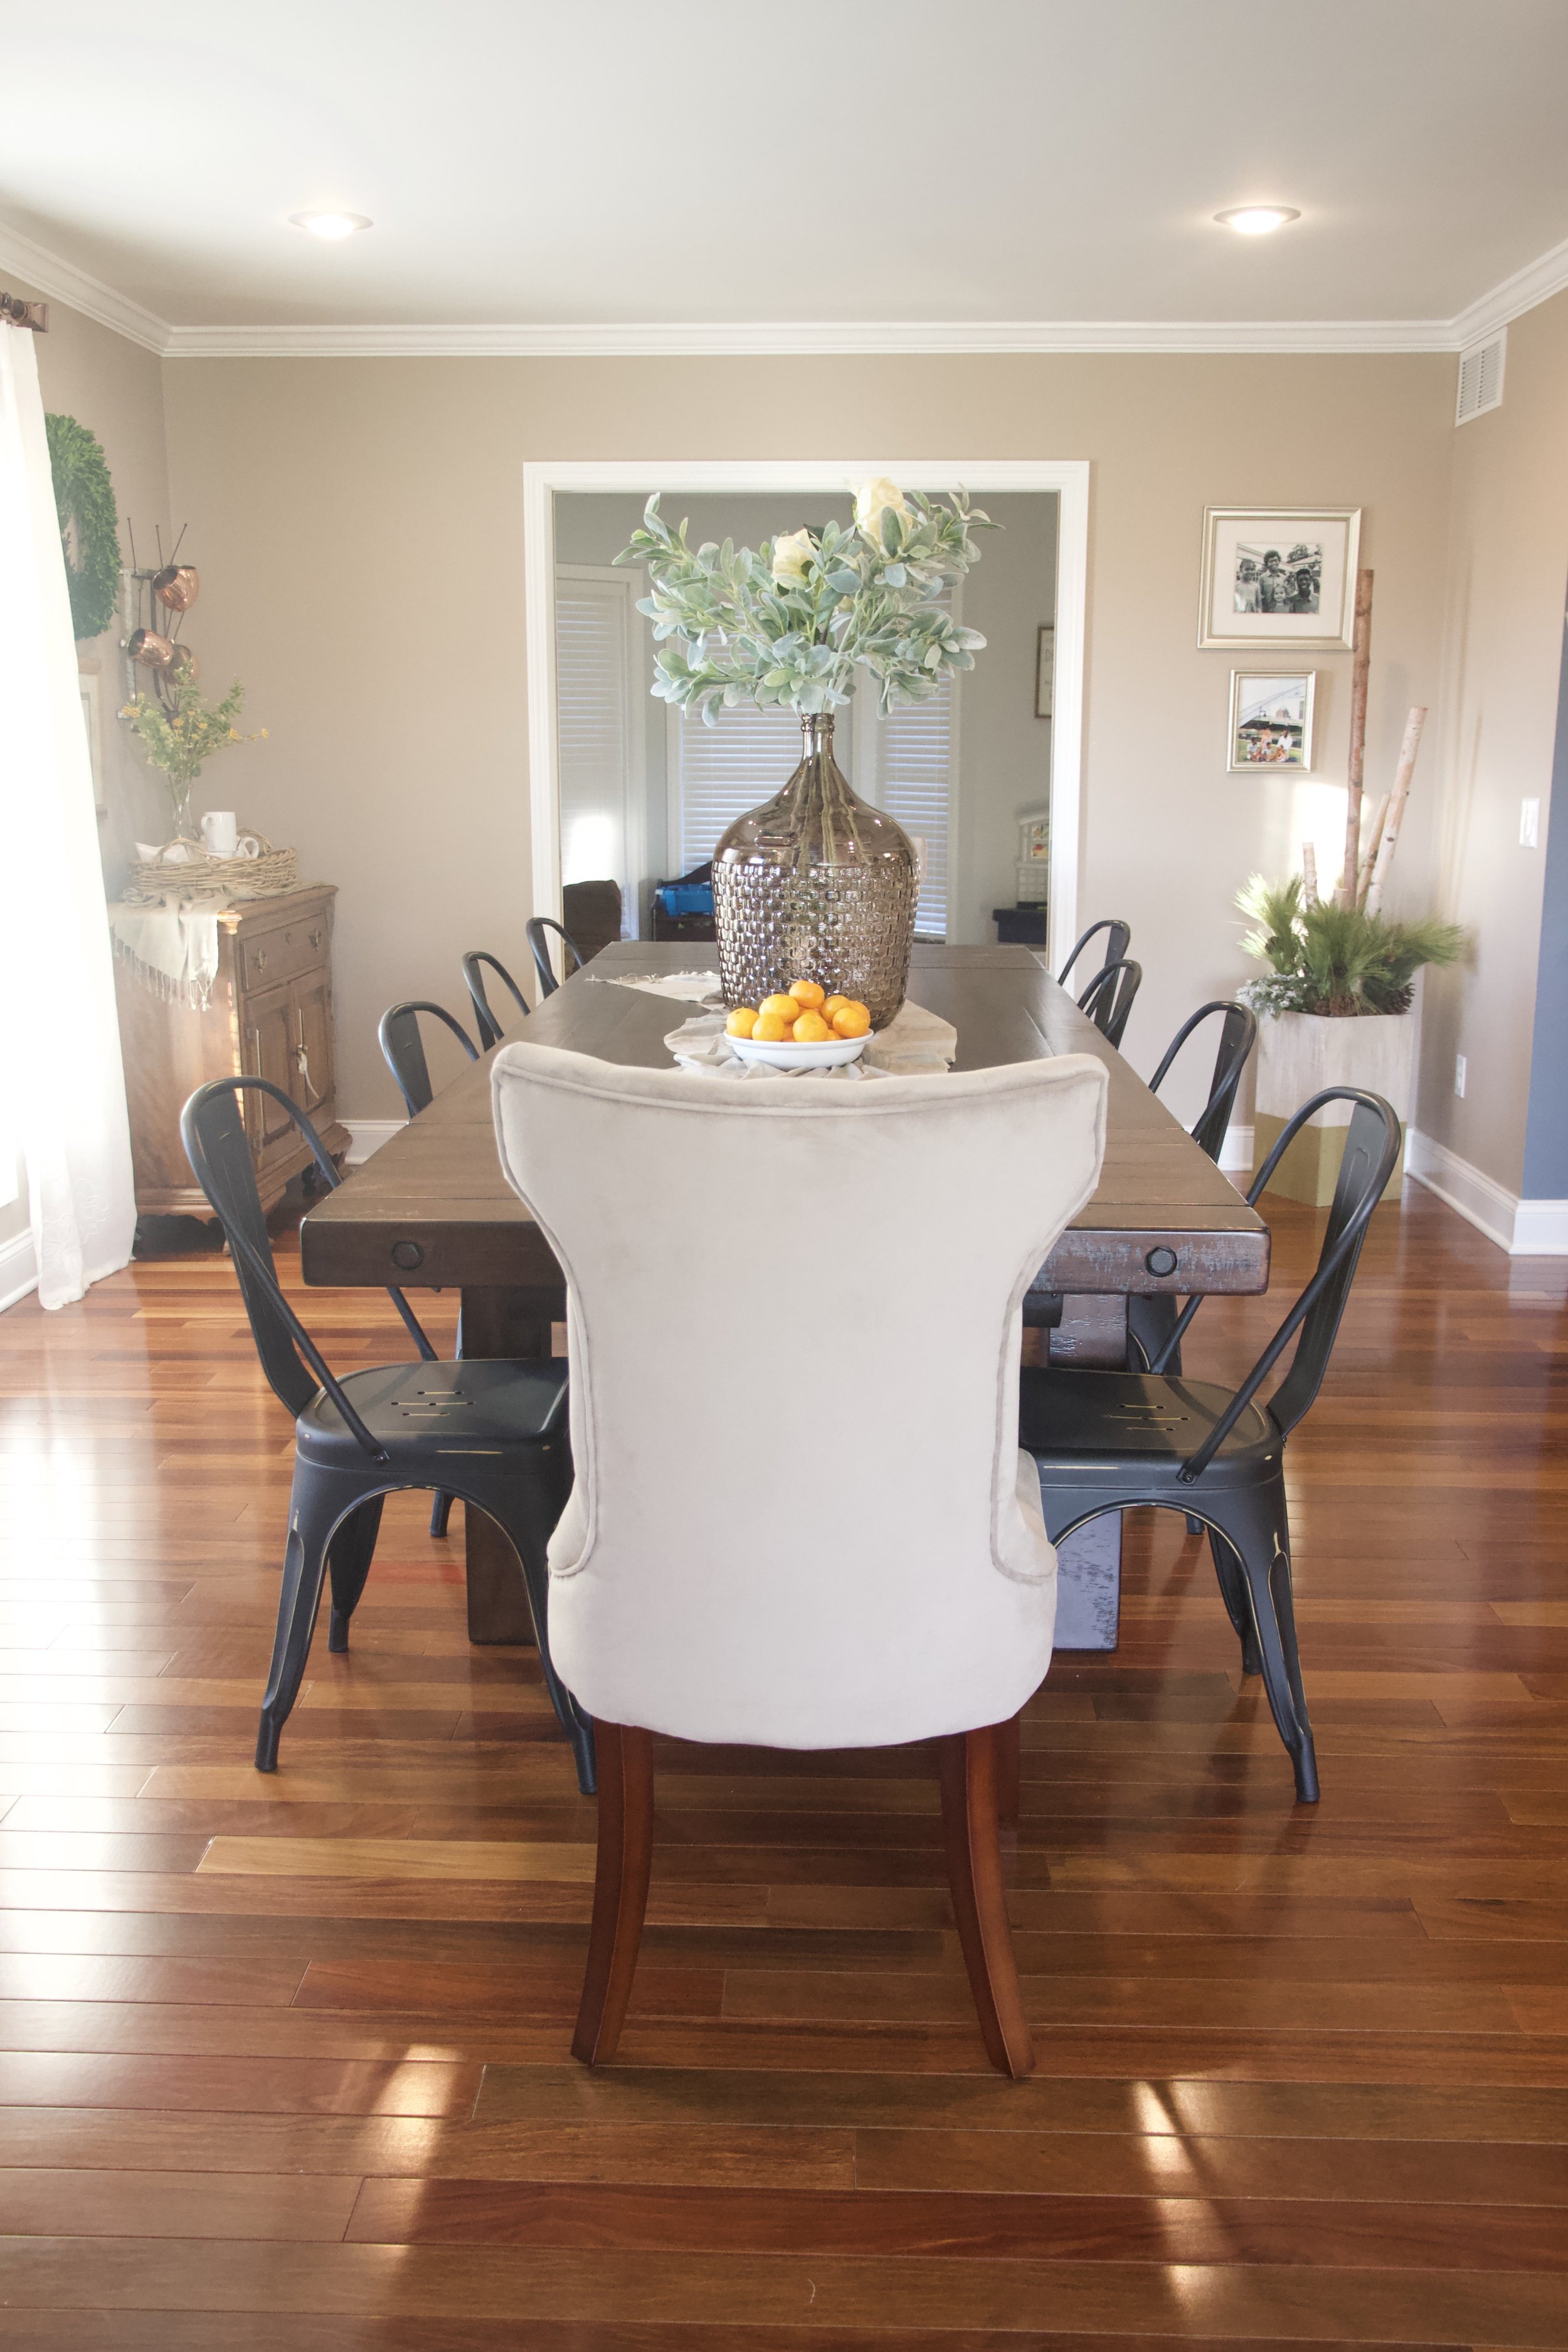
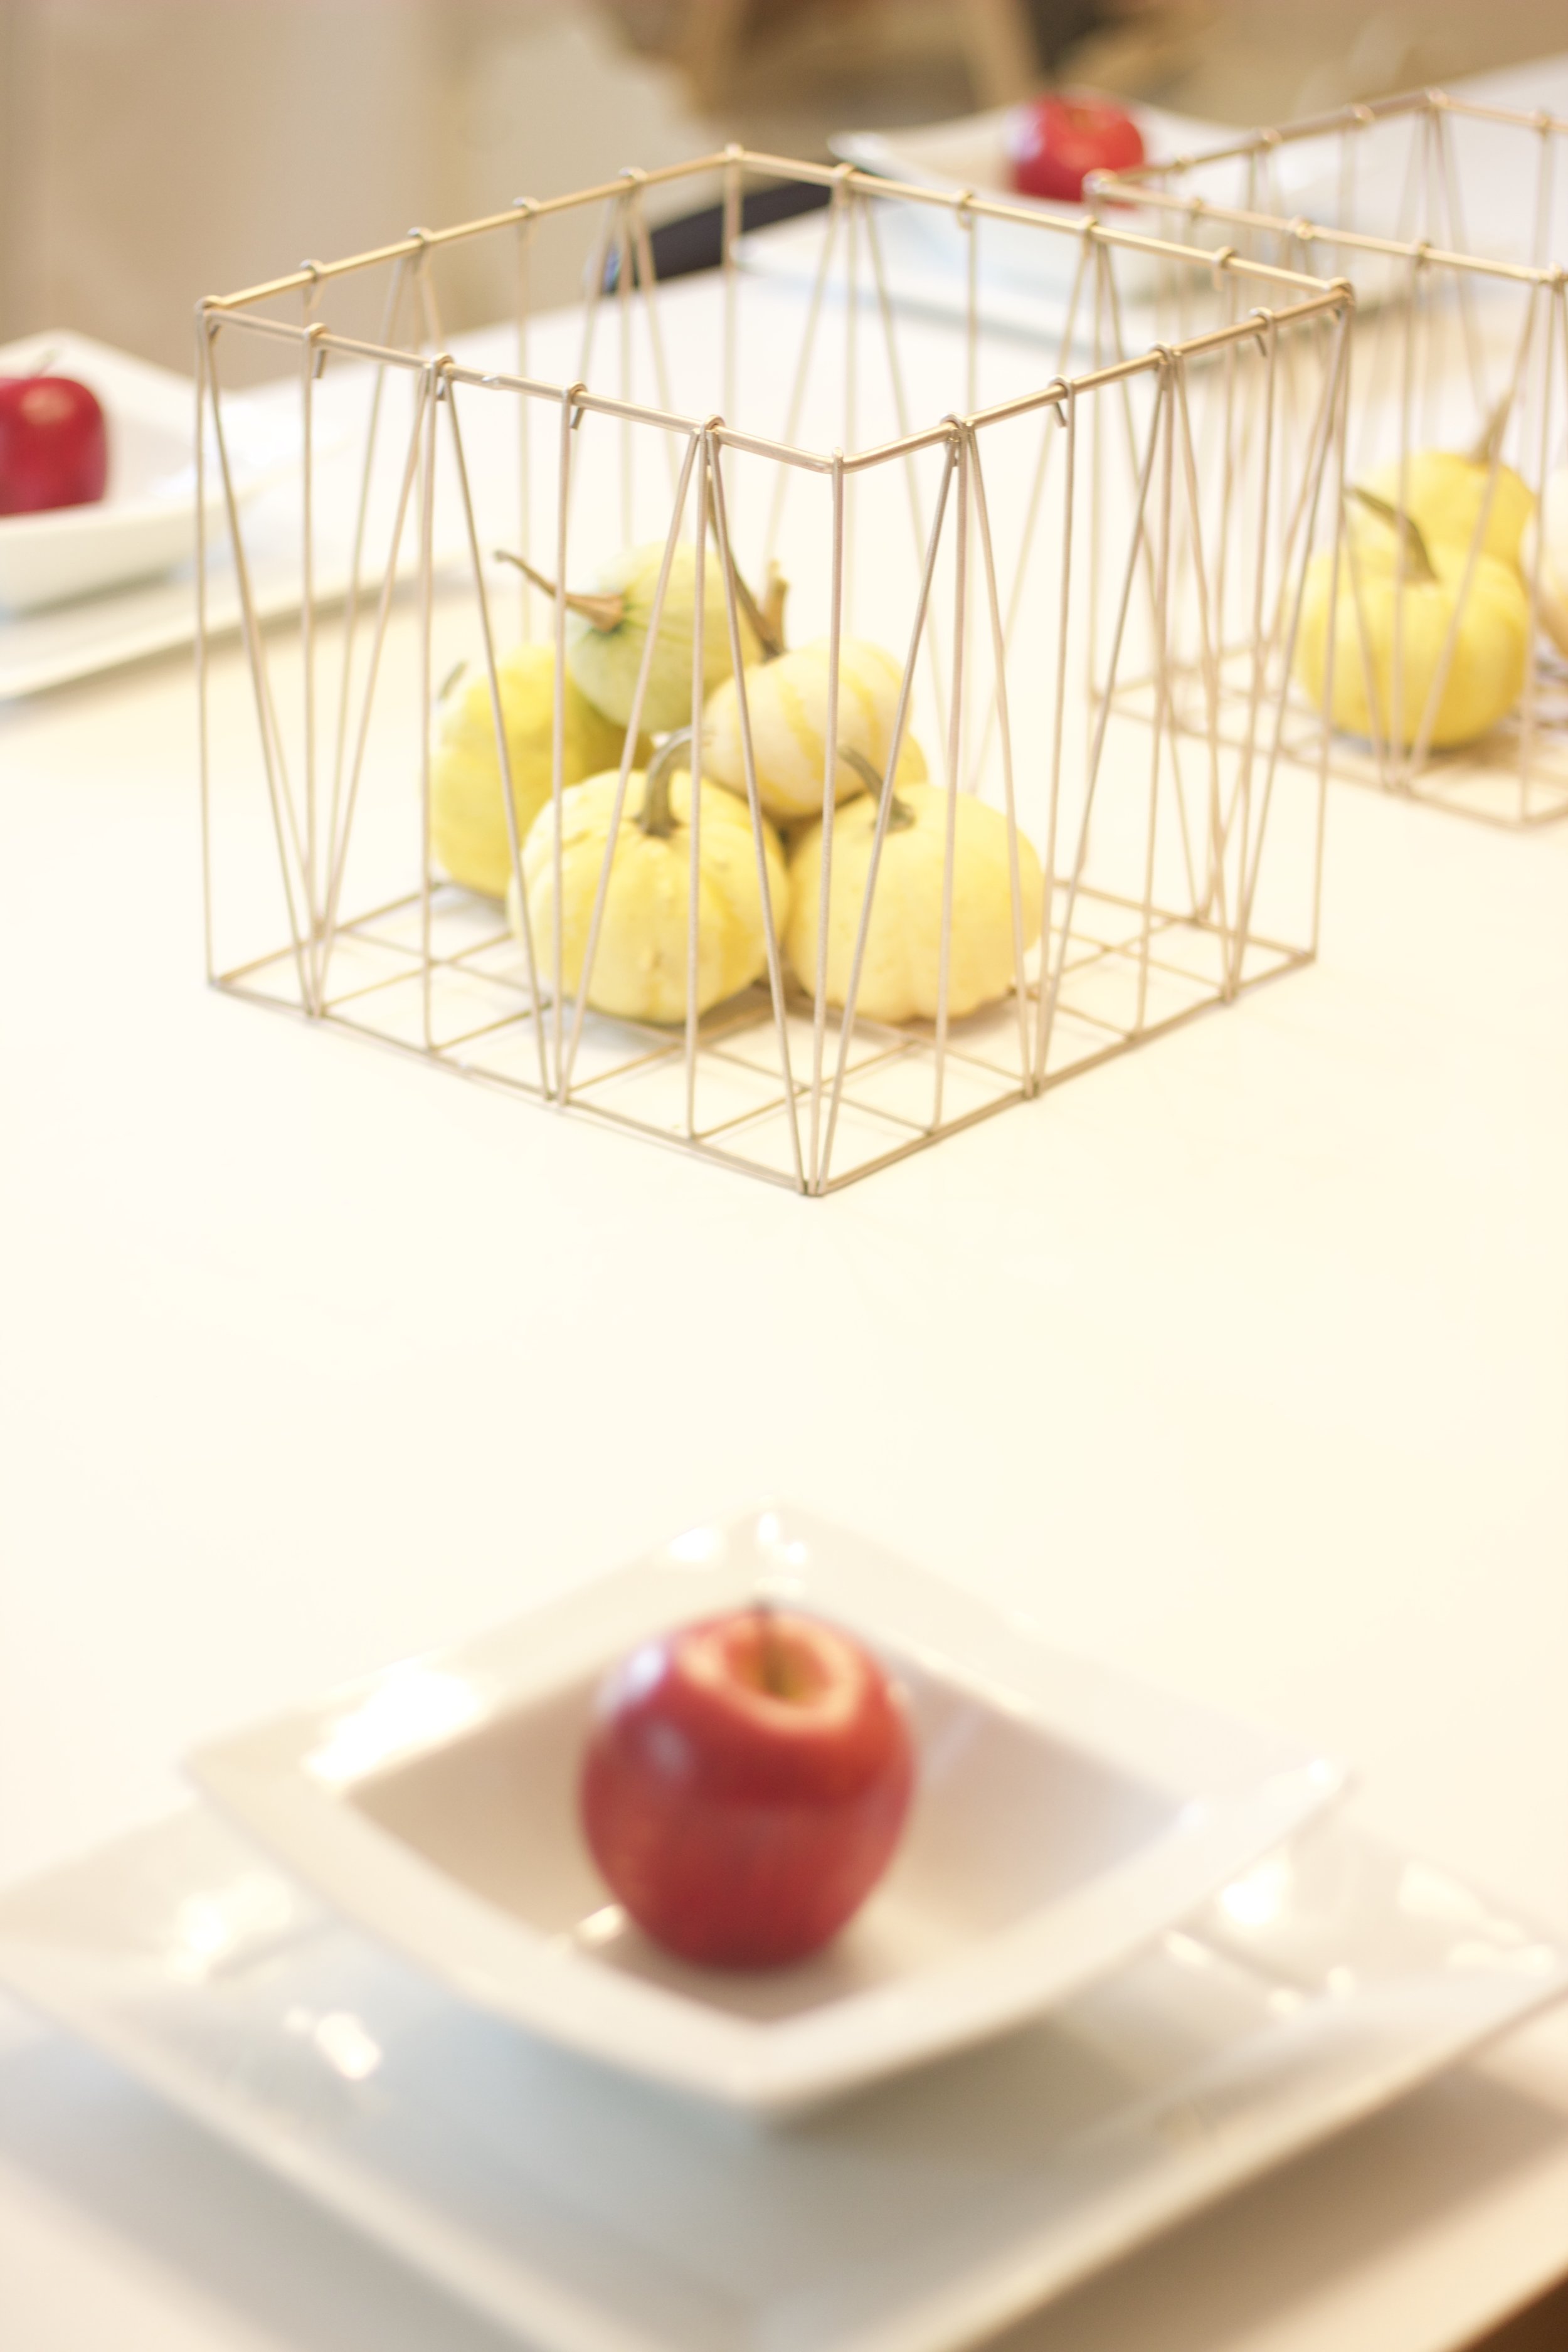
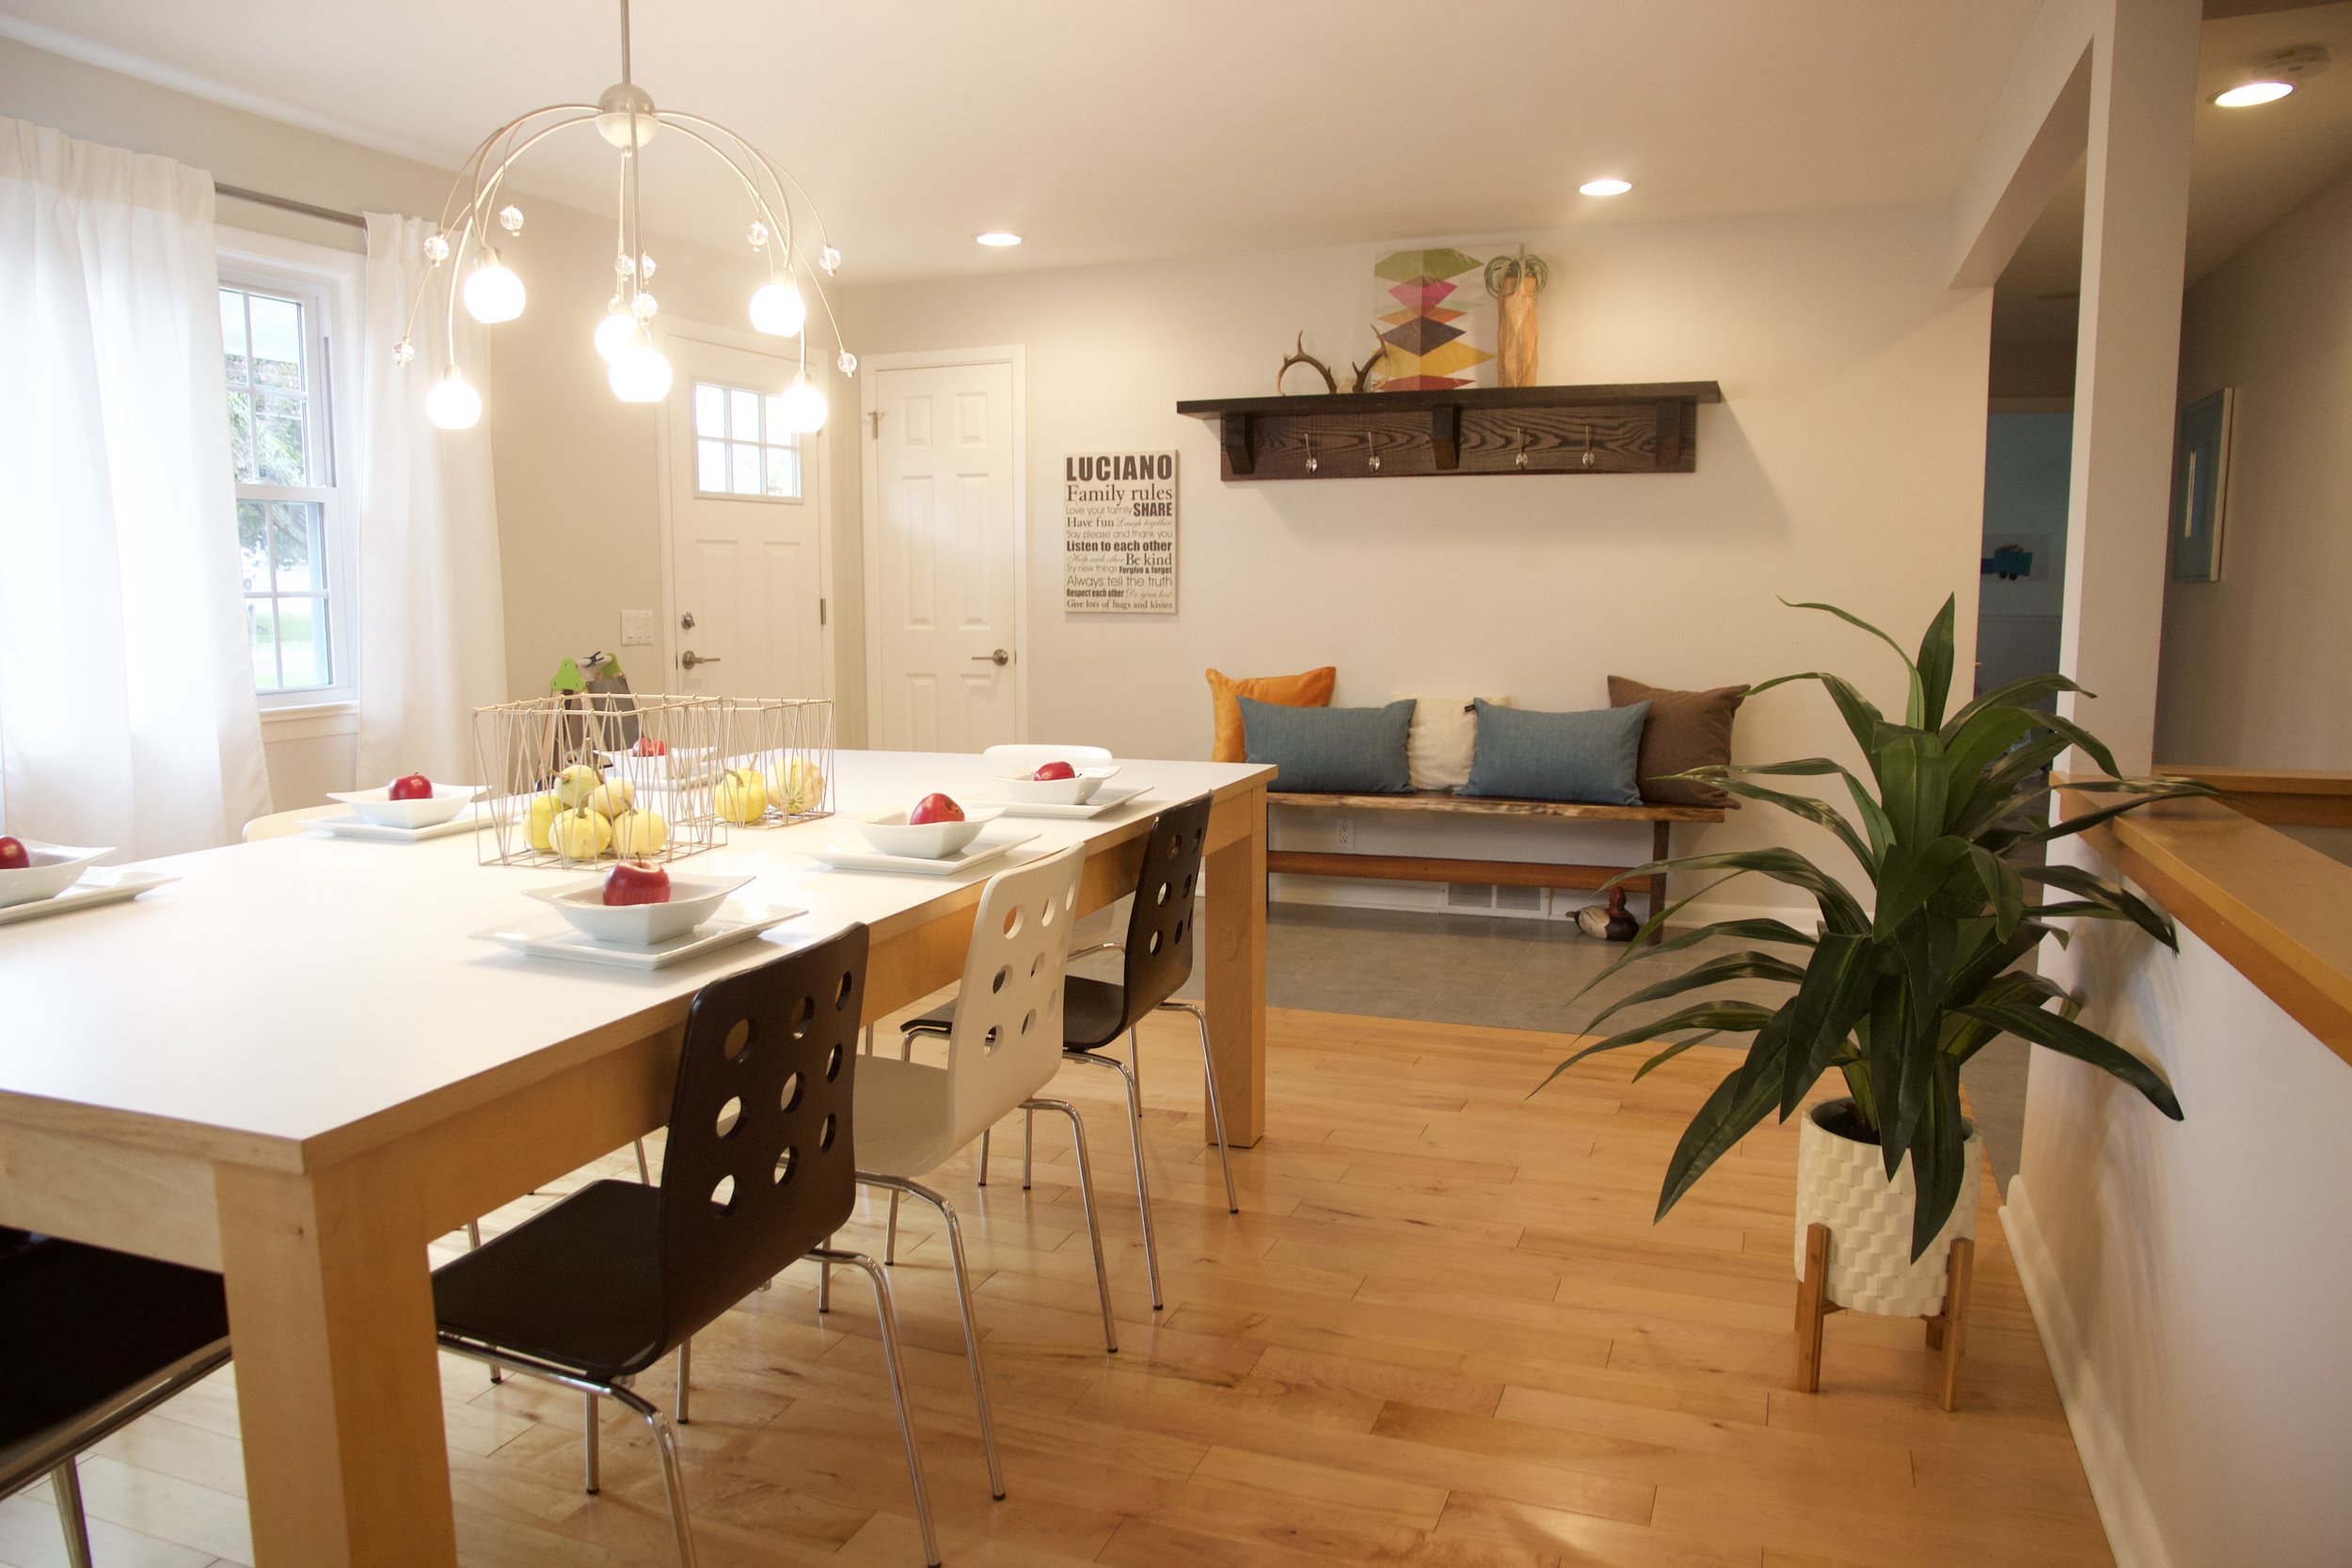
AFTER: We purchased a new table and chairs, a new sofa, two new recliners, all new rugs, accessories, and lighting. To help the budget, we used some existing pieces the homeowner had.

fullsizeoutput_3584.jpeg

AFTER: We moved the dining table towards the fireplace to make the room feel less oblong. New curtains, curtain rods, and art help define the spaces.

fullsizeoutput_3575.jpeg

AFTER:

fullsizeoutput_3578.jpeg

AFTER:

fullsizeoutput_3583.jpeg

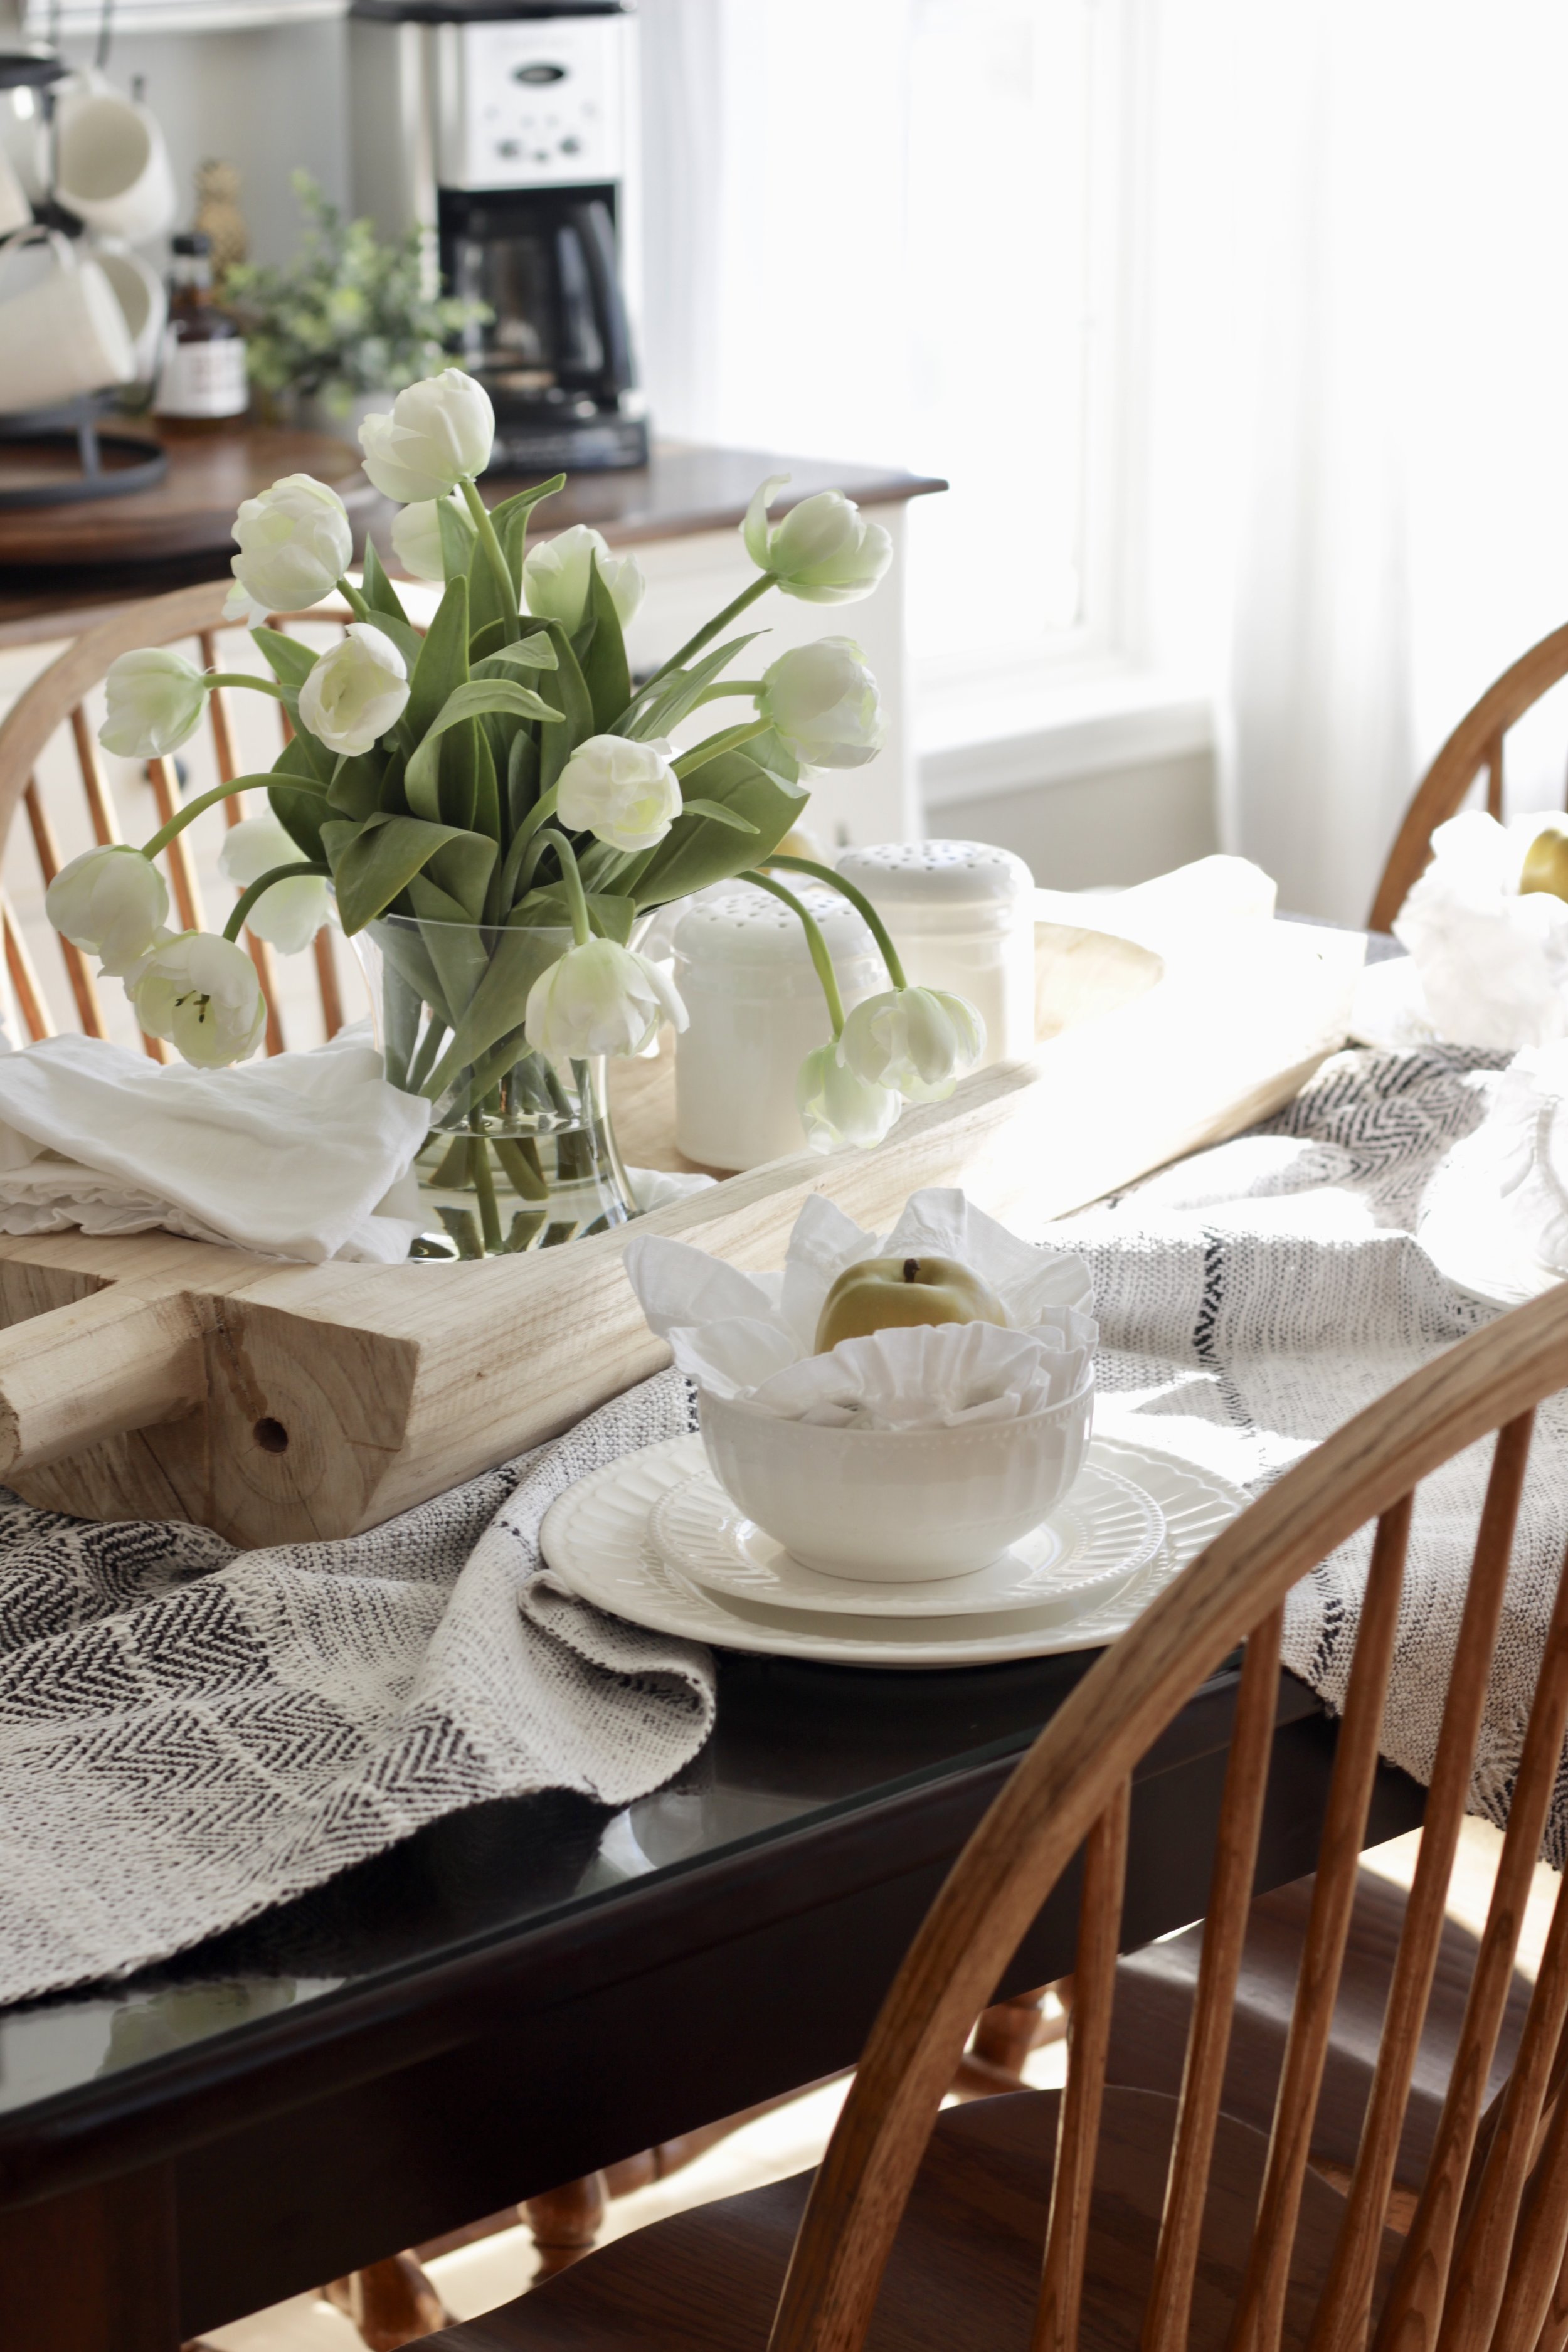
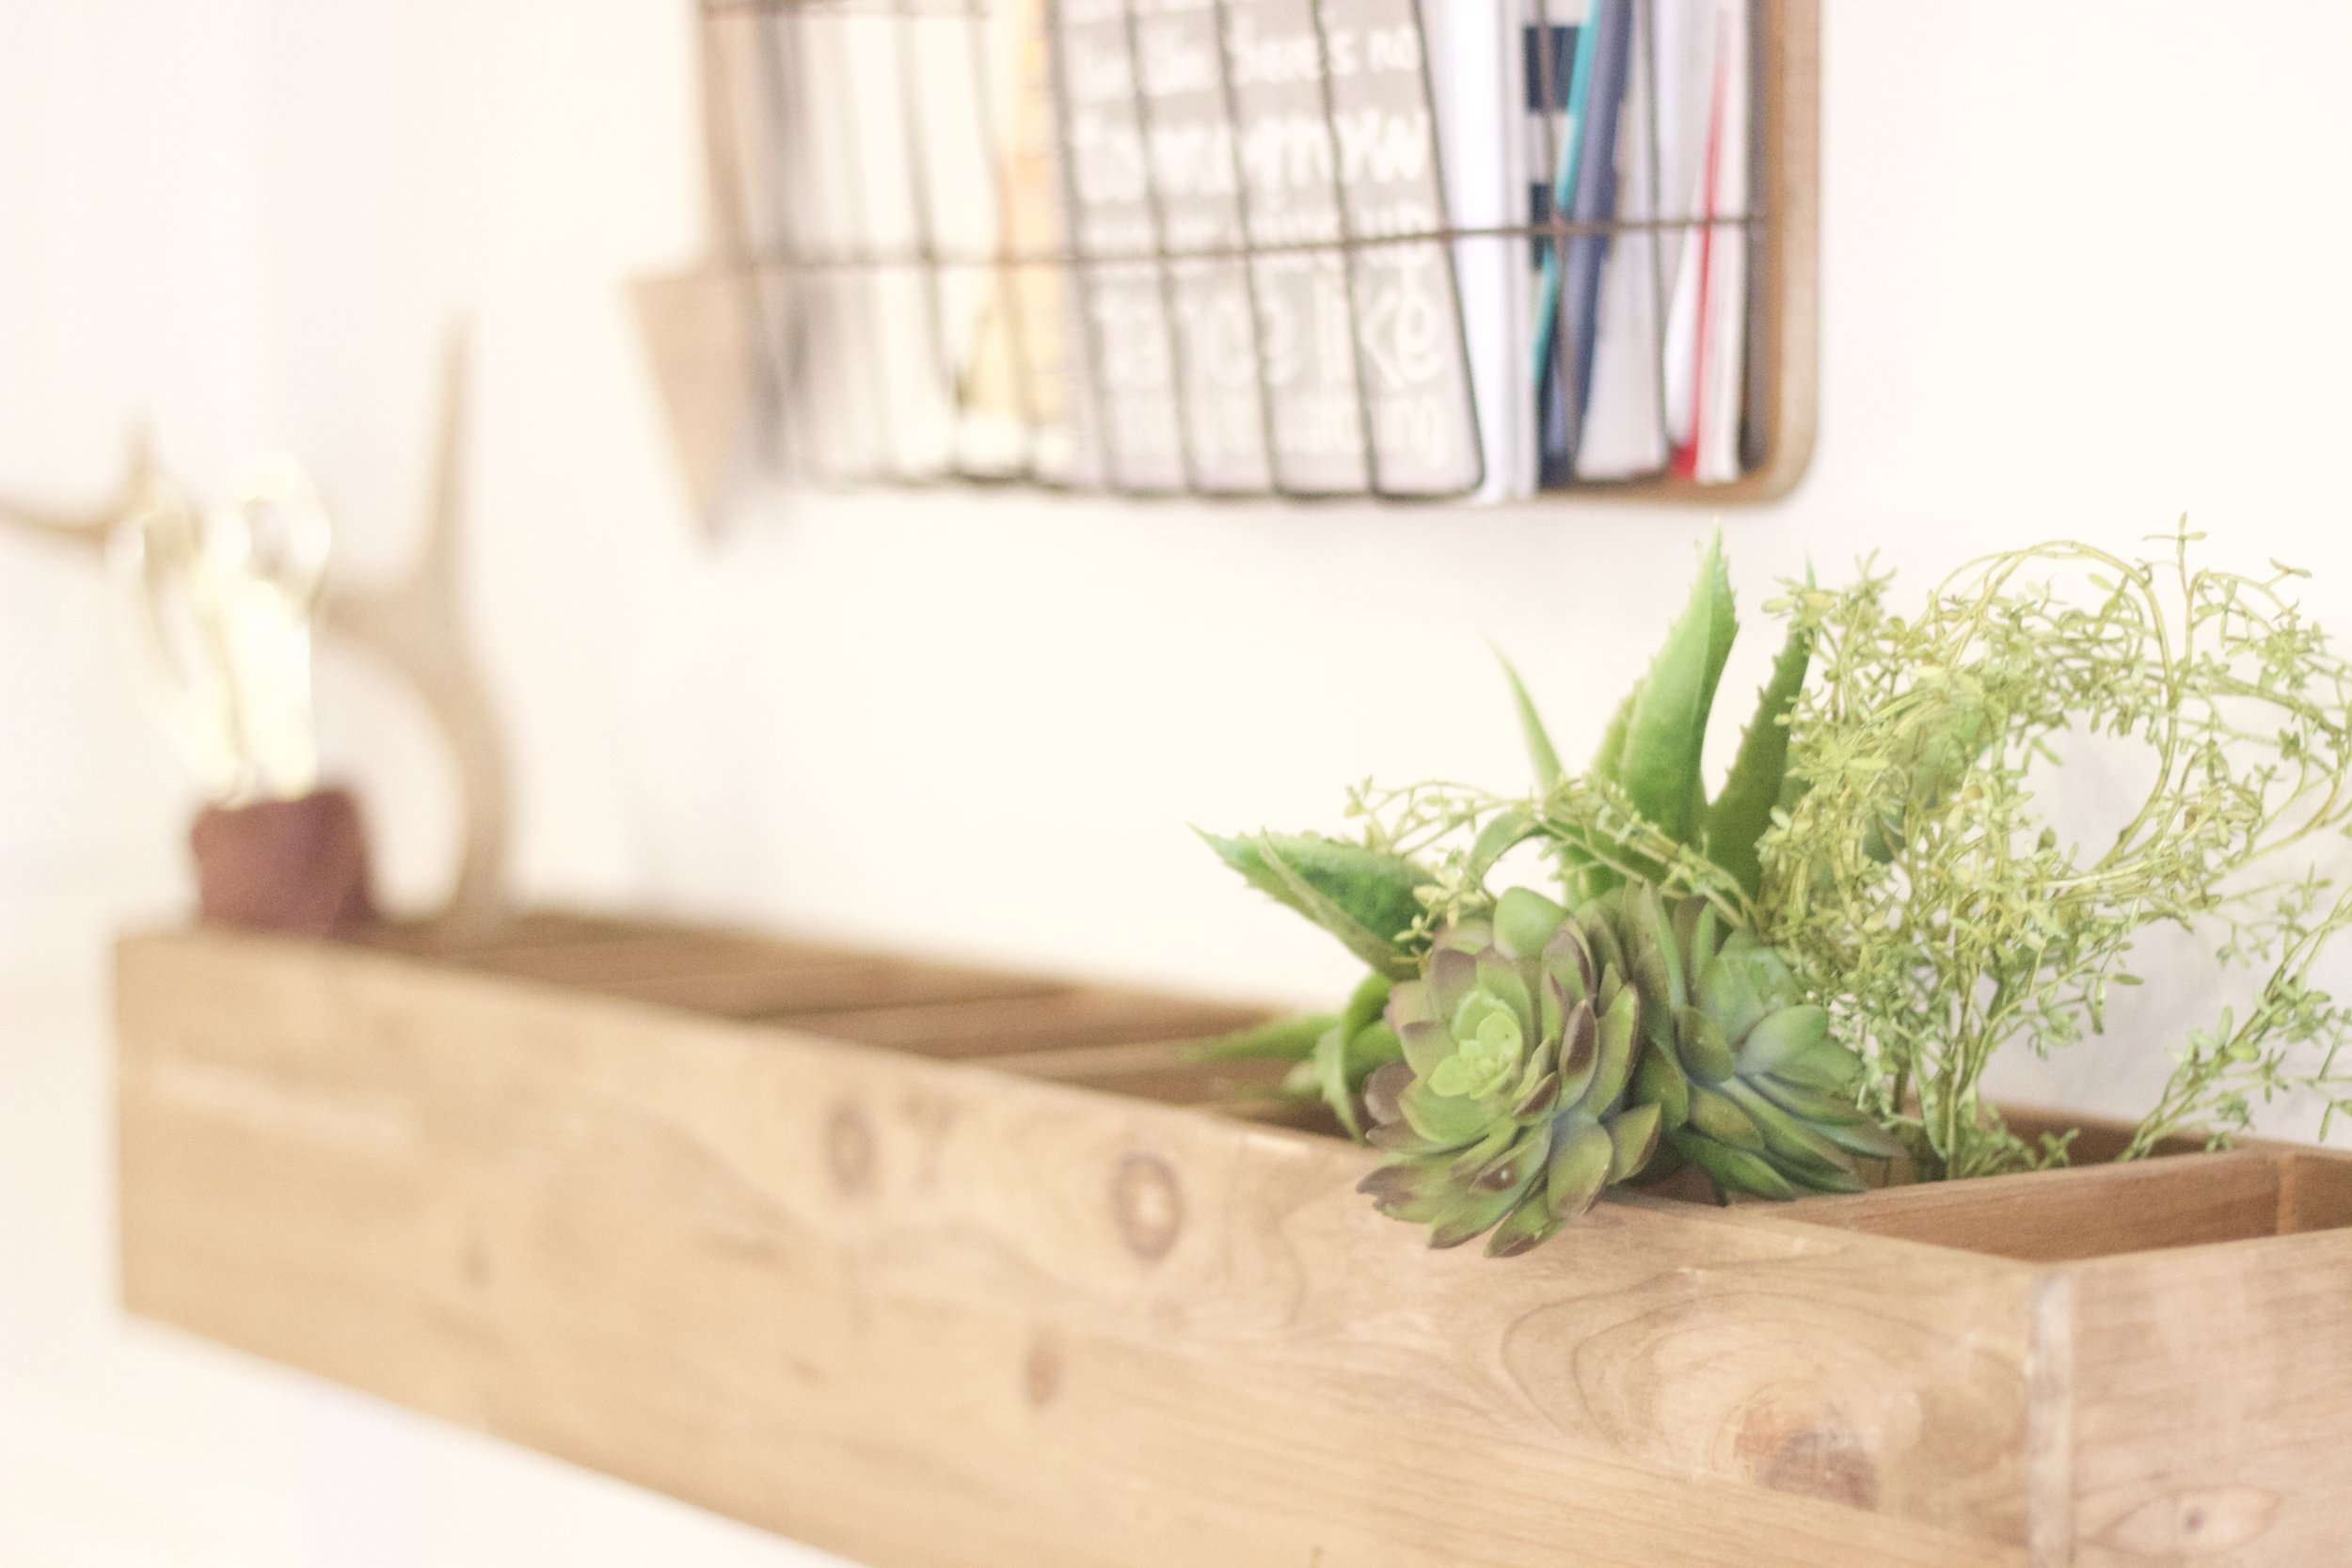
AFTER: We had to get creative for the breakfast bar, especially since new countertops weren’t in the budget. An antique barn board with fun brackets extends the kitchen area so that the couple can comfortably recline during food prep.

fullsizeoutput_3588.jpg

AFTER:

fullsizeoutput_3584.jpeg

AFTER:

fullsizeoutput_3580.jpeg

AFTER:

fullsizeoutput_357b.jpeg

AFTER:

IMG_8373.JPG

AFTER:

fullsizeoutput_3589.jpeg

AFTER:

fullsizeoutput_357e.jpeg

AFTER:

fullsizeoutput_357d.jpeg

AFTER:

fullsizeoutput_3573.jpeg

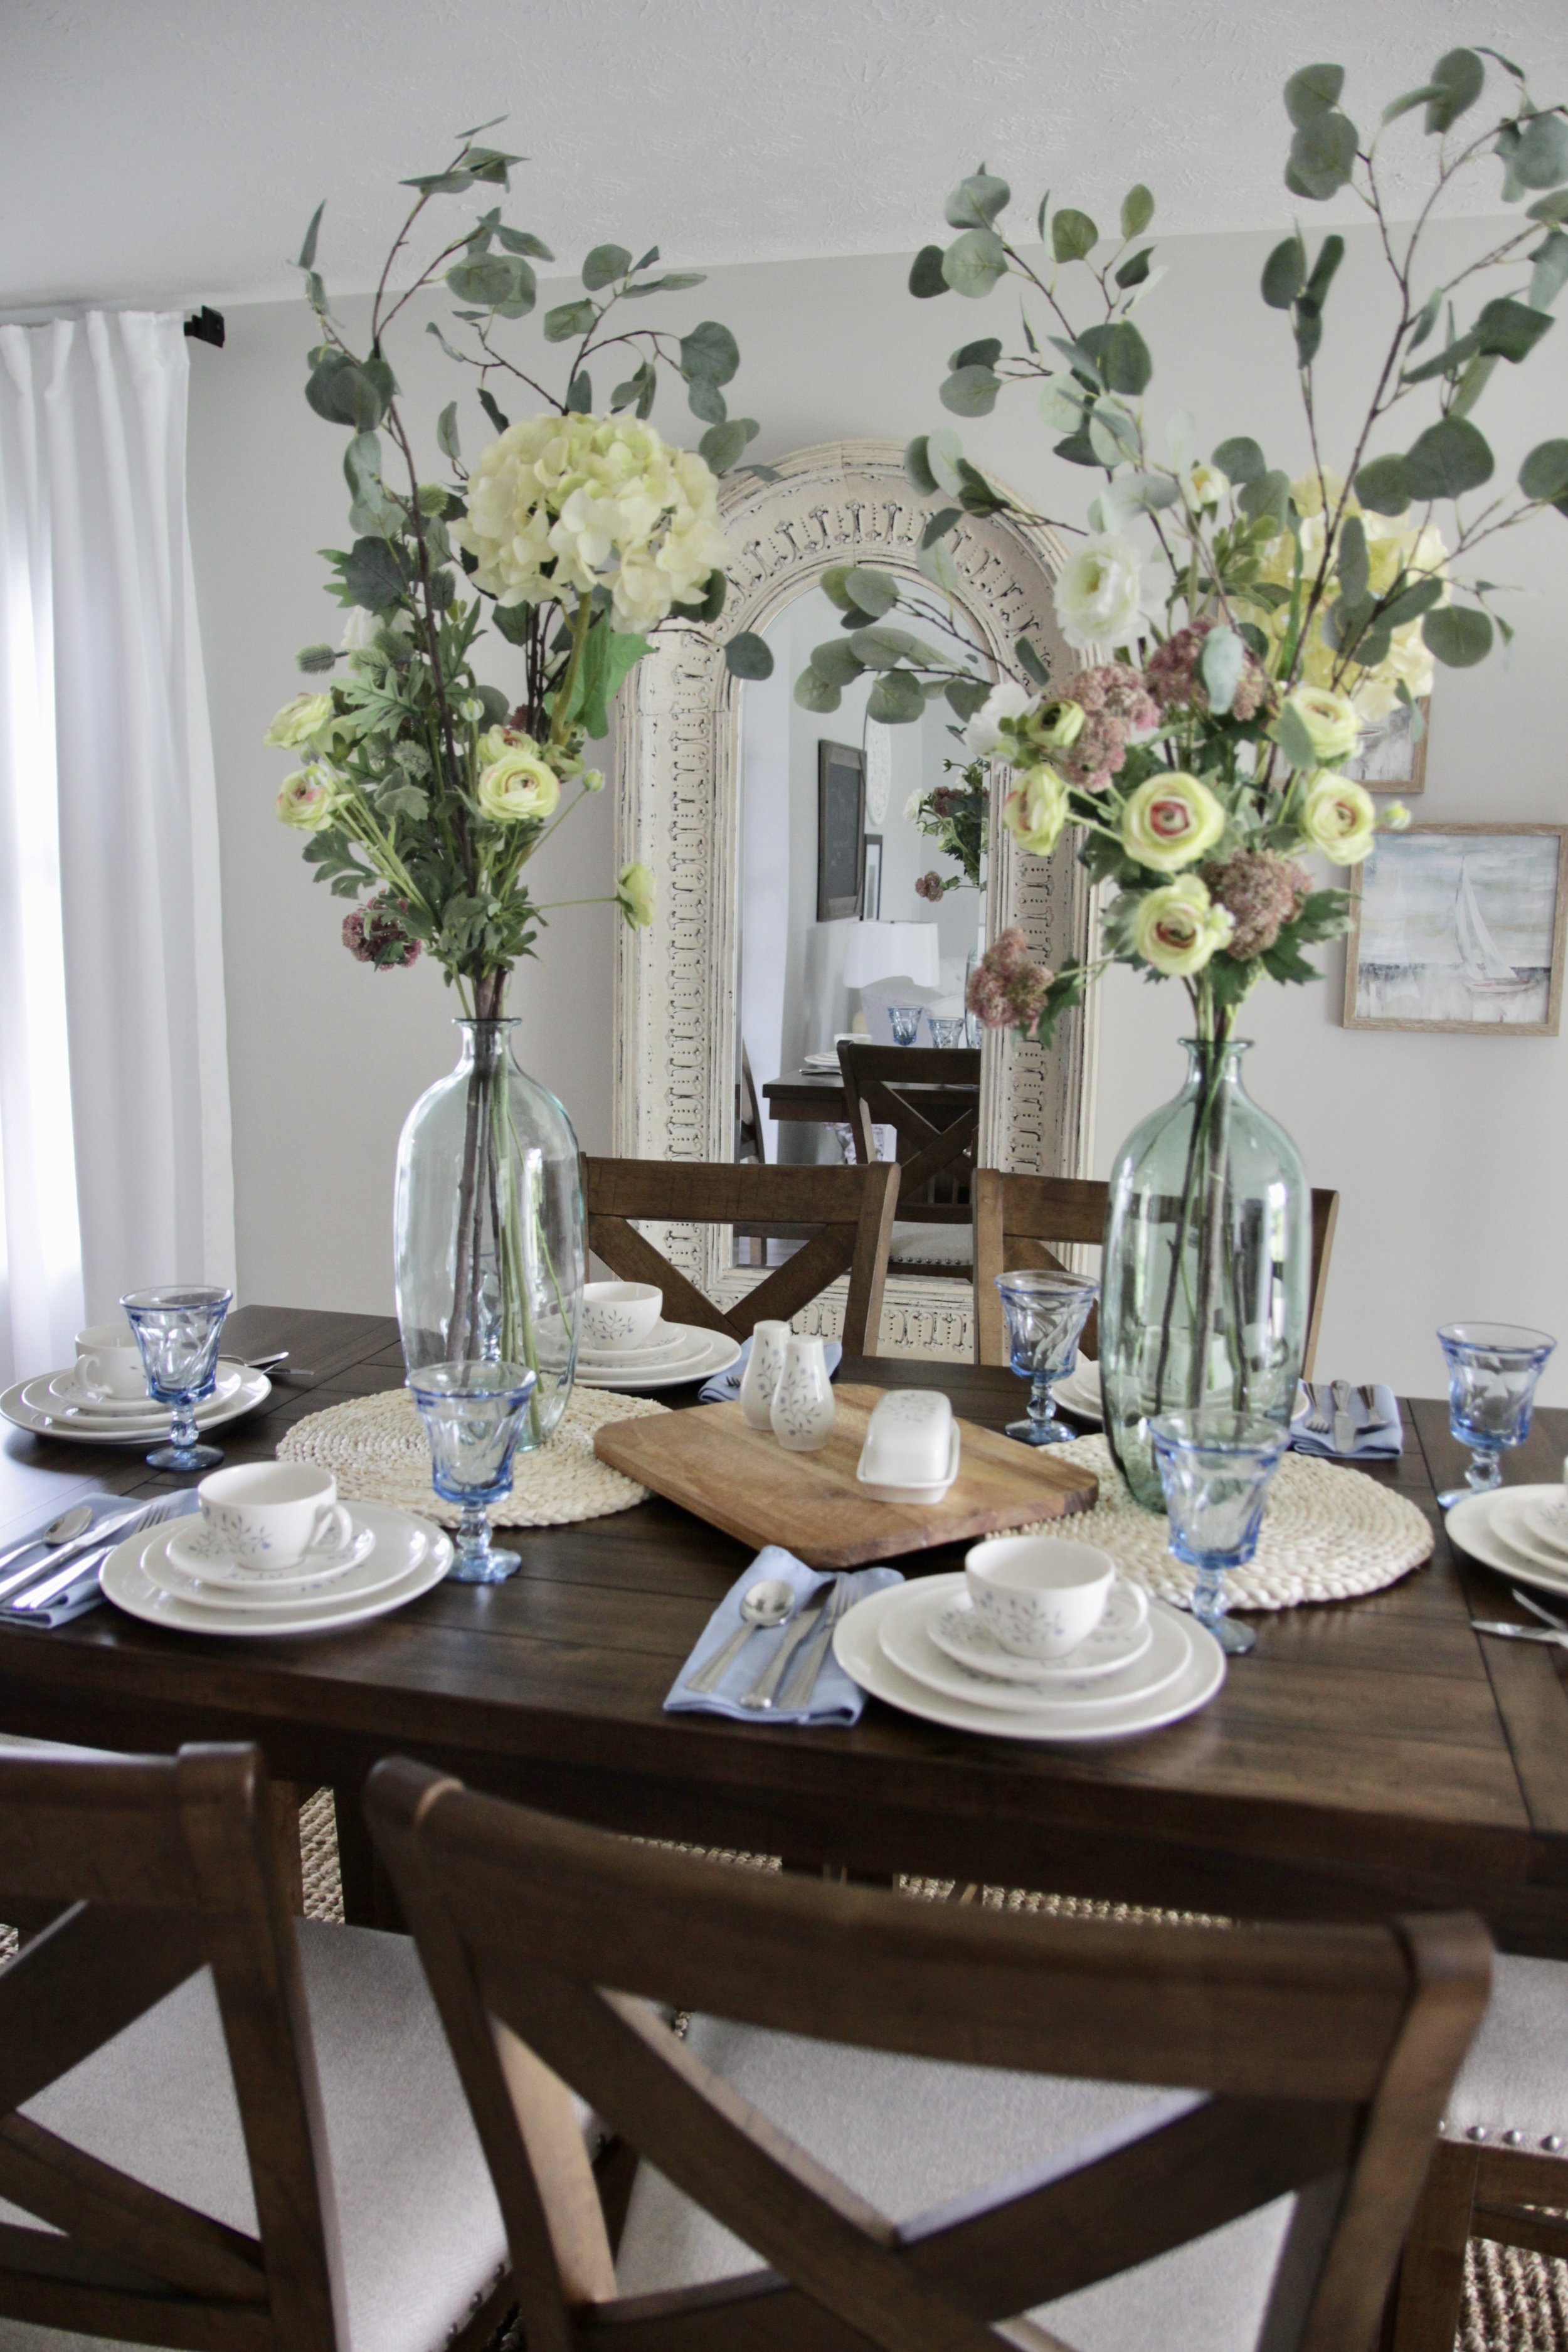
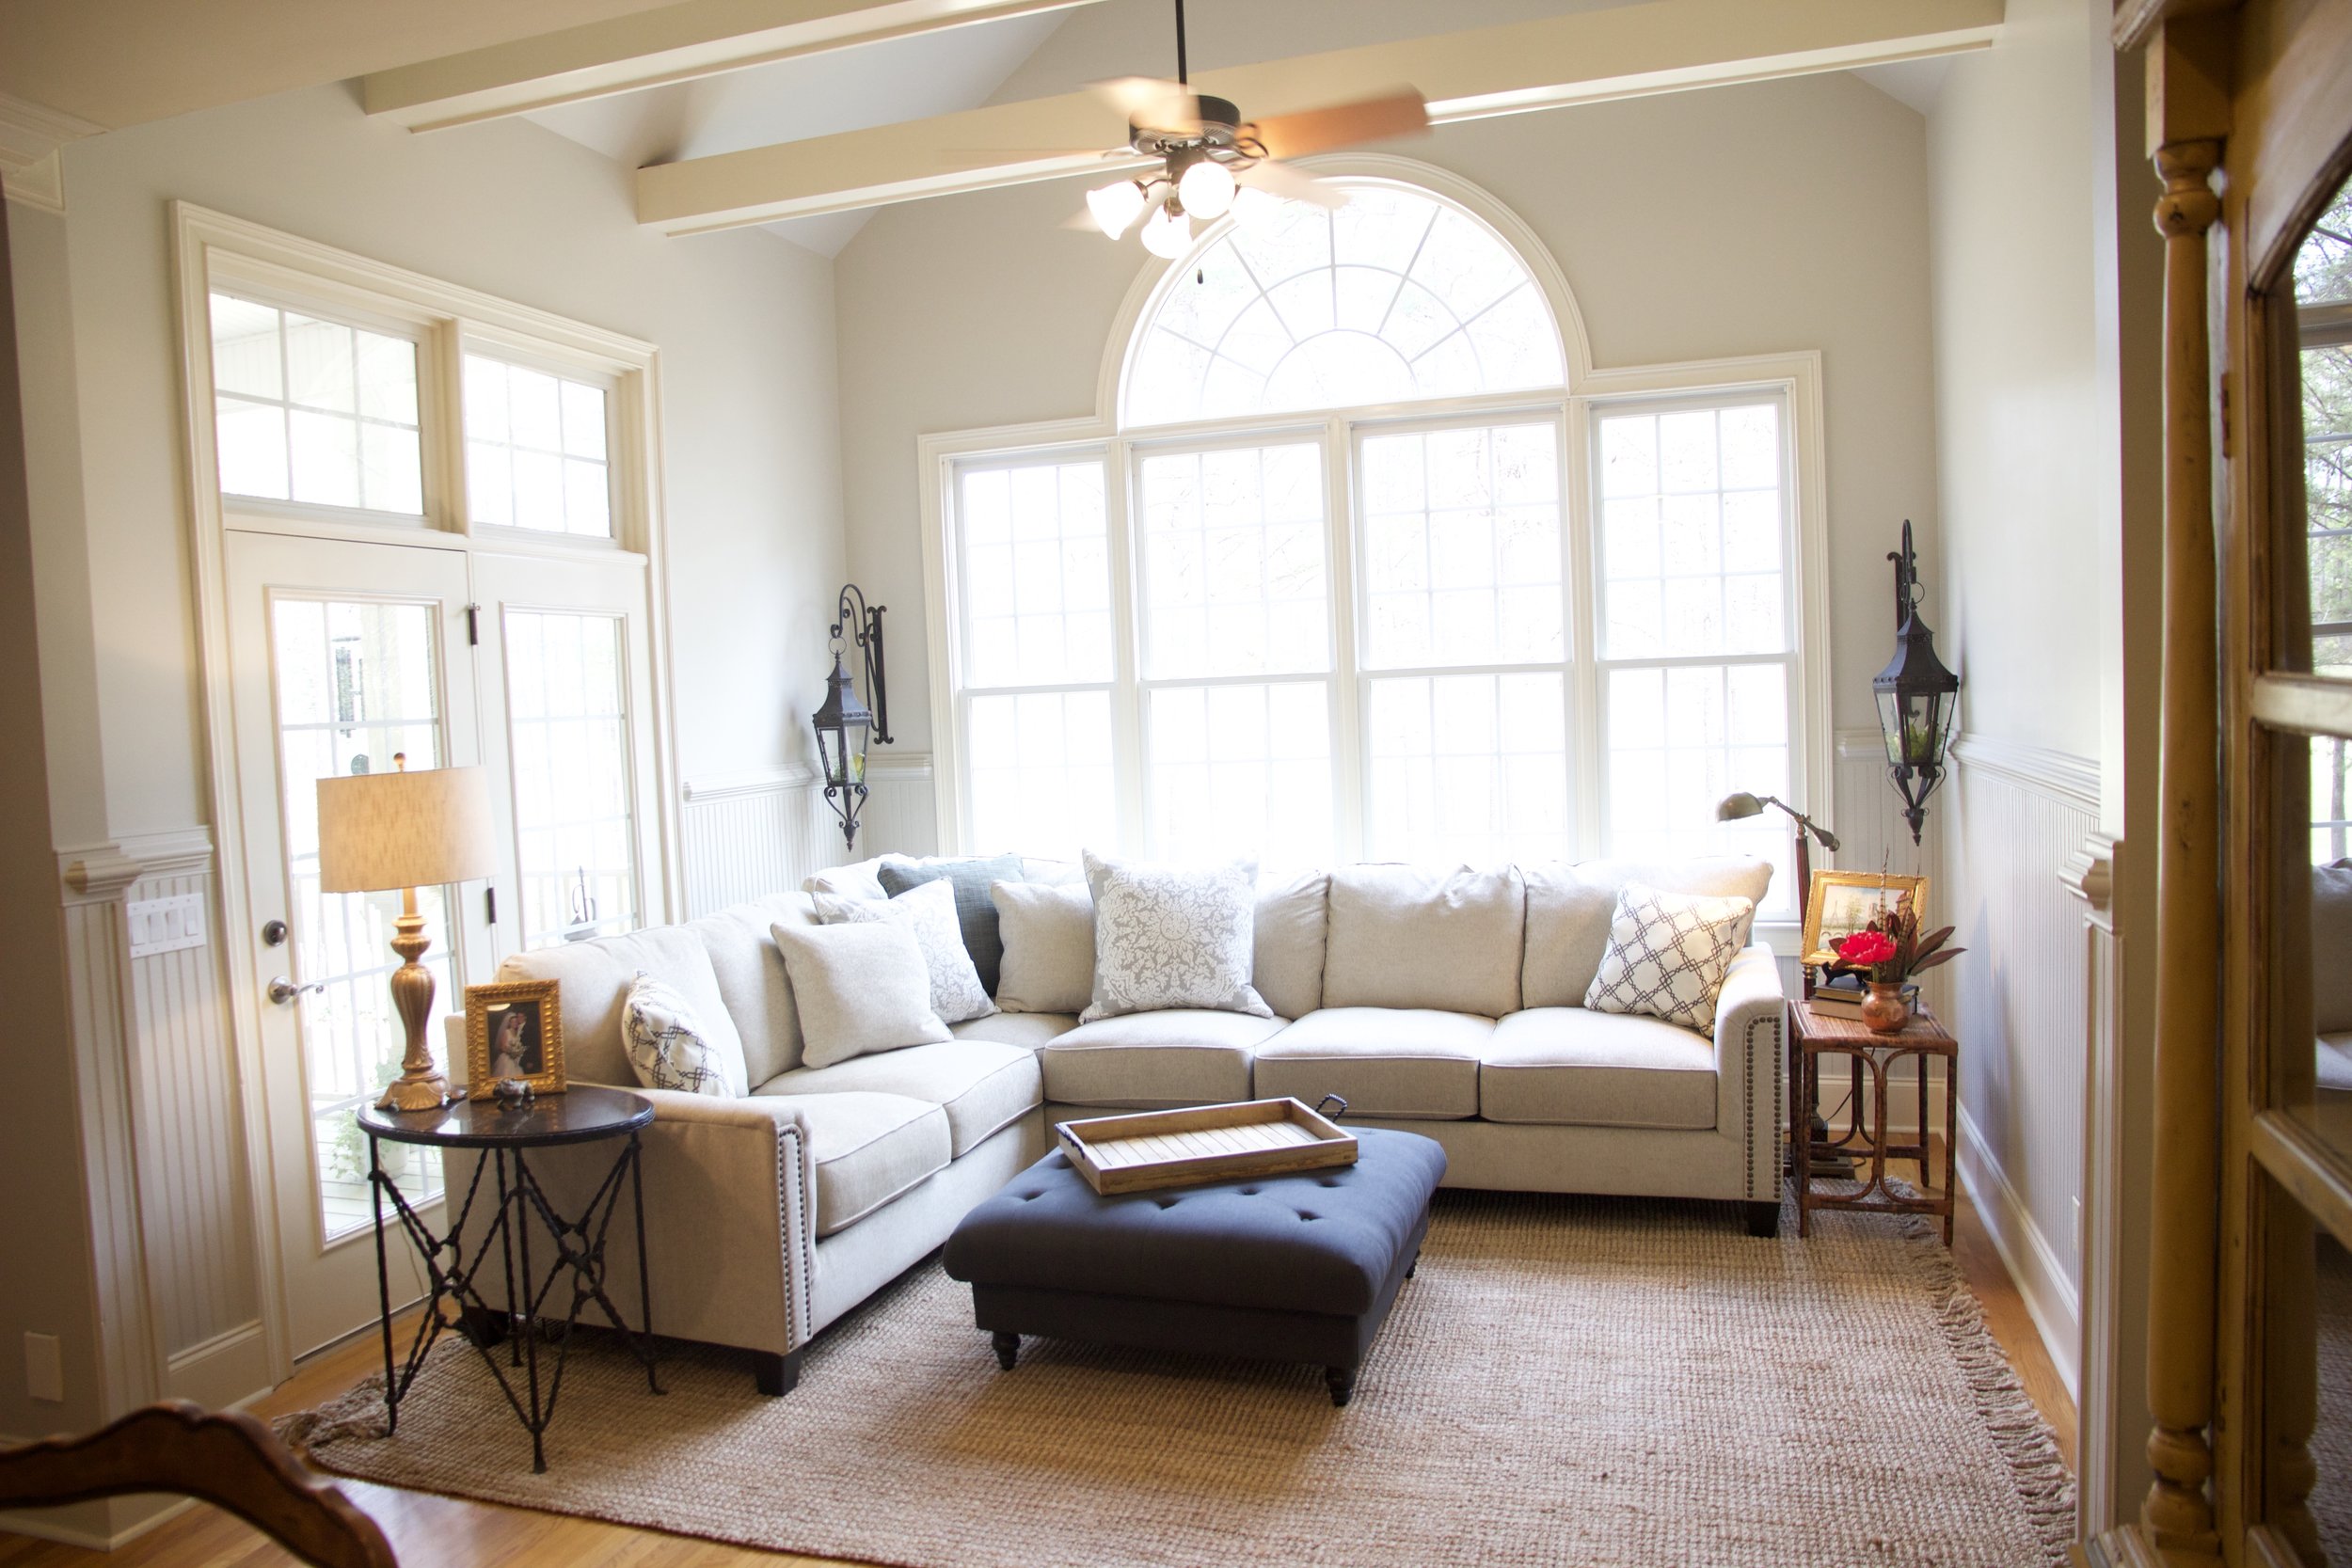
The Raymour and Flanigan Sofa, breakfast table and chairs, and recliners helped finish off the neutral vibe. The rug, picked specifically by the homeowner, set our colors to work. It even tied-in with her 50 year old vintage Syracuse NY china dish ware!

I loved decorating for you, Mrs. B.

XOXO

Ashley

Well-Deserved Design

I am honored to share todays before and after photos.

We are blessed to have an amazing family in our church. They trust and obey like I’ve never seen. And it was absolutely special to decorate for them. They’ve waited for 11 years to have their home changed to fit their style.

While putting the house together, I was reminded to be thankful for such amazing generous and loving people. Godly People who give of the talents and things that they have been given. Open hands, open heart.

Enjoy the photos!

BEFORE PHOTO:

IMG_0597.JPG

BEFORE PHOTO:

IMG_0598.JPG

AND…

THE…

AFTER…

TOUR…

AFTER PHOTO:

fullsizeoutput_2e1a.jpeg

AFTER PHOTO:

fullsizeoutput_2e0a.jpeg

AFTER PHOTO:

fullsizeoutput_2e1b.jpeg

AFTER PHOTO:

IMG_7402.JPG

AFTER PHOTO:

IMG_7411.jpg

AFTER PHOTO:

fullsizeoutput_2e0b.jpeg

AFTER PHOTO:

fullsizeoutput_2e0c.jpeg

AFTER PHOTO:

fullsizeoutput_2e0d.jpeg

AFTER PHOTO:

fullsizeoutput_2e18.jpeg

AFTER PHOTO:

fullsizeoutput_2e0a.jpeg

AFTER PHOTO:

fullsizeoutput_2e15.jpeg

AFTER PHOTO:

fullsizeoutput_2e0e.jpeg

AFTER PHOTO:

fullsizeoutput_2e10.jpeg

AFTER PHOTO:

fullsizeoutput_2e18.jpeg

Formal Foyer Goes Farmhouse

Hey Y’all!

I was honored when I got a call from the “R” family a few months back. They had purchased their dream home, in their dream location, on a dreamy plot of land. How exciting!

One PROBLEM. Inside the house…not quite as dreamy. Especially for a casual young family, full of little boys, who prefer rustic casual and have a fondness for antiques. The fancy Colonial must exit- the current formal/traditional fixtures won’t work. Cozy Farmhouse preferred.

Ummmm…. got it! Joanna Gaines is my spirit animal.

The “R” family decided to start with the entryway. They love that this is going to be a journey. And they realize that first impressions matter.

I couldn’t wait to start.

HERE are the BEFORE Photos…

IMG_0579.JPG

BEFORE:

IMG_0577.jpg

AND

THE

AFTER

PHOTOS…

AFTER: We incorporated existing antique dishes from the homeowners family collection. 24 hook spaces help with all the hospitality needs and downplay the traditional style. We used dark gel stain on the banisters.

IMG_7170.jpg

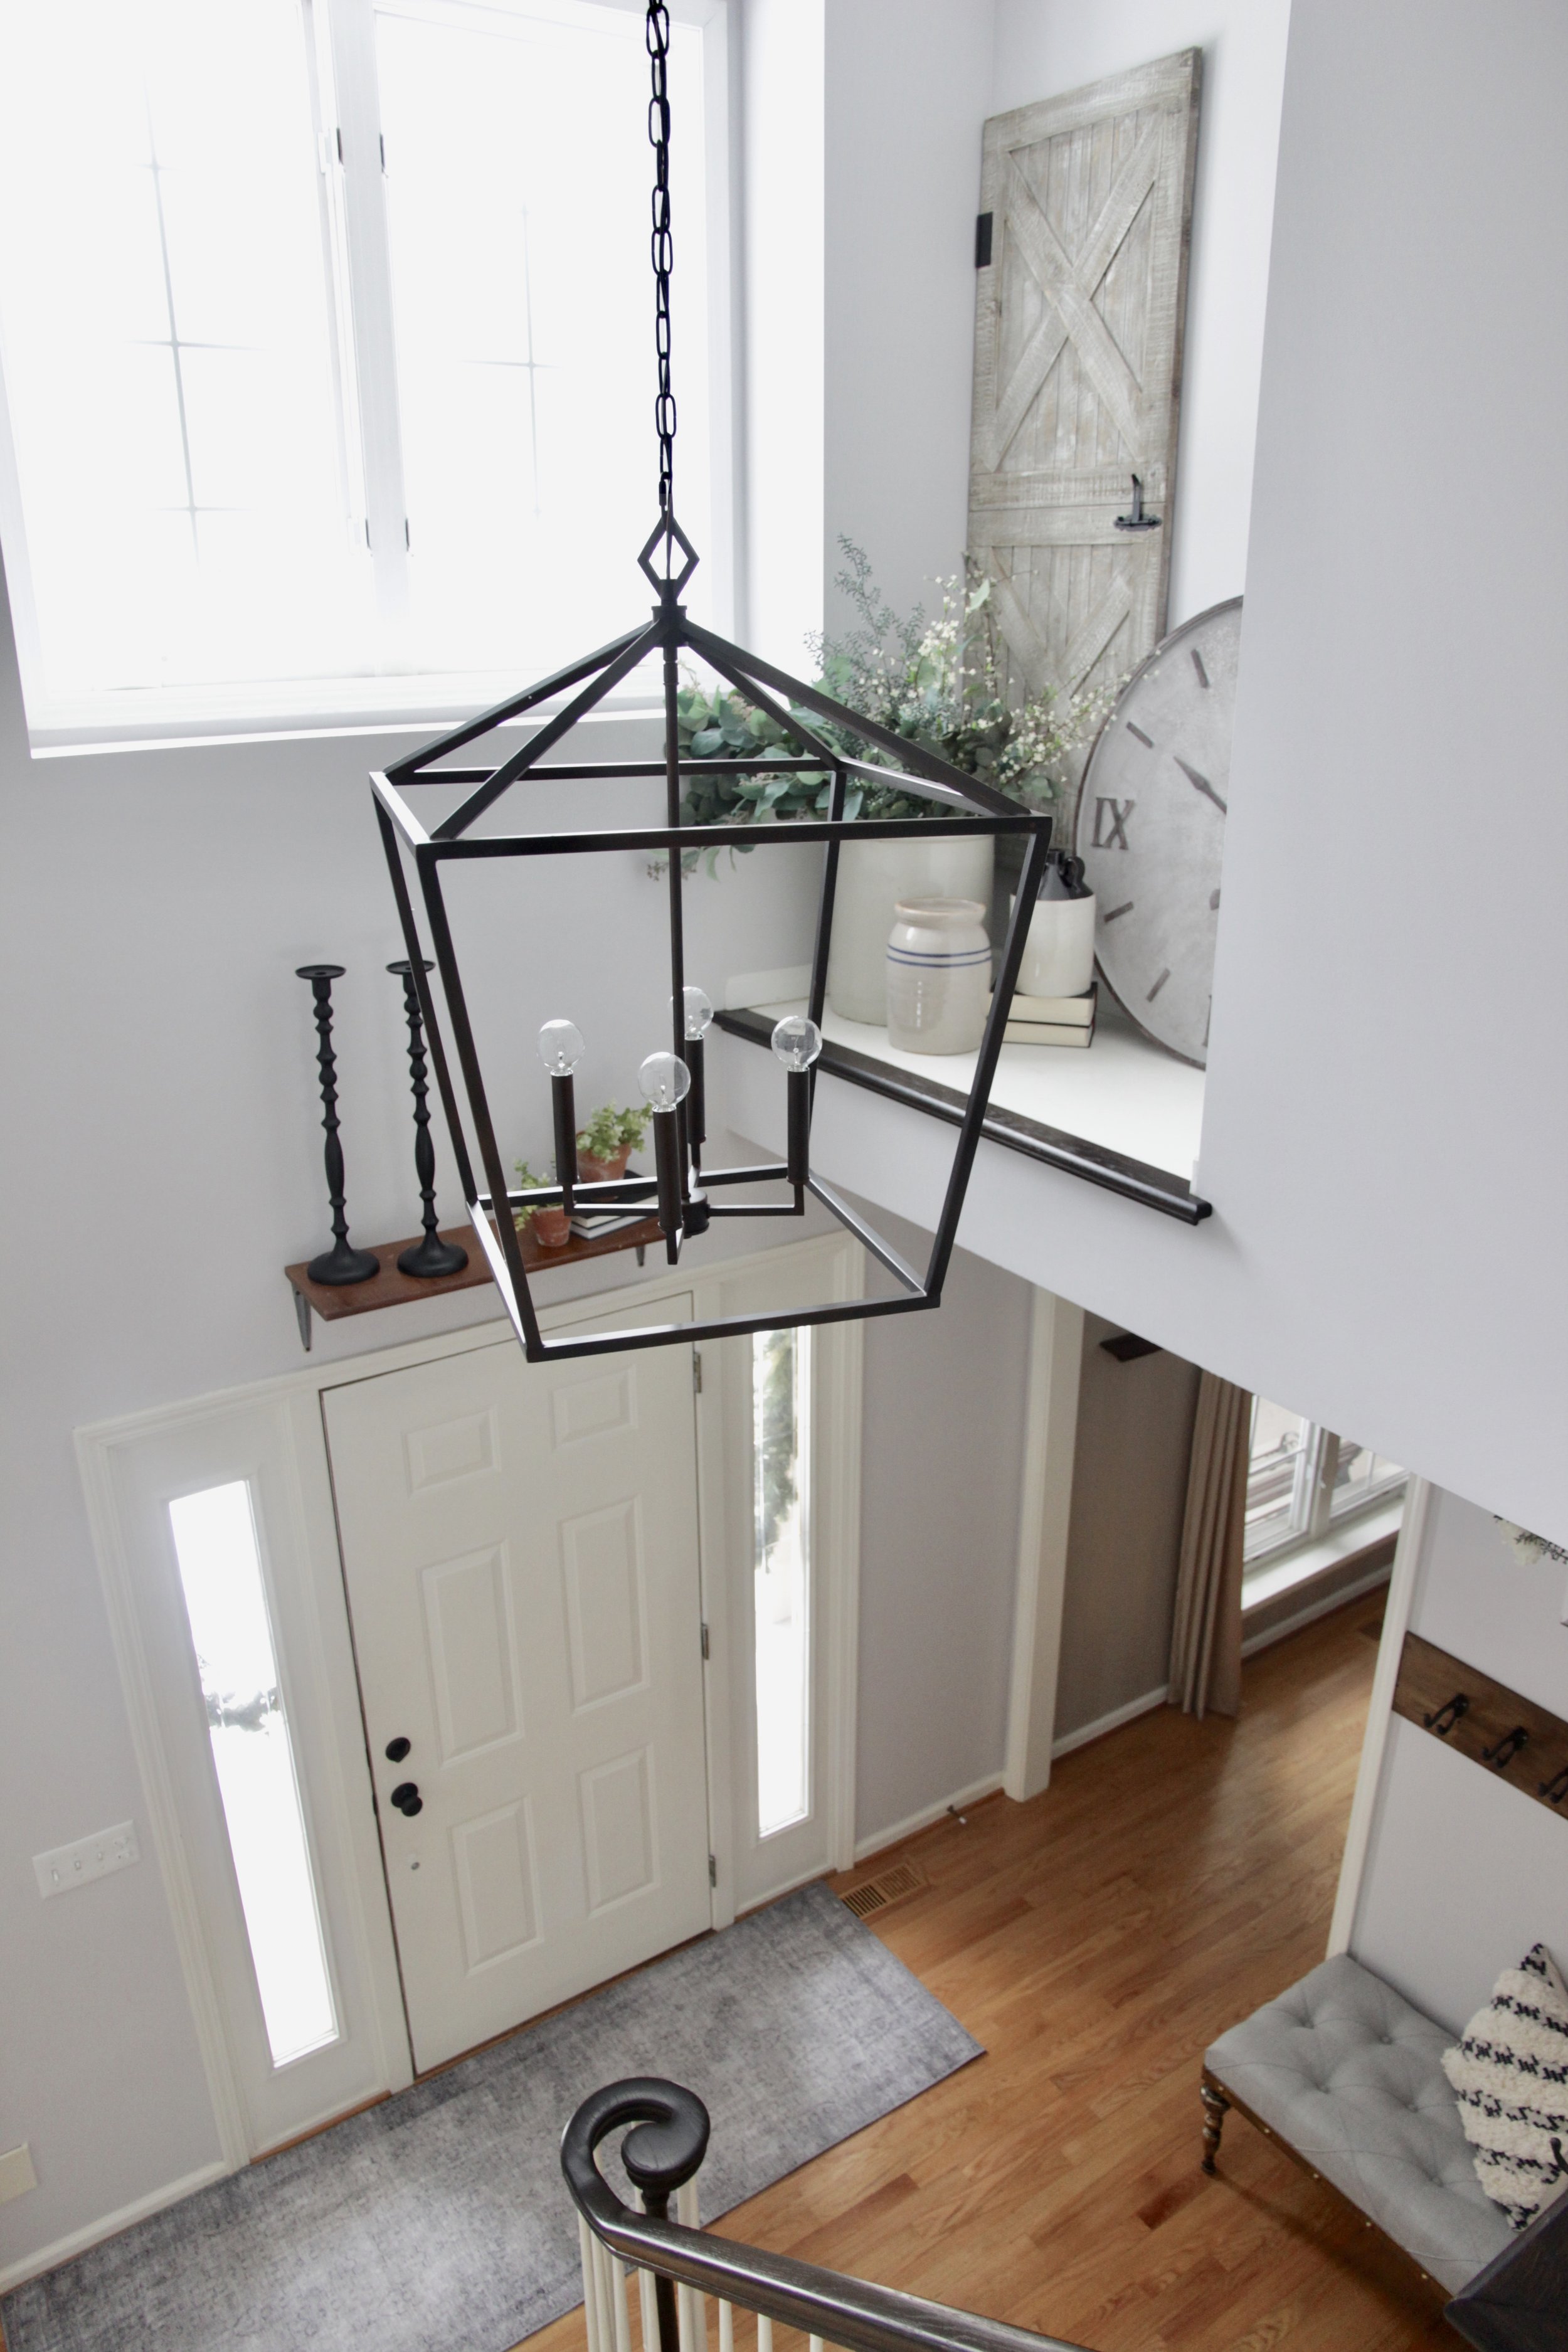
AFTER: We changed out the foyer light with something more lantern-ish.

IMG_7176.JPG

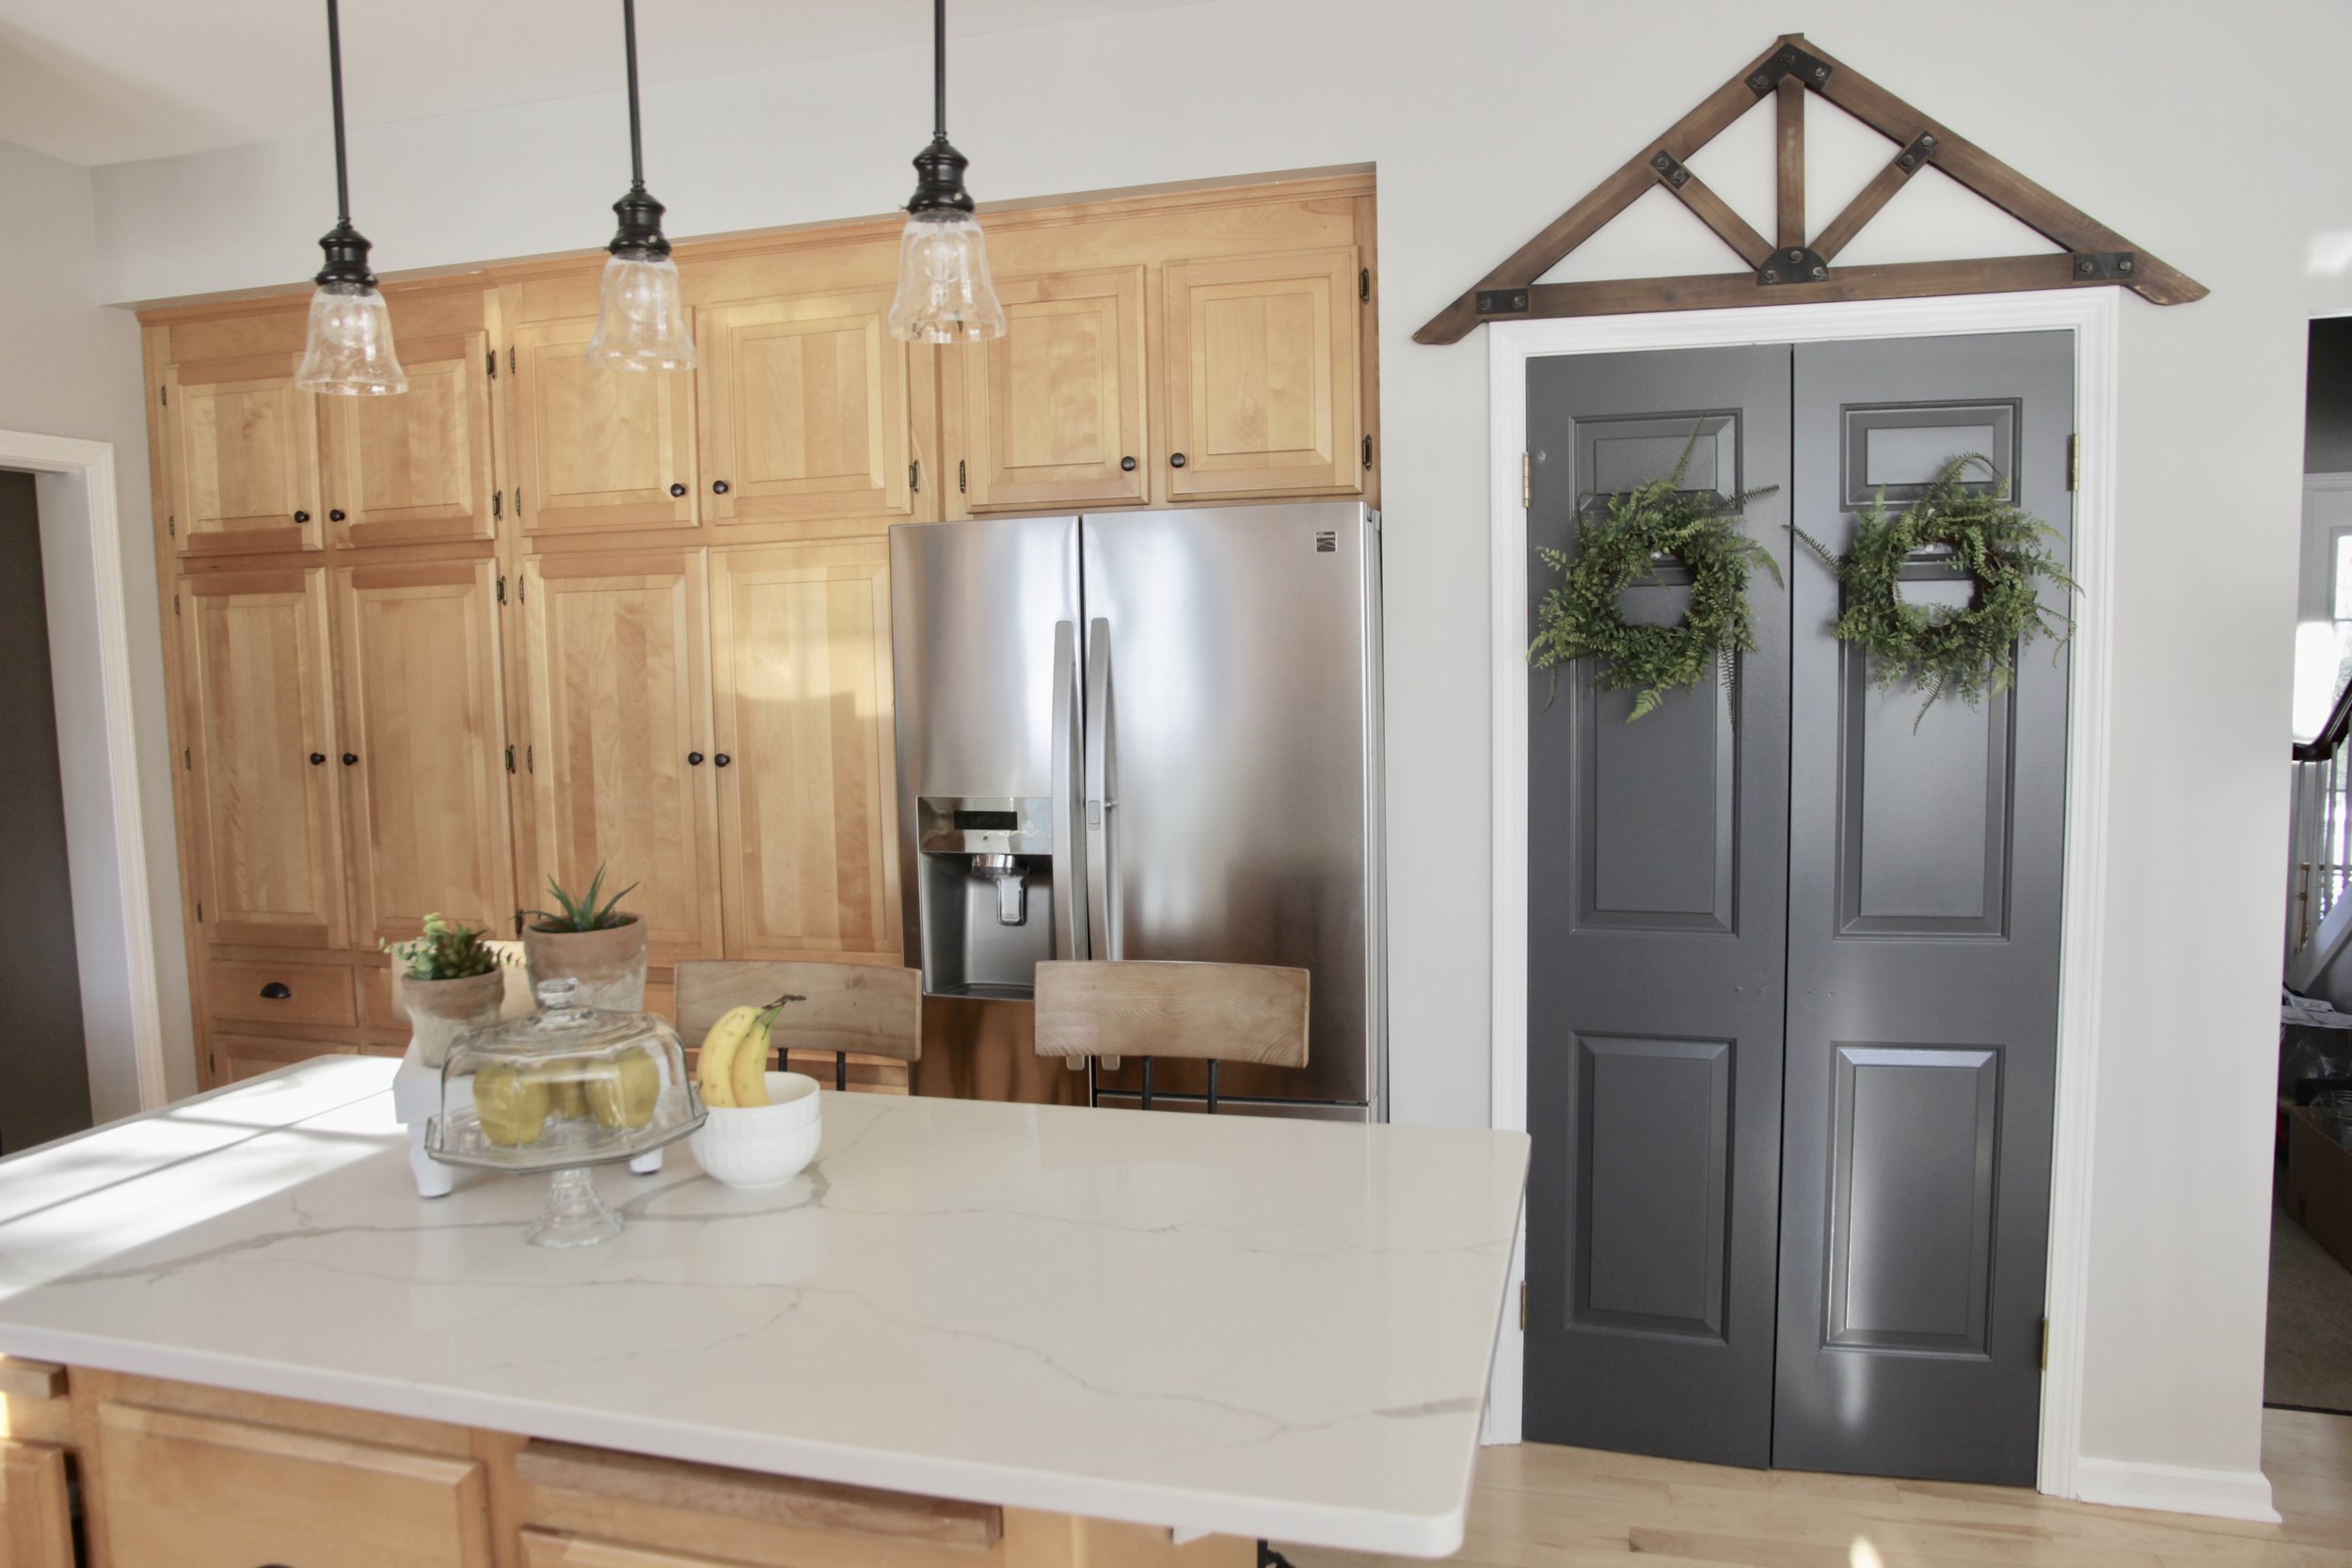
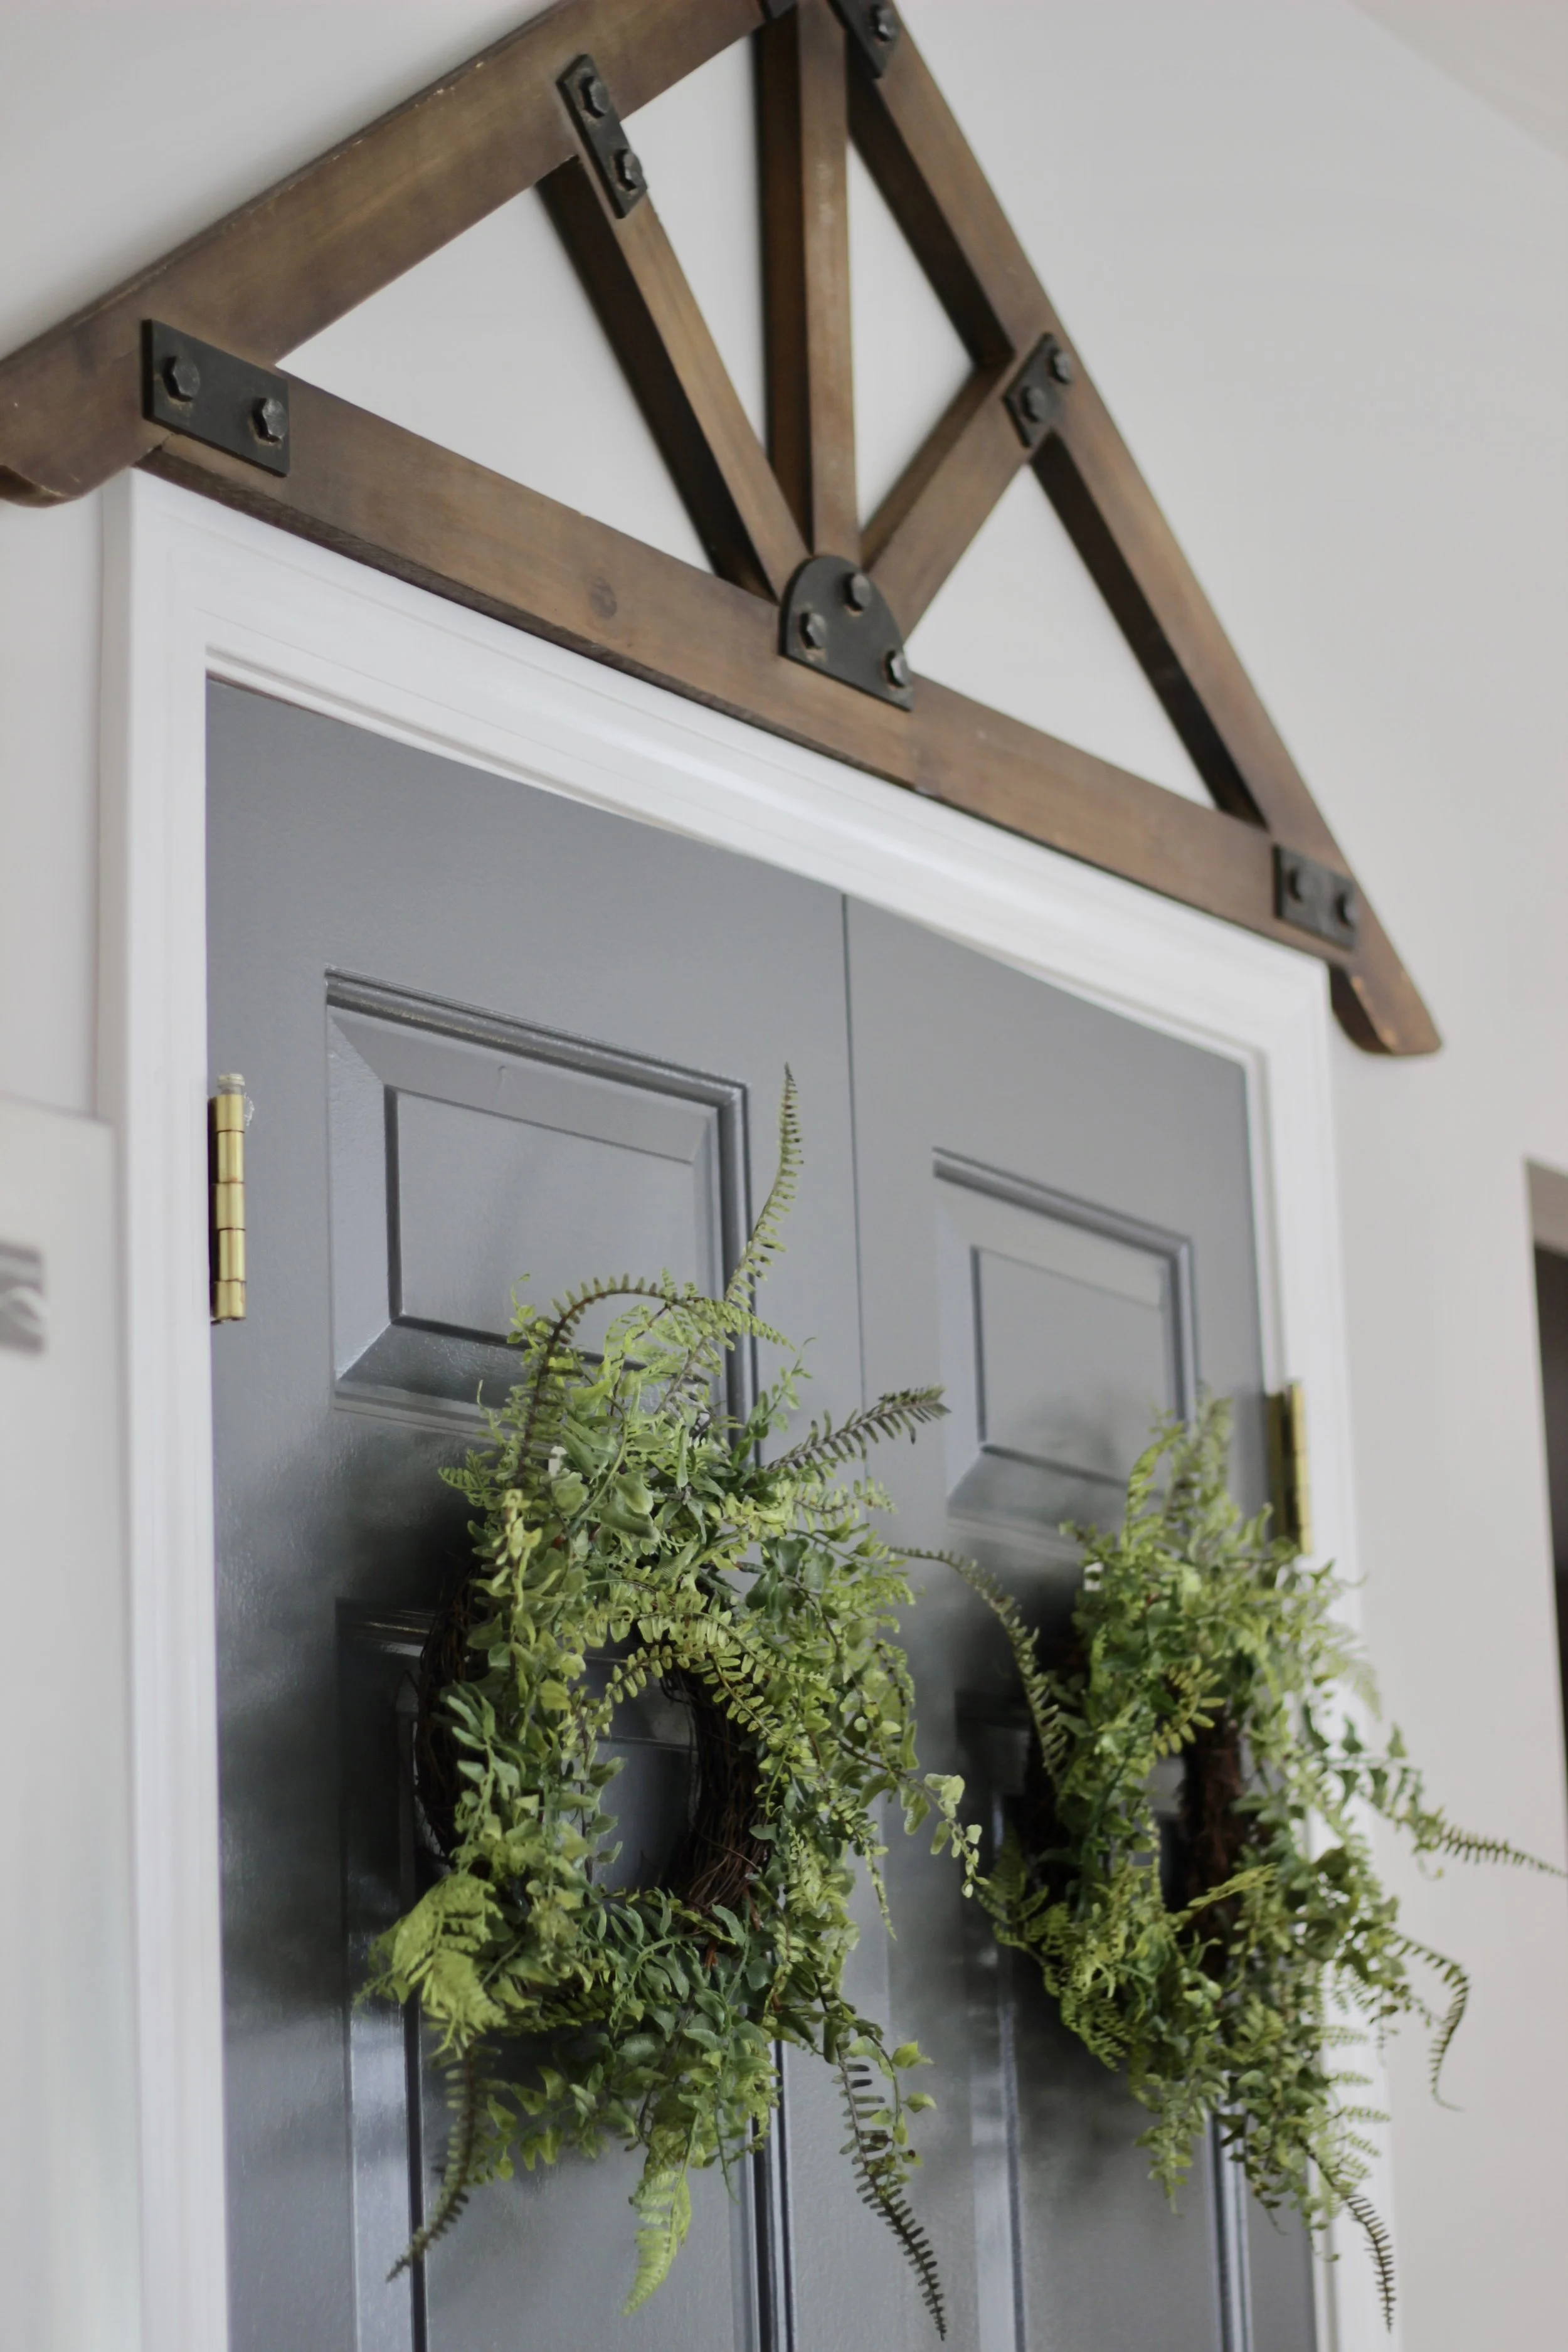
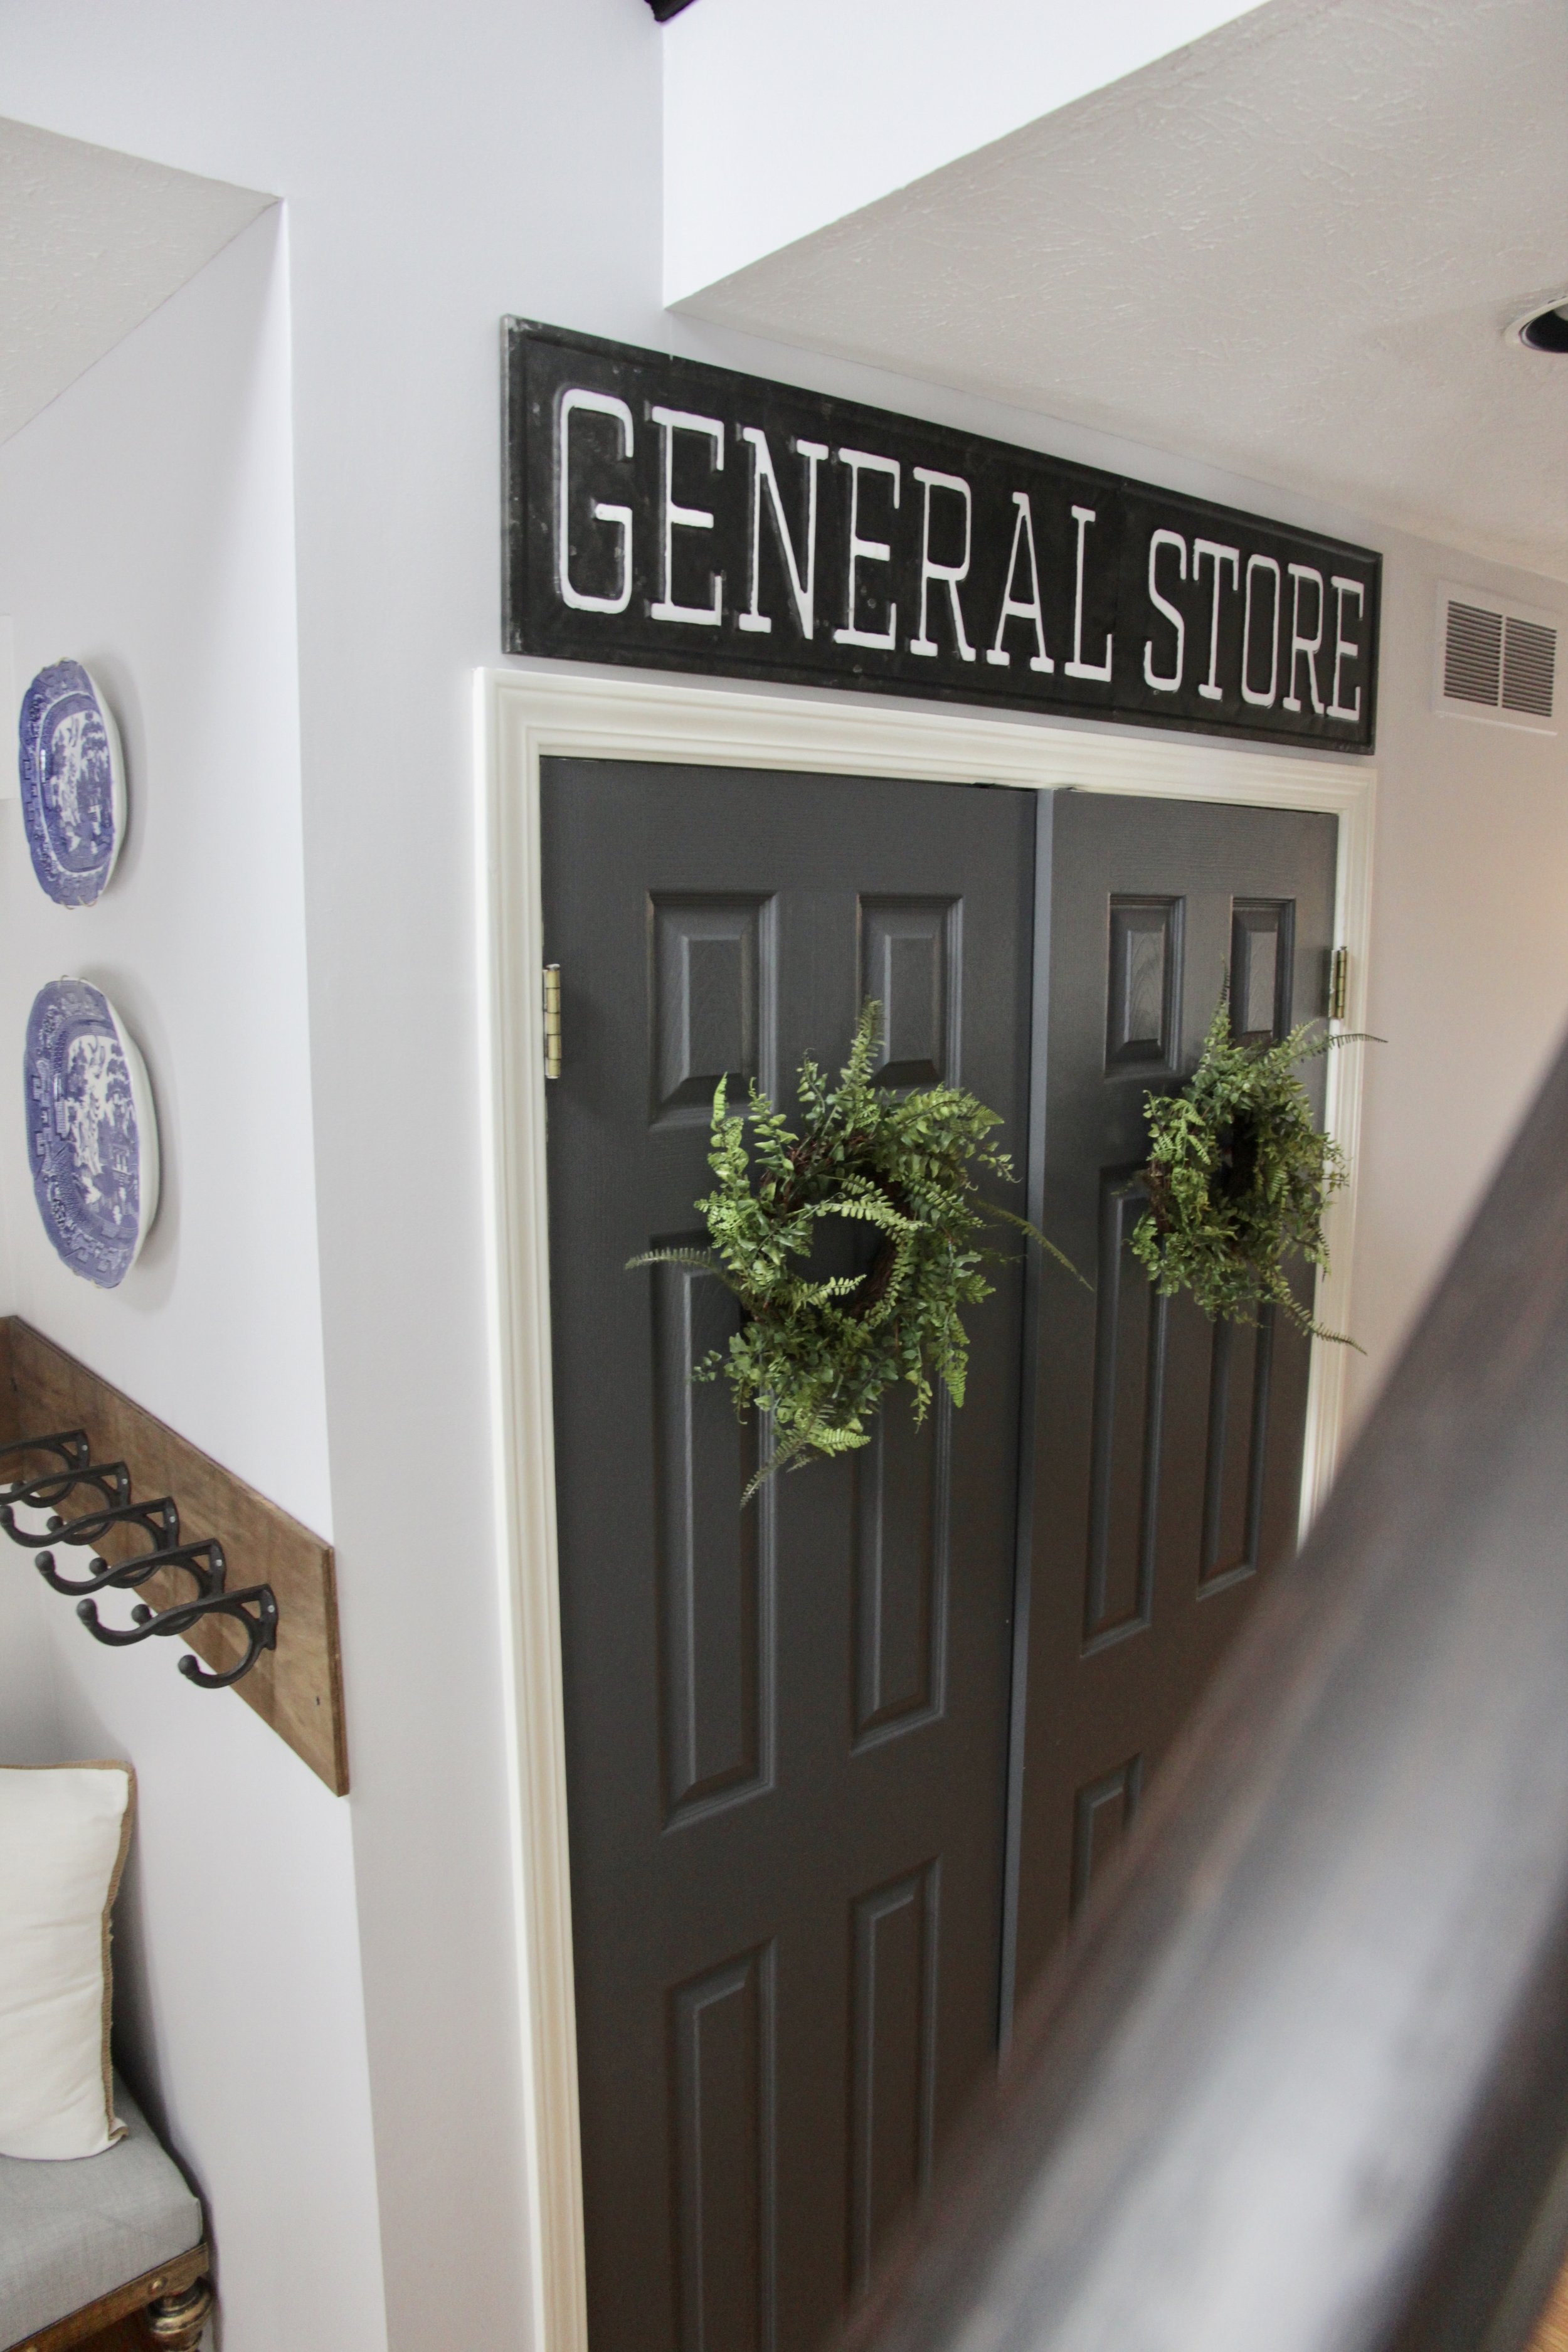
AFTER: We made a focal point with the coat closet double doors. We painted them and added depth with greenery in the form of wreaths.

fullsizeoutput_293b.jpeg

AFTER: Everyone hates decorating 2nd story niches. They’re a bit dangerous and semi-dated. Make them feel on-purpose by adding architectural items like barn doors, old columns, or very large rustic pieces.

fullsizeoutput_2941.jpeg

AFTER: A shelf over the door helps with bringing the eye down.

fullsizeoutput_293c.jpeg

AFTER: Bird’s eye view for the WIN!

IMG_7174.JPG
IMG_7180.JPG

Thanks “R” family. Your new space is so totally cute!

XOXO

ASHLEY

The old New Kitchen

Im so excited to share with y’all the old, new kitchen transformation I was able to finish up this weekend. Such a fun design and we absolutely achieved fabulous results without a “gut job” too!

Here are the BEFORE photos of the kitchen and adjoining dining room

BEFORE:

IMG_0548.JPG

BEFORE:

IMG_0547.JPG

Some of the big things we changed:

We picked out a beautiful quartz countertop for the homeowner

We changed the paint: this color is Agreeable Grey

We Ordered a new dining set (not pictured-it’s still being made)

We added a seating nook in the window area

New design theme, overall style

The homeowner had “homework” and repainted the hutch, removed the top of the hutch

HERE ARE THE AFTER PHOTOS:

fullsizeoutput_27a3.jpeg

AFTER:

fullsizeoutput_27a0.jpeg

AFTER:

fullsizeoutput_27a2.jpeg

AFTER:

fullsizeoutput_279d.jpeg

AFTER:

fullsizeoutput_279b.jpeg

AFTER:

IMG_7089.JPG

AFTER:

IMG_7063.JPG

AFTER:

fullsizeoutput_279c.jpeg

AFTER:

IMG_7077.JPG

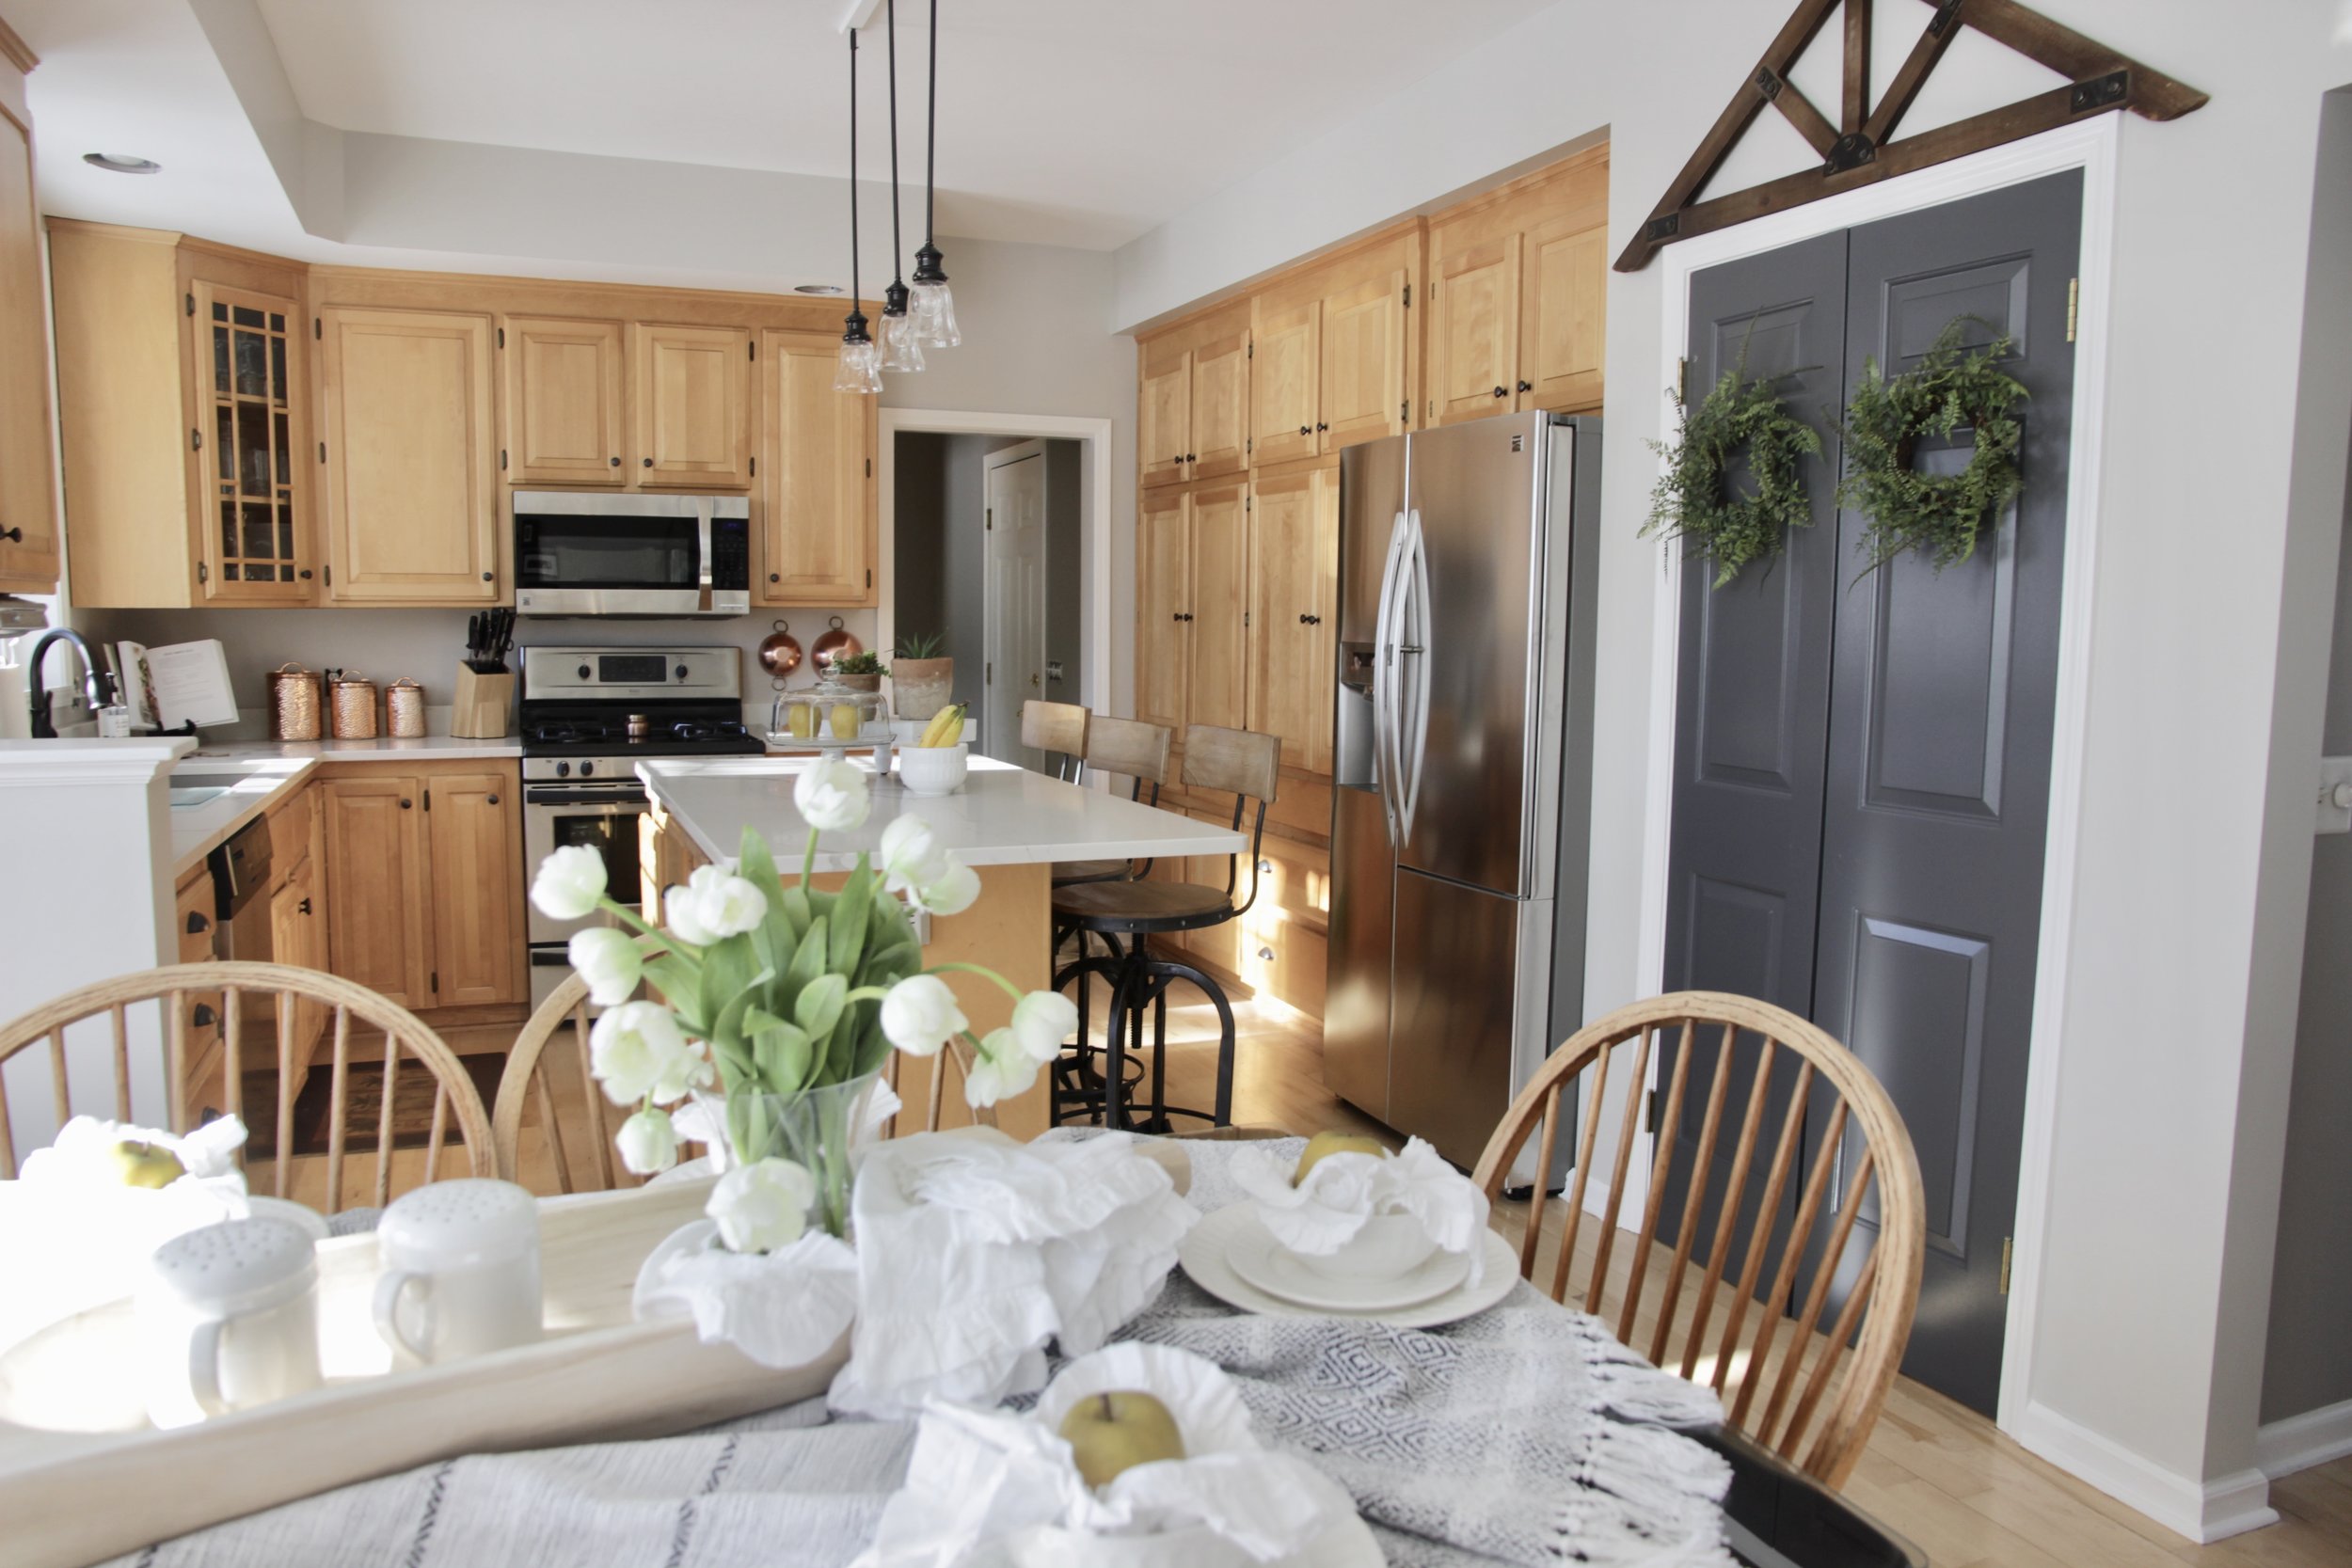
AFTER: I wanted to make the pantry a statement instead of just a pantry. We added an architectural piece, painted the doors, and hung a few pretty wreaths.

fullsizeoutput_279a.jpeg

AFTER:

IMG_7086.JPG

AFTER:

IMG_7097.JPG

AFTER: I had to purchase this table for between the chairs. It’s crafted after a huge old Roman column. The homeowners love to travel, so I knew it would fit their adventurous style.

IMG_7083.JPG

AFTER:

IMG_7079.JPG

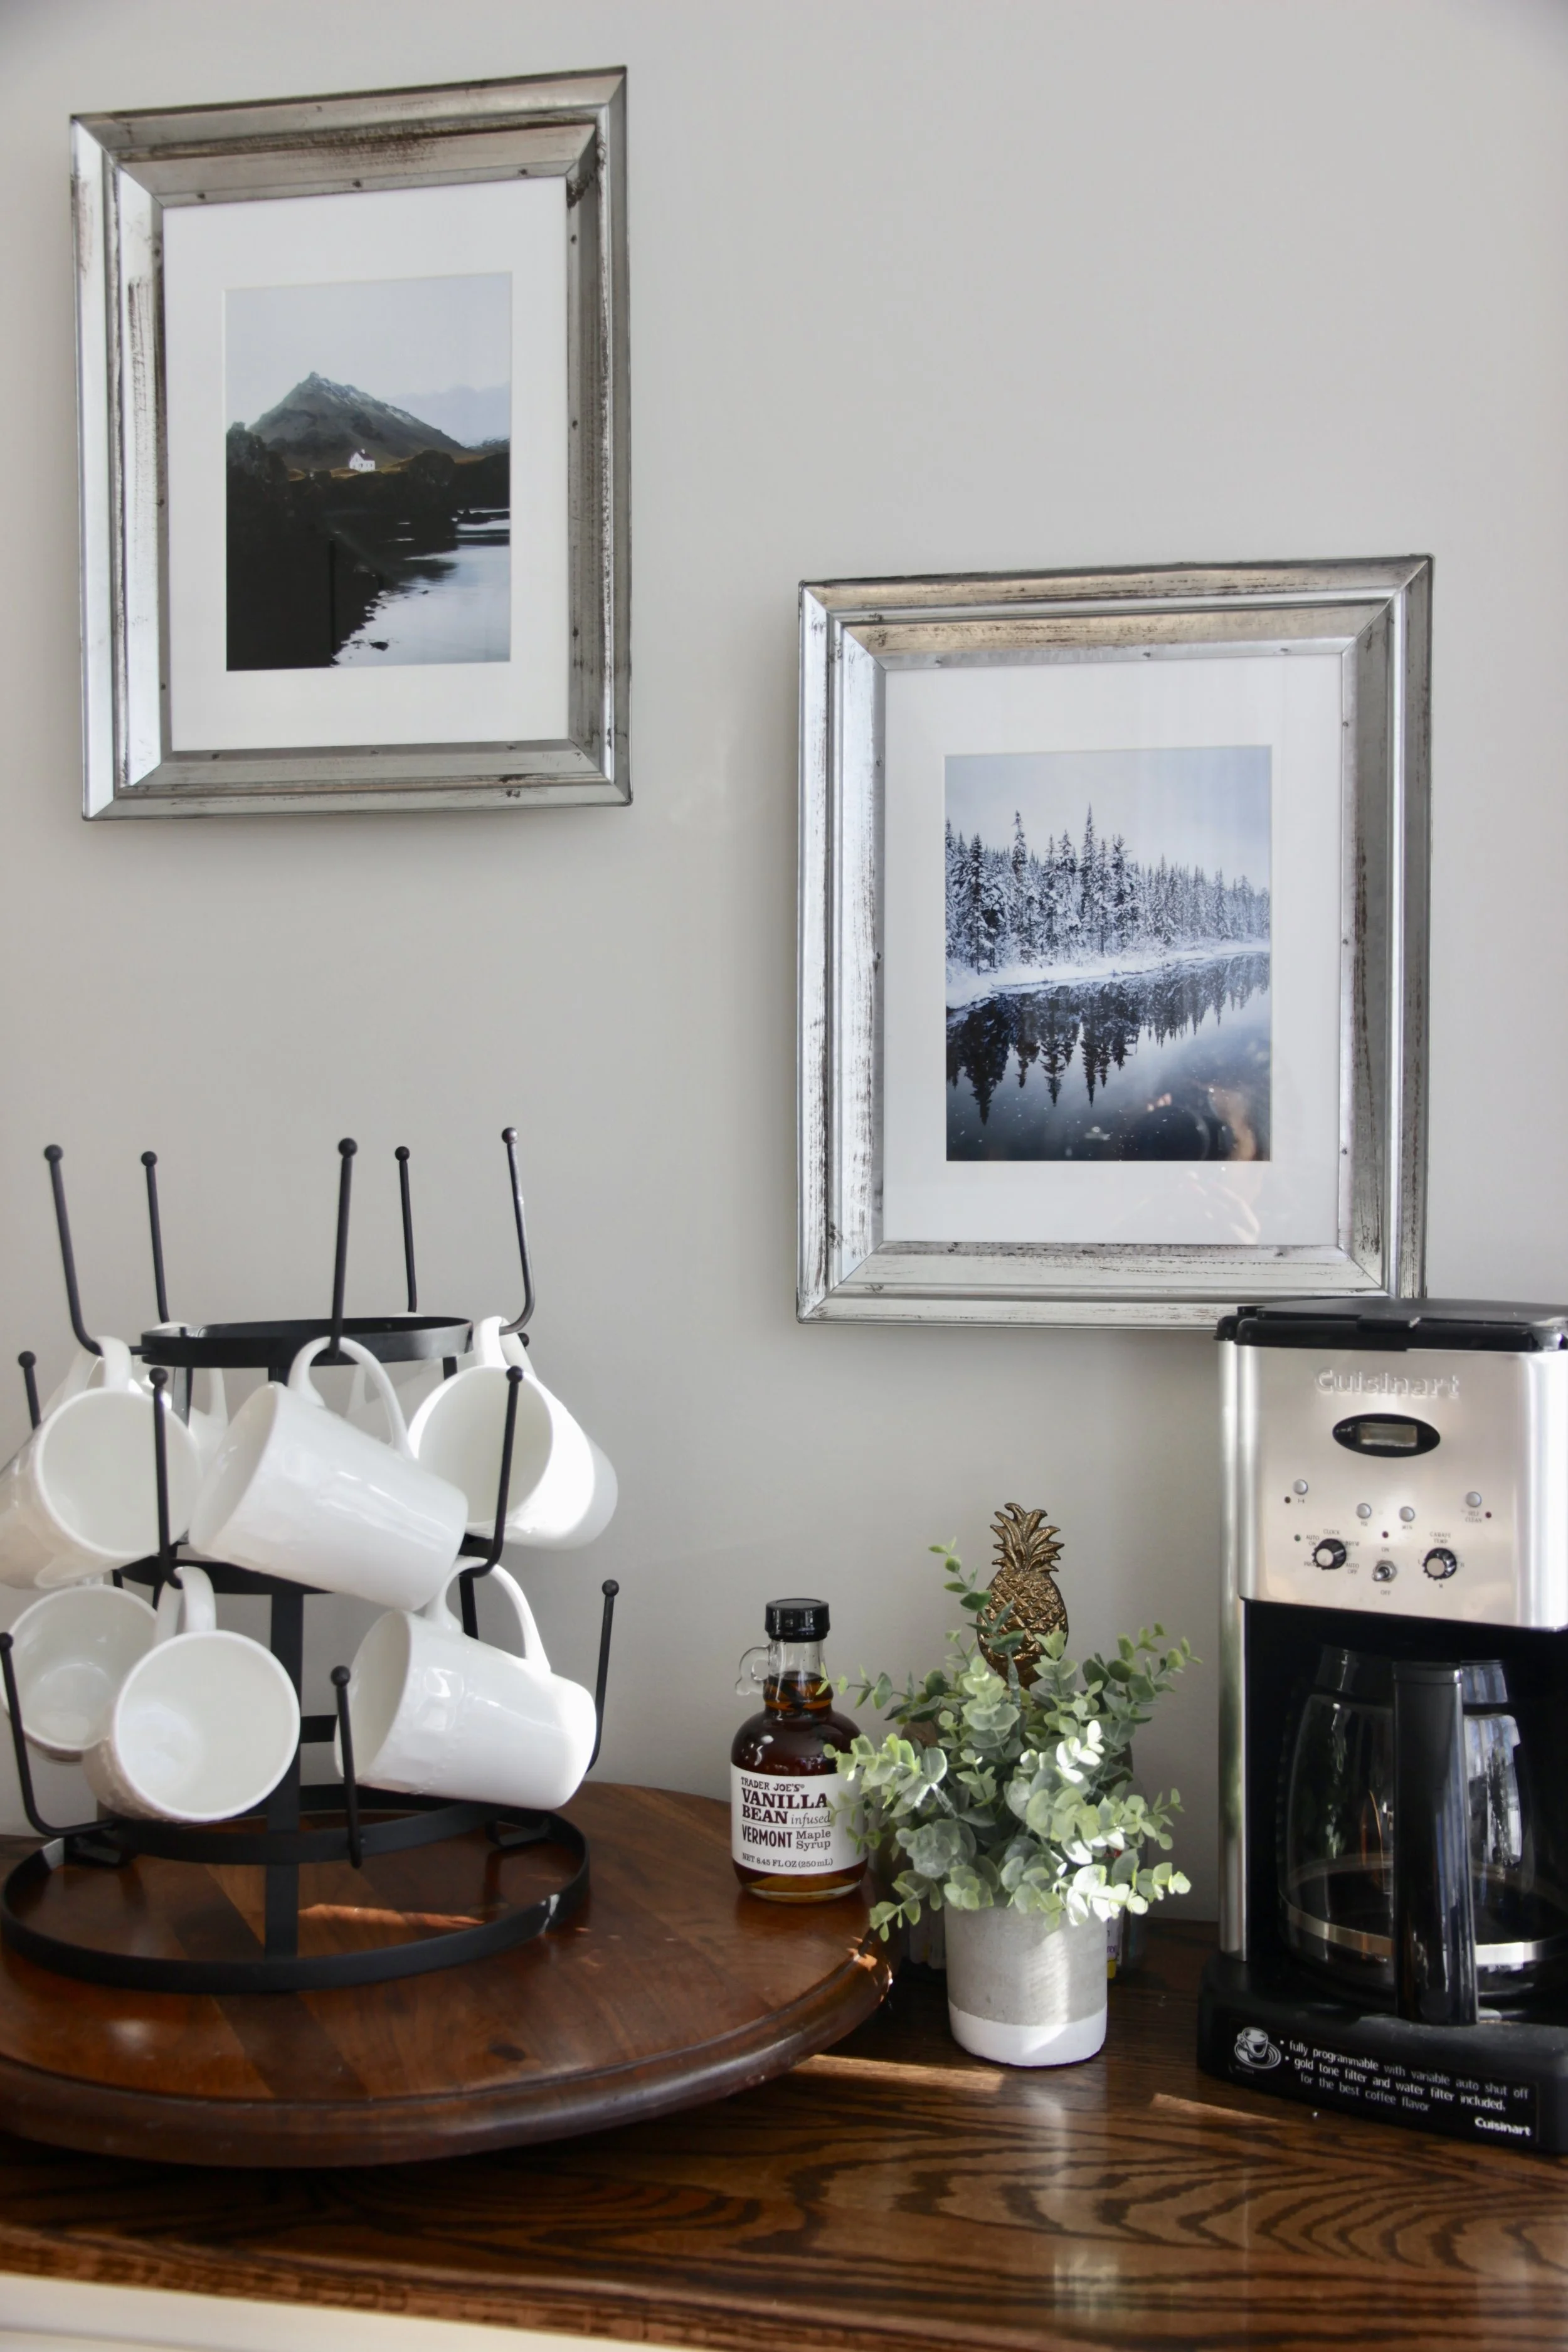
AFTER: The photographs were taken by the homeowner’s son! We picked some favorites and I framed them over the new coffee bar. I love the sentimental touch!

fullsizeoutput_2798.jpeg

AFTER:

fullsizeoutput_2796.jpeg

AFTER:

IMG_7094.JPG

AFTER:

fullsizeoutput_2799.jpeg

Thanks for stopping by, and thank you “K” for letting me back in your home! I can’t wait to share more budget friendly makeovers with y’all this winter!

XOXO

Ashley

Sleek Office on a crazy Tight Budget

So I have amazing clients. Who call me to come BACK! I love when this happens. And I love designing homes room by room, so that the home works together seamlessly, over time.

E and her family had me design their living room and adjoining sitting room (click the button below) and now I got to come back and work in the family office.

Here is the before photo of today’s design:

IMG_0545.JPG

E loves classic traditional style with touches of fancy flare. Her favorite colors are navy and gold. We were so excited to help her continue in her color scheme throughout the downstairs.

AFTER:

IMG_6951.JPG

AFTER:

fullsizeoutput_2755.jpeg

AFTER:

IMG_6950.JPG

AFTER:

IMG_6953.JPG

AFTER:

IMG_6955.JPG

AFTER:

fullsizeoutput_2757.jpeg

Also I wanted to quickly showcase her living room because I’m super pumped about how she used our color scheme and theme to decorate for Christmas! So proud of you E! You did so well integrating Christmas decor with your beautiful living room design we completed for you!

IMG_6956.JPG

Sitting in Style...

Designing for church family this past weekend was QUITE the honor! They wanted two rooms completed for easy entertaining. The Family TV room at the back of the home, and the front sitting room. I love that the “G Family” was so diligently using their front room. They explained that it was perfect for morning coffee, toddler performances, and Church Community Group gatherings.

Y’ALL. I love everyday casual design. It’s my fav. AND when THIS is the family’s list of favorite activities, it makes me so giddy to make something cozy!

So HERE is a before and AFTER field trip!

BEFORE PHOTO: TV FAMILY ROOM

IMG_0380.JPG

The family requests: Keep it simple. Lots of seating. Cozy is a must. Clean design.

AFTER: A BIG shout-out to the family for keeping costs down by performing some “homework” for me. The German Smear on the fireplace was part of the homework :)

fullsizeoutput_2178.jpeg

AFTER: Big curtains, a massive curtain rod, and new groupings for the walls make things feel warmer.

IMG_6072.JPG

AFTER: Lamps, end tables, chairs, pillows. Can we say family-friendly?

IMG_6069.JPG

AFTER: I always use coupons and other local shopping to keep costs down. The ottoman ended up being a bonus for the family due to coupon shopping and staying on budget.

IMG_6075.JPG

AFTER:

fullsizeoutput_2185.jpeg

AFTER: These fresh apples came from the family’s own apple tree!

fullsizeoutput_2174.jpeg

AFTER:

fullsizeoutput_2173.jpeg

AFTER:

fullsizeoutput_2178.jpeg

THE NEXT room was the family sitting room. The afternoon sun in this room is brilliant. No wonder it’s such a favorite spot.

Going to go ahead and apologize for the small “BEFORE” picture

BEFORE PHOTO:

IMG_0381.JPG

AFTER PHOTO: I purchased new loveseats to support the room’s oblong shape. I opted for repositioning the loveseats at the end of the room. The existing love seat was able to be reused back in the TV room to add seating in all spaces.

fullsizeoutput_2161.jpeg

AFTER: We used the couple’s existing coffee table and end table as well as lamps.

fullsizeoutput_2164.jpeg

AFTER: This close knit vignette makes the room feel warm and textured.

fullsizeoutput_216a.jpeg

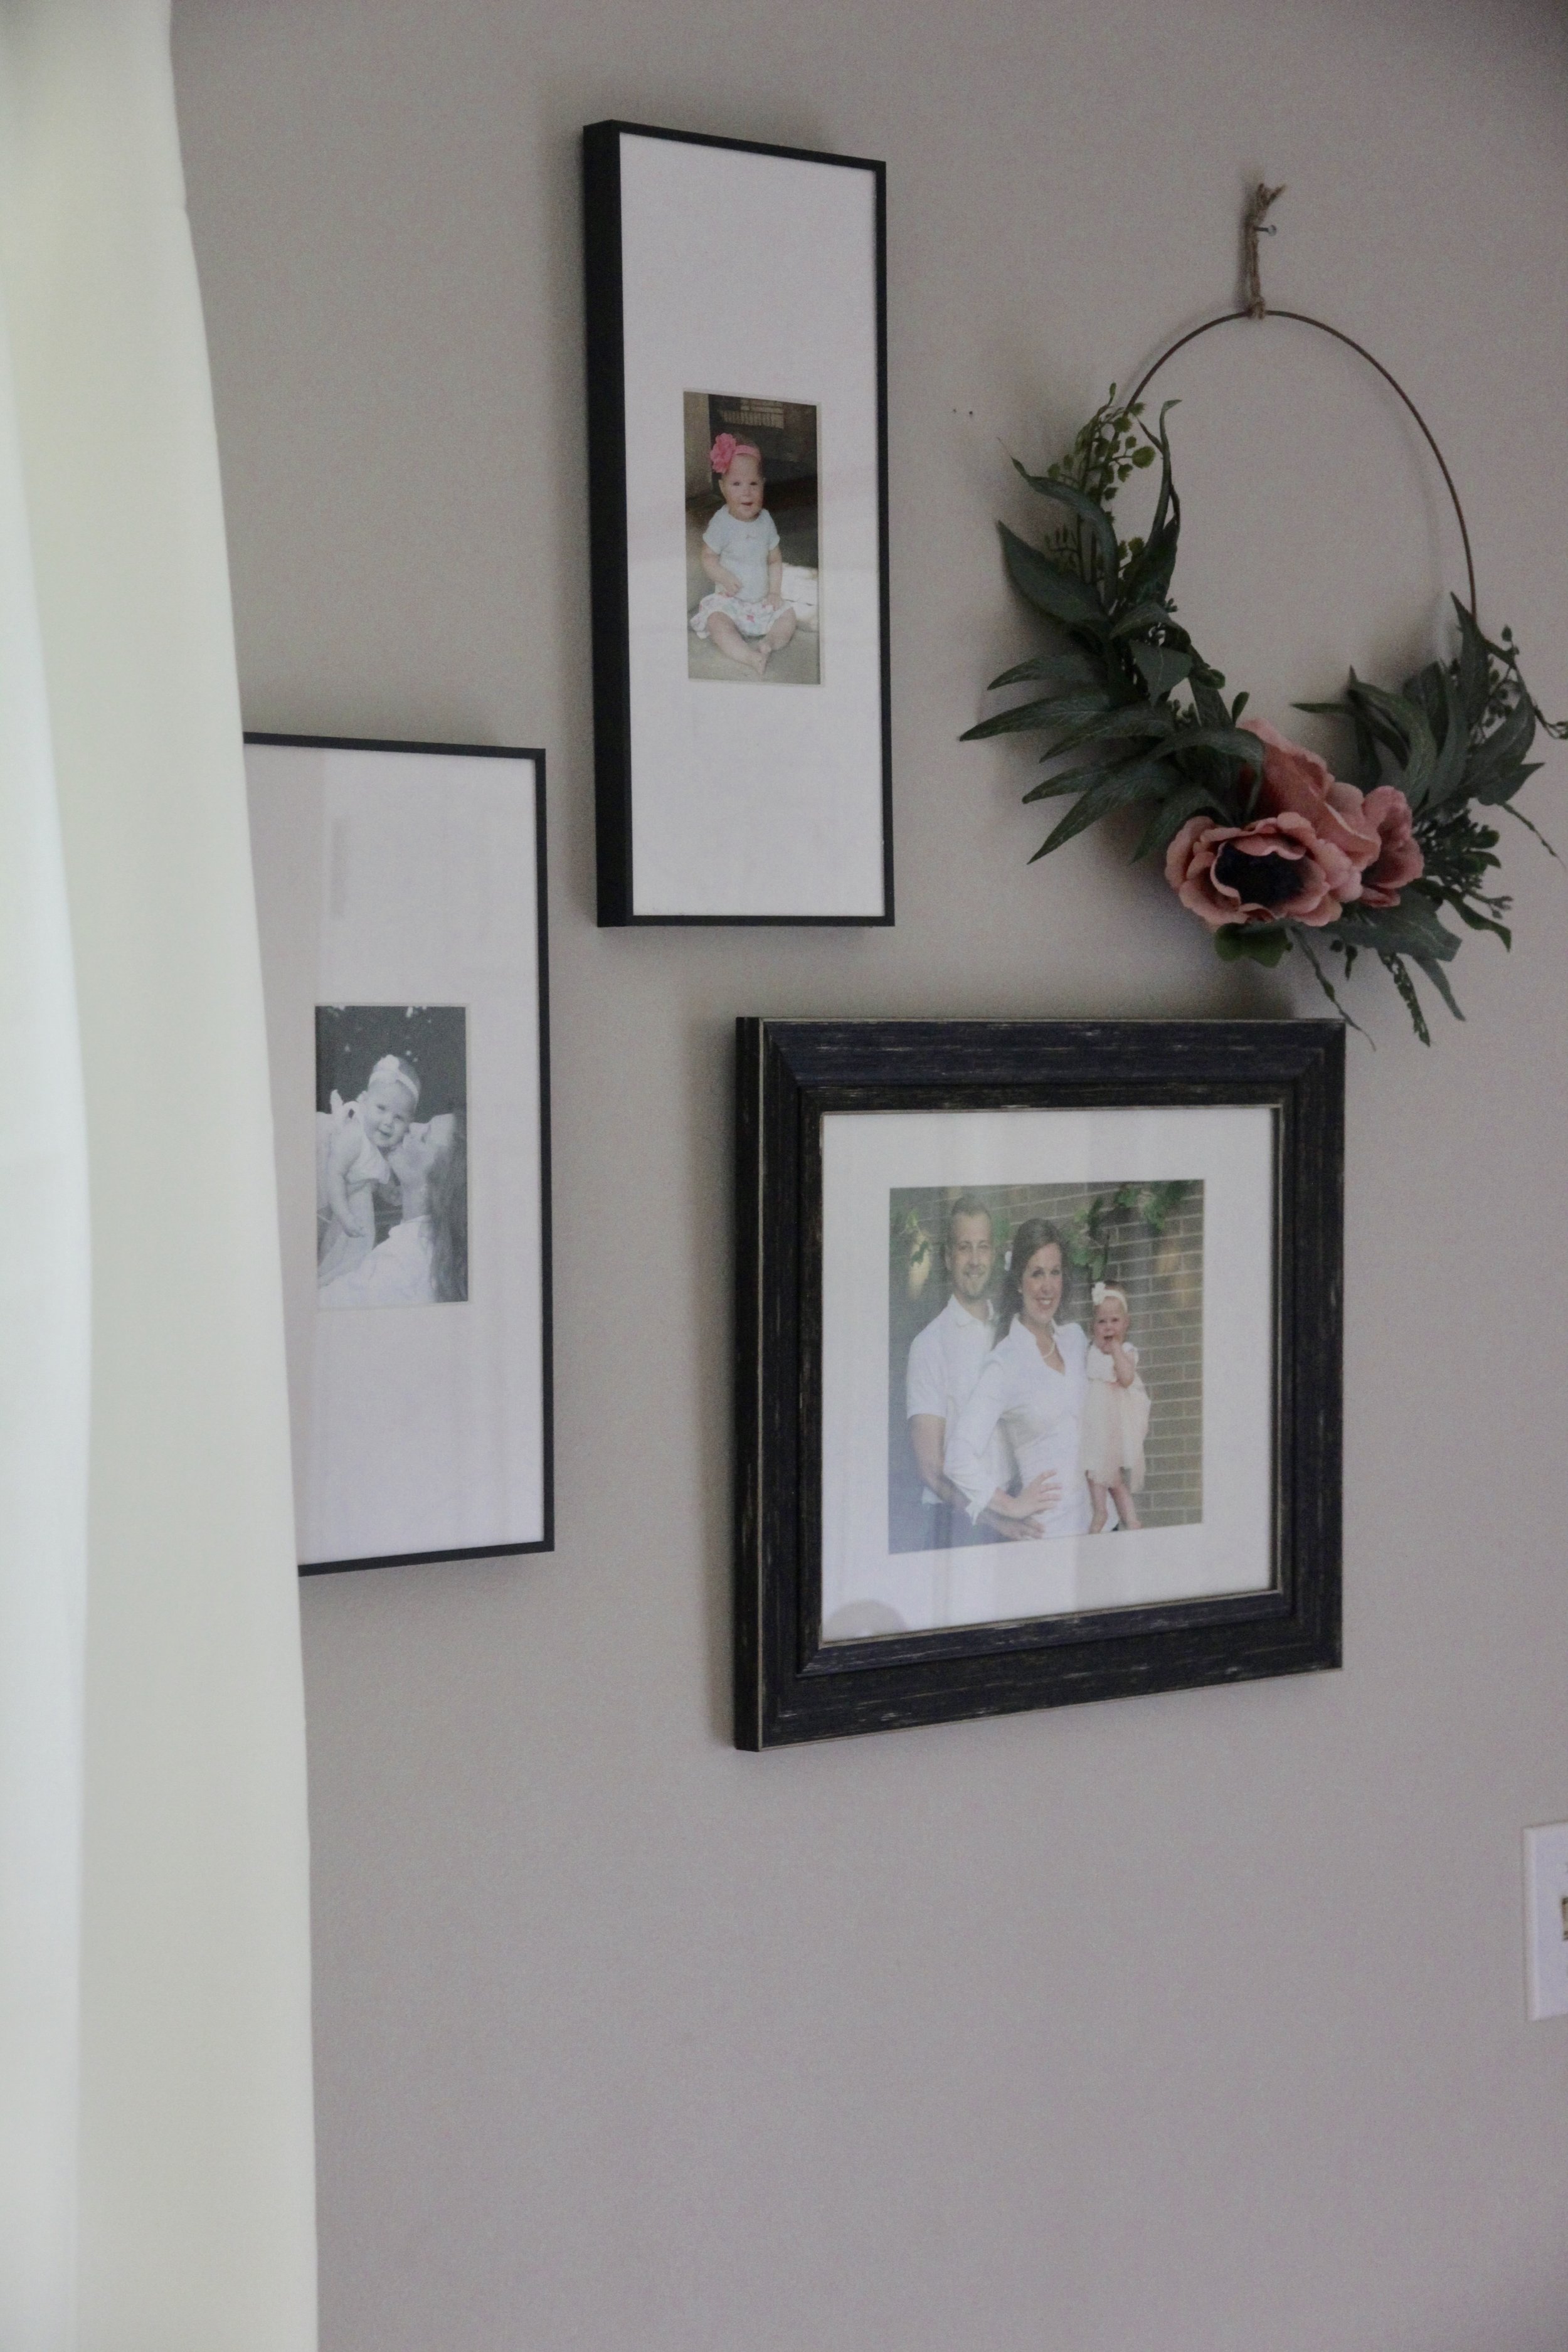
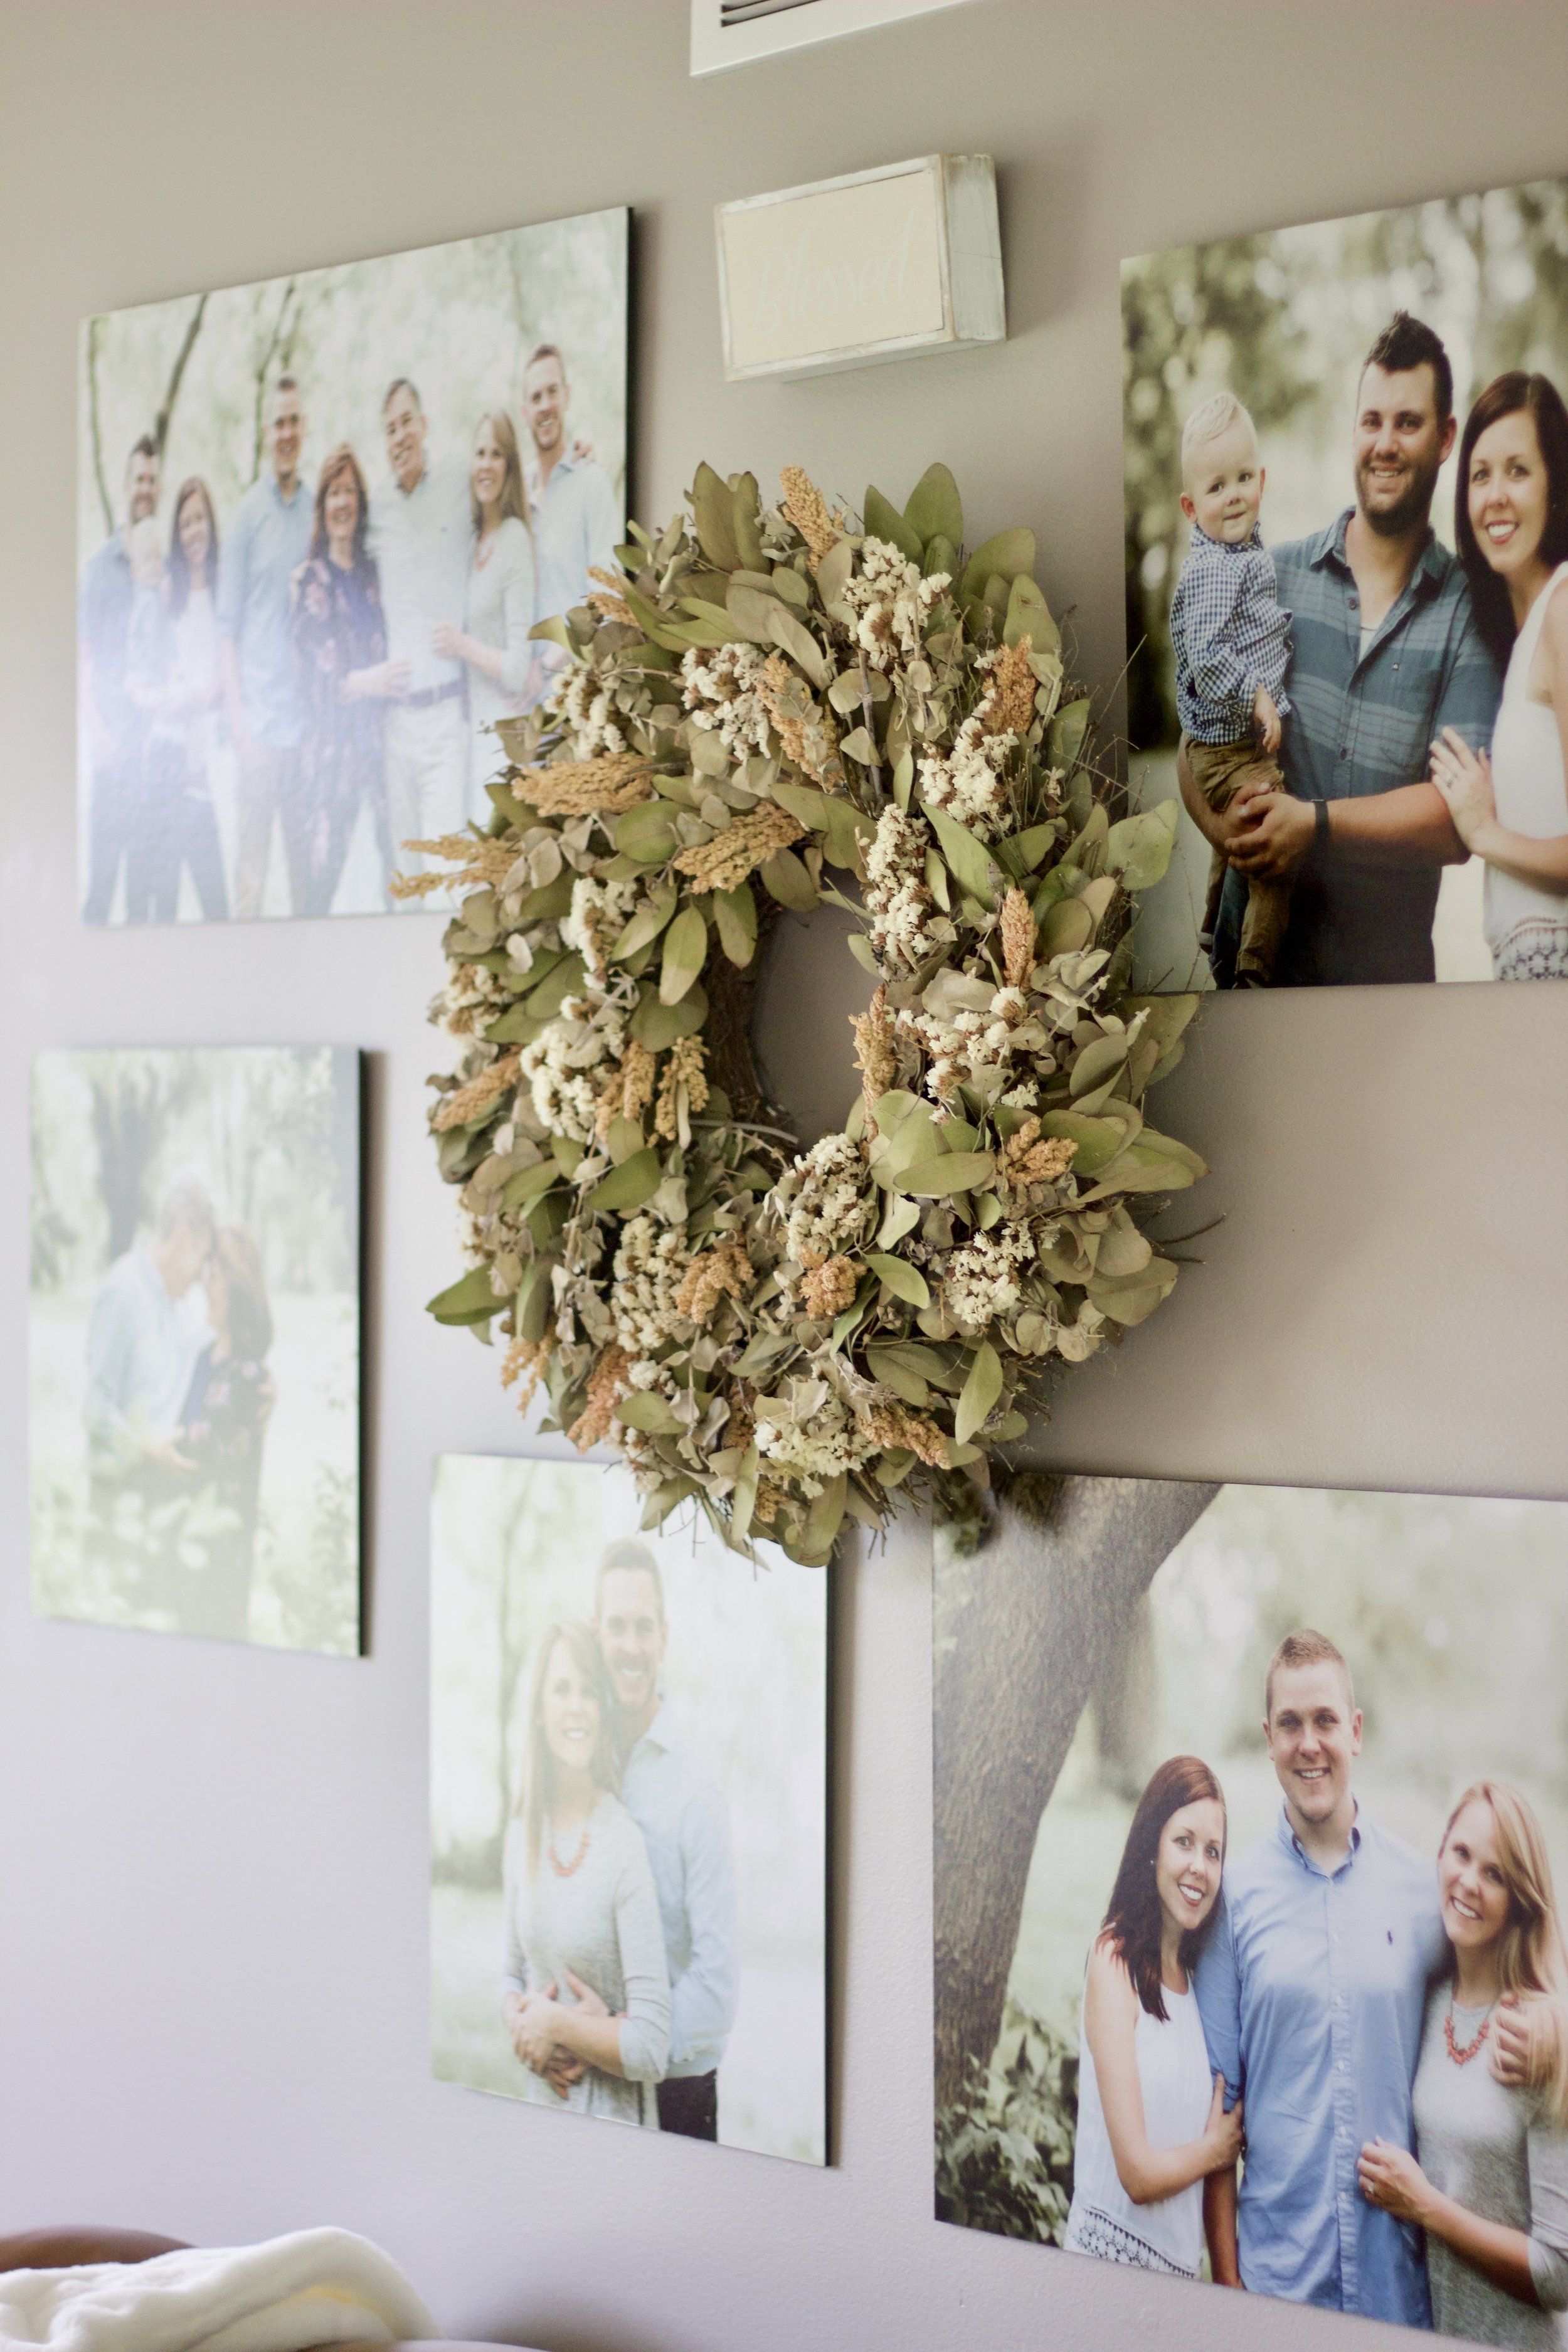
AFTER: A Family collage wall was requested.

fullsizeoutput_2162.jpeg

AFTER PHOTO:

fullsizeoutput_216d.jpeg

AFTER:

fullsizeoutput_2168.jpeg

AFTER:

fullsizeoutput_2167.jpeg

AFTER:

fullsizeoutput_216b.jpeg

AFTER:

fullsizeoutput_2166.jpeg

Hope ya’ll enjoyed the tour! LOVING doing all these living rooms lately. It’s so fun to use family touches, existing decor, as well as new pieces to bring family’s homes fresh comfort and exciting redesigns.

Love y’all!

XOXO

Rectangle Living Room Re-do

It was an extreme honor to decorate for the sweetest of families this weekend!  I get a lot of design requests for rectangle living rooms.  Surprisingly many many living rooms also have off-centered fireplaces.  Sound familiar?  Or Scary?  No worries friends.  I'm kind of getting the hang of these now :)  


So please enjoy this delicious before & after tour.  It was so so fun!

BEFORE PHOTO:

IMG_0355.JPG

BEFORE PHOTO:

IMG_0356.JPG

AND...

NOW...

THE...

AFTER...

TOUR...

AFTER PHOTO:

fullsizeoutput_1d4d.jpeg

AFTER:  We had a contractor put the TV over the fireplace to allow more room for cabinetry, storage, and room flow.  These cabinets hide lots of grand-baby toys, games, and components.

fullsizeoutput_1d24.jpeg

AFTER: We used the homeowners existing furniture but spruced things up with new accessories and other new soft surroundings.

fullsizeoutput_1d2f.jpeg

AFTER PHOTO: The unique architectrue in the windows called for floor to ceiling custom-made drapes.

fullsizeoutput_1d1f.jpeg

AFTER:  Family photo collage wall for the win.

fullsizeoutput_1d4a.jpeg
fullsizeoutput_1d43.jpeg

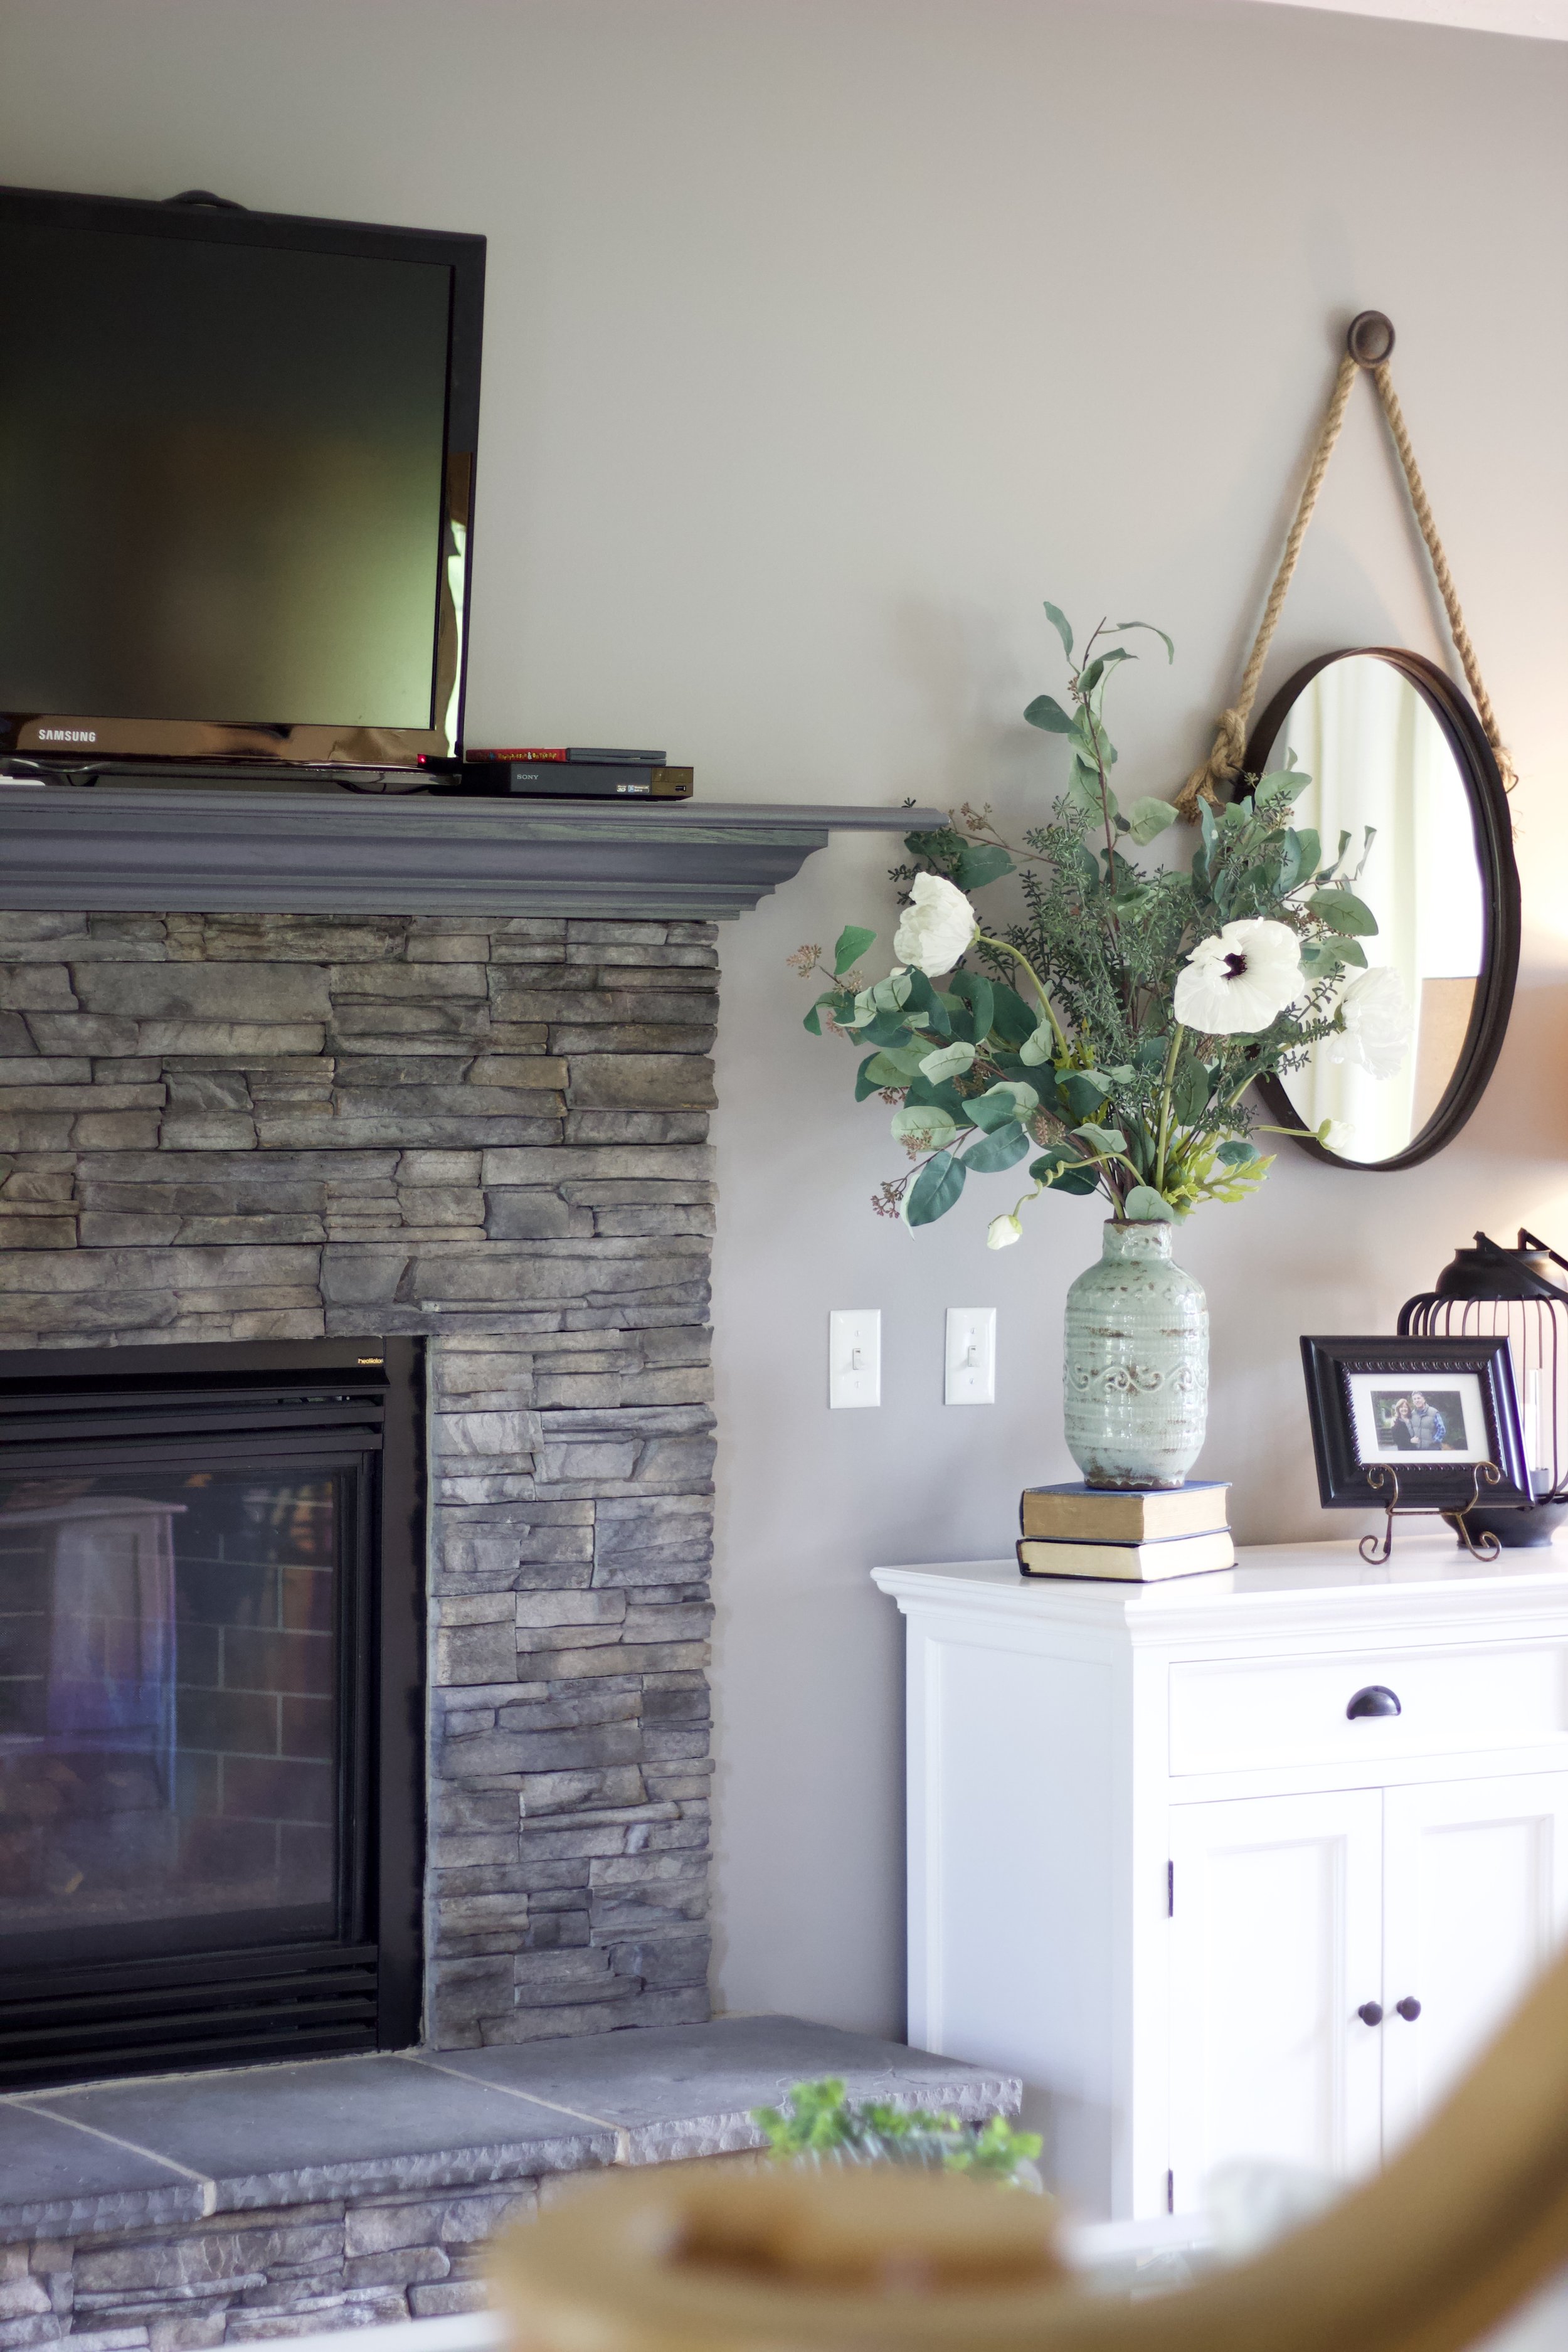
AFTER: I painted her mantle for an updated feel.  The color is "peppercorn grey".

fullsizeoutput_1d3b.jpeg
fullsizeoutput_1d3f.jpeg
fullsizeoutput_1d2b.jpeg
fullsizeoutput_1d26.jpeg

AFTER: Over the window architecture helped even out the windows.

fullsizeoutput_1d37.jpeg

AFTER PHOTO

fullsizeoutput_1d2b.jpeg

AFTER PHOTO:  Bella seems to approve.

fullsizeoutput_1d30.jpeg

AFTER PHOTO

fullsizeoutput_1d4d.jpeg

AFTER PHOTO

fullsizeoutput_1d3e.jpeg

AFTER PHOTO

fullsizeoutput_1d49.jpeg

Thanks for tuning in Loves!

XOXOX

Ashley

Living Room for Friends

Well hello everyone! I hope youre having an amazing summer!  I have emerged, post China (and adoption, and 3 kids age 3 and under). 

I was honored to help dear friends decorate and redesign their living room.  This process involved renovating the fireplace mantle, hanging the TV over the fireplace, selecting and replacing the existing furniture, and then finally, design day (my favorite part).

I am happy to now be able to share the complete BEFORE AND AFTER photos with y'all!  Despite taking the summer to adopt our son (and then adjust), this project was able to be completed through a relaxed timeline (friends are the best!).  I feel so happy it's complete.  And a day decorating with music and coffee was just the ticket nowadays. 

Such a gift to come and help our sweet friends!


BEFORE PHOTOS: Living Room

IMG_0307.JPG

BEFORE: Playroom

IMG_0309.JPG

BEFORE: Living Room

IMG_0308.JPG

NOW...

For...

The...

Reveal...

EEEKKKK....


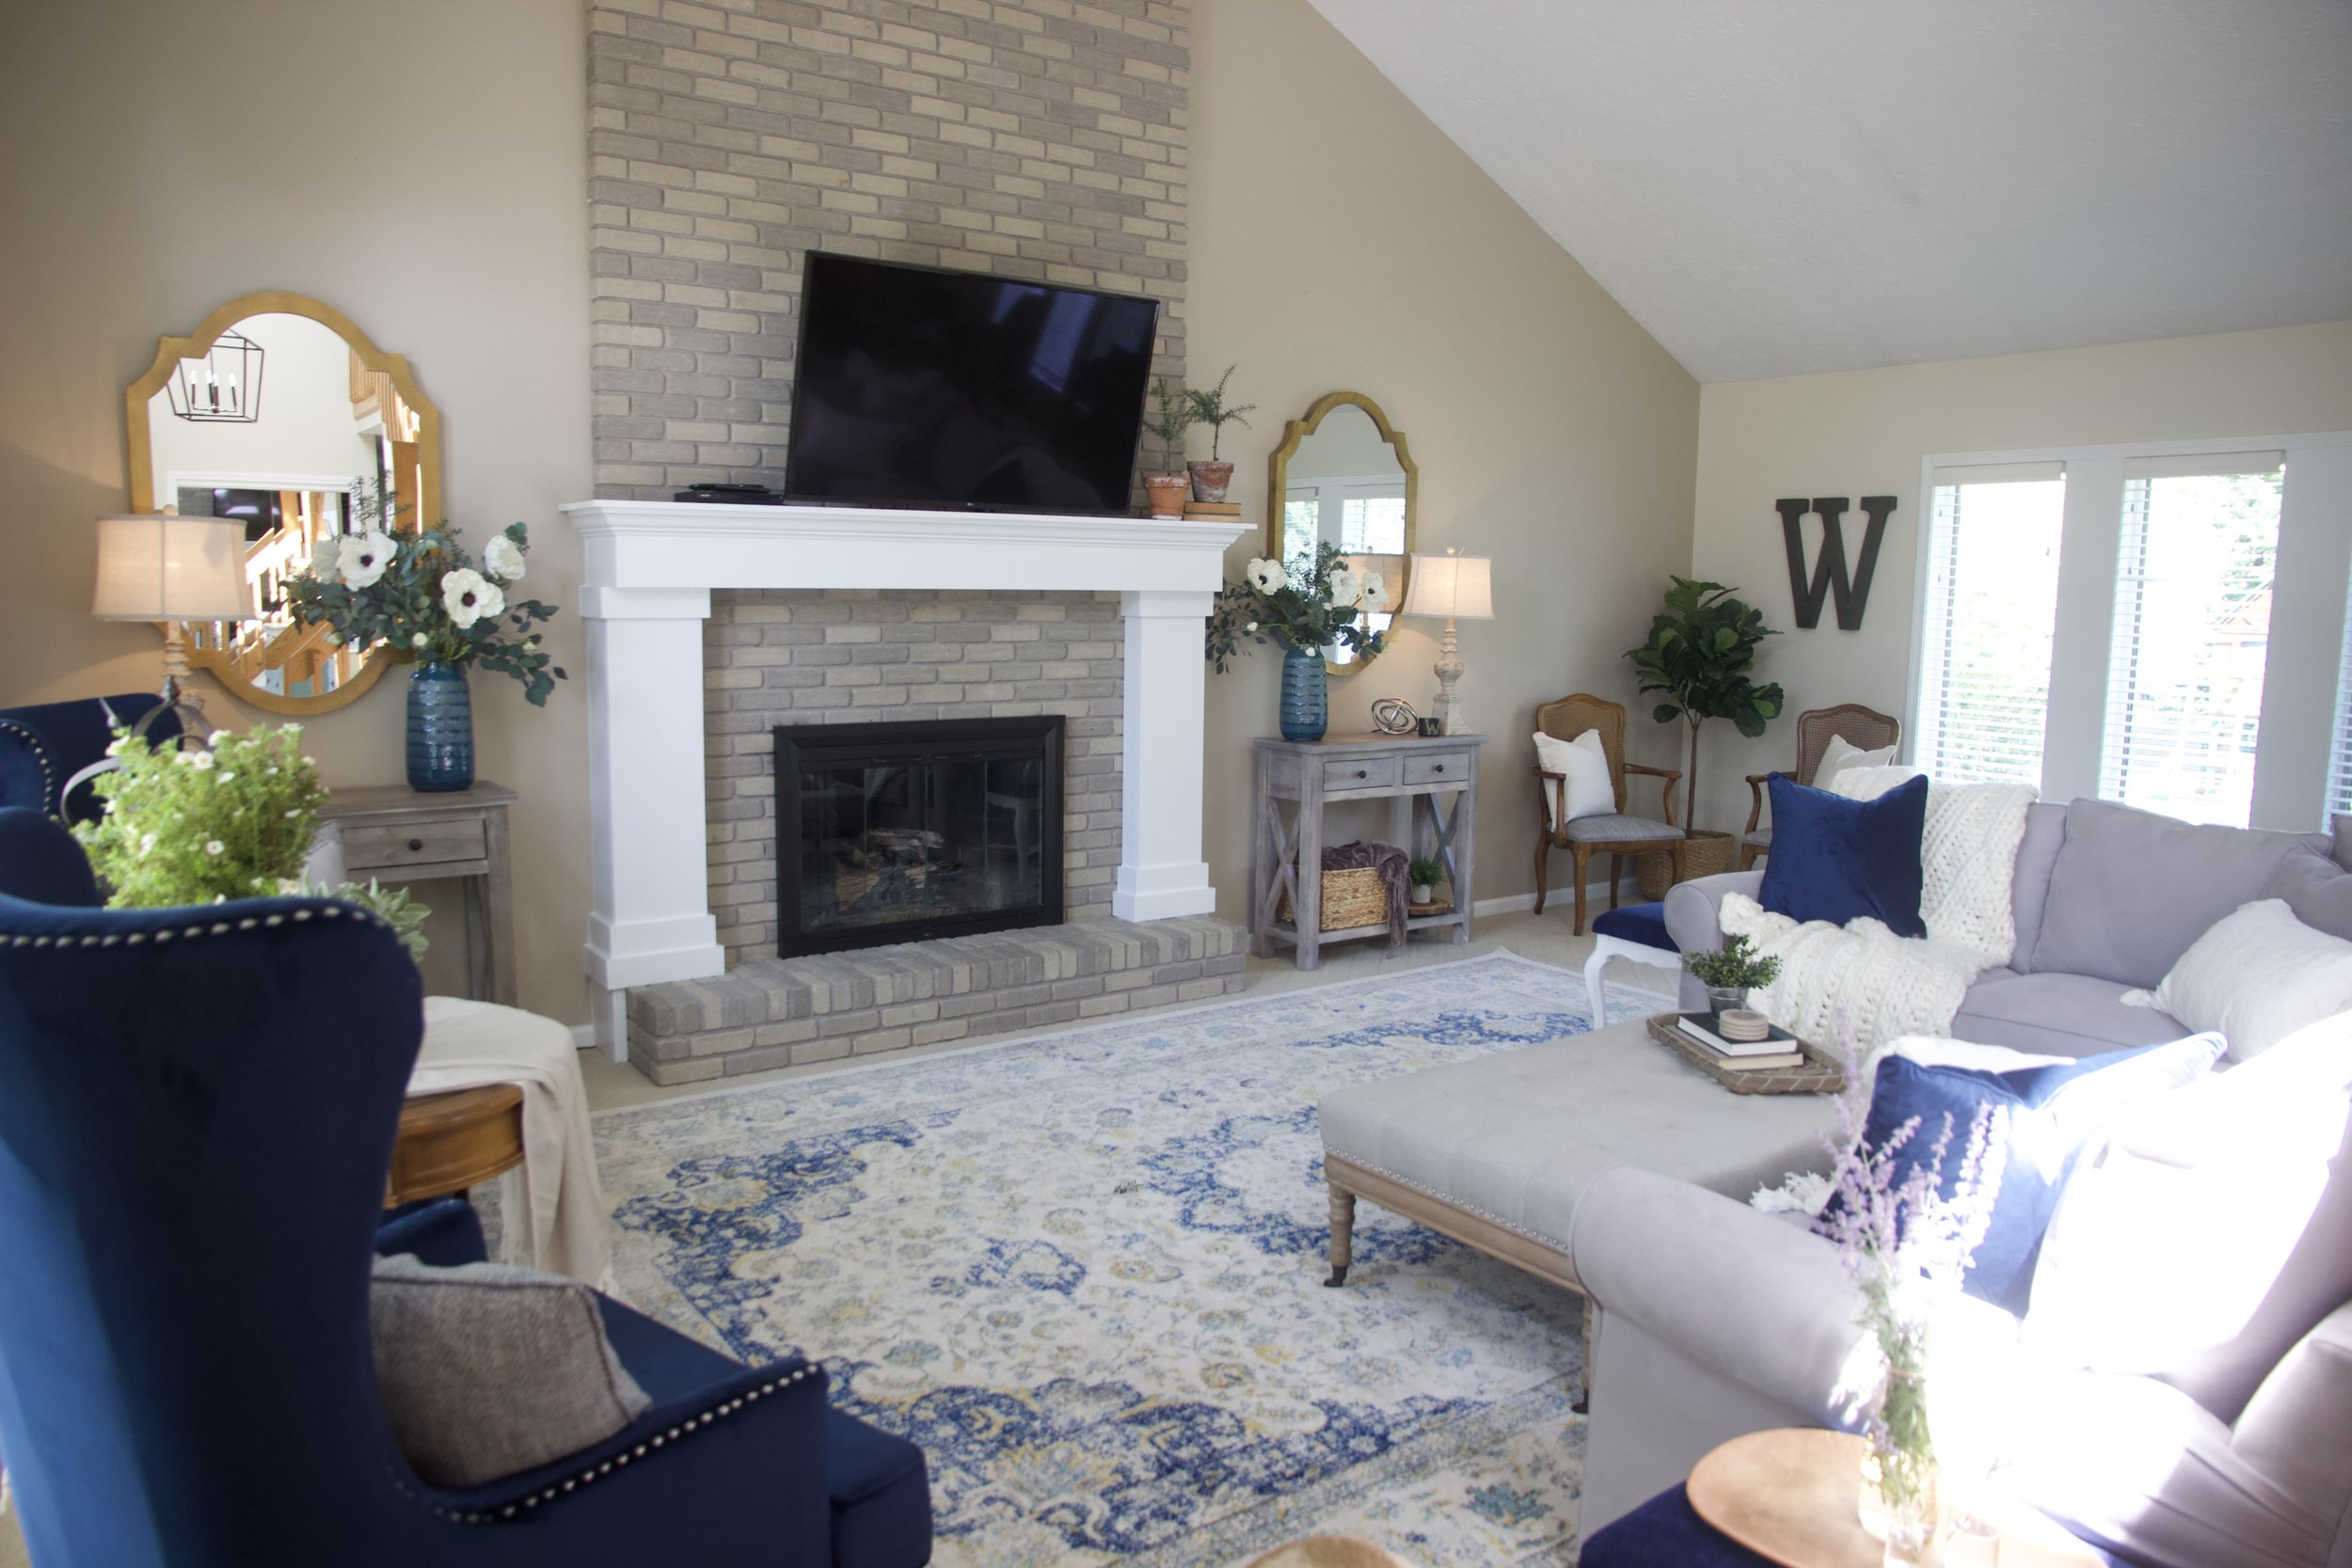
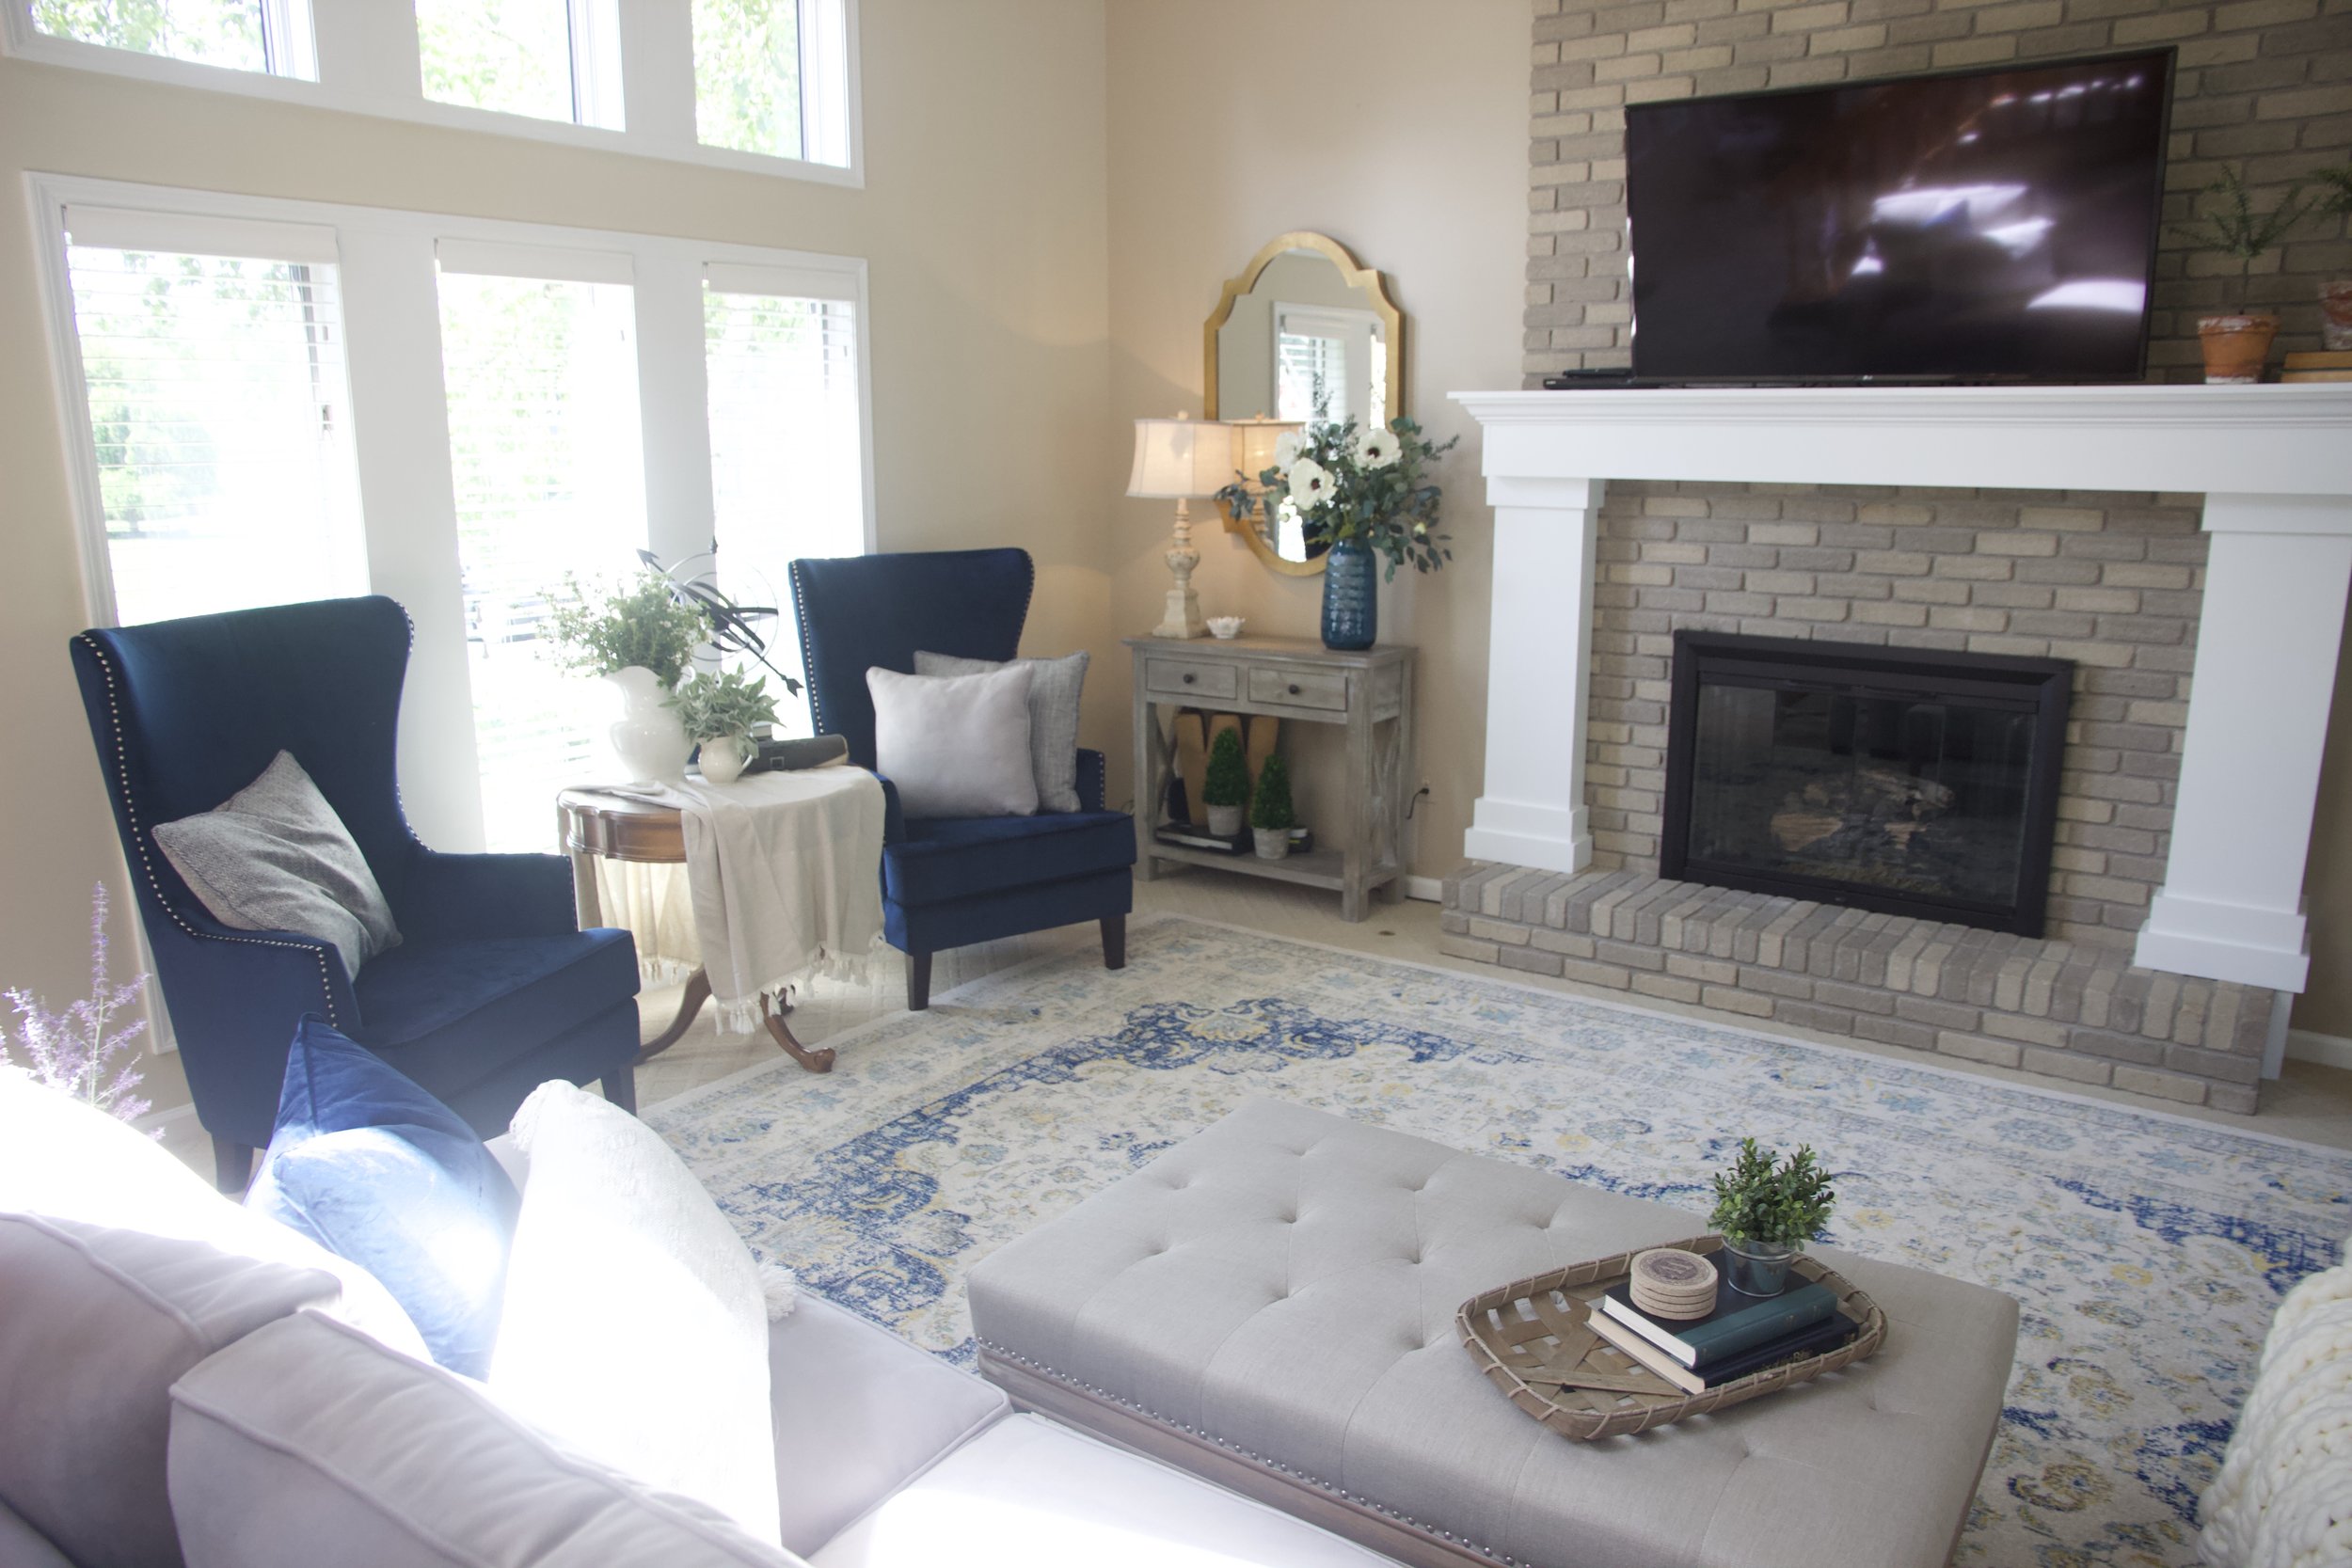
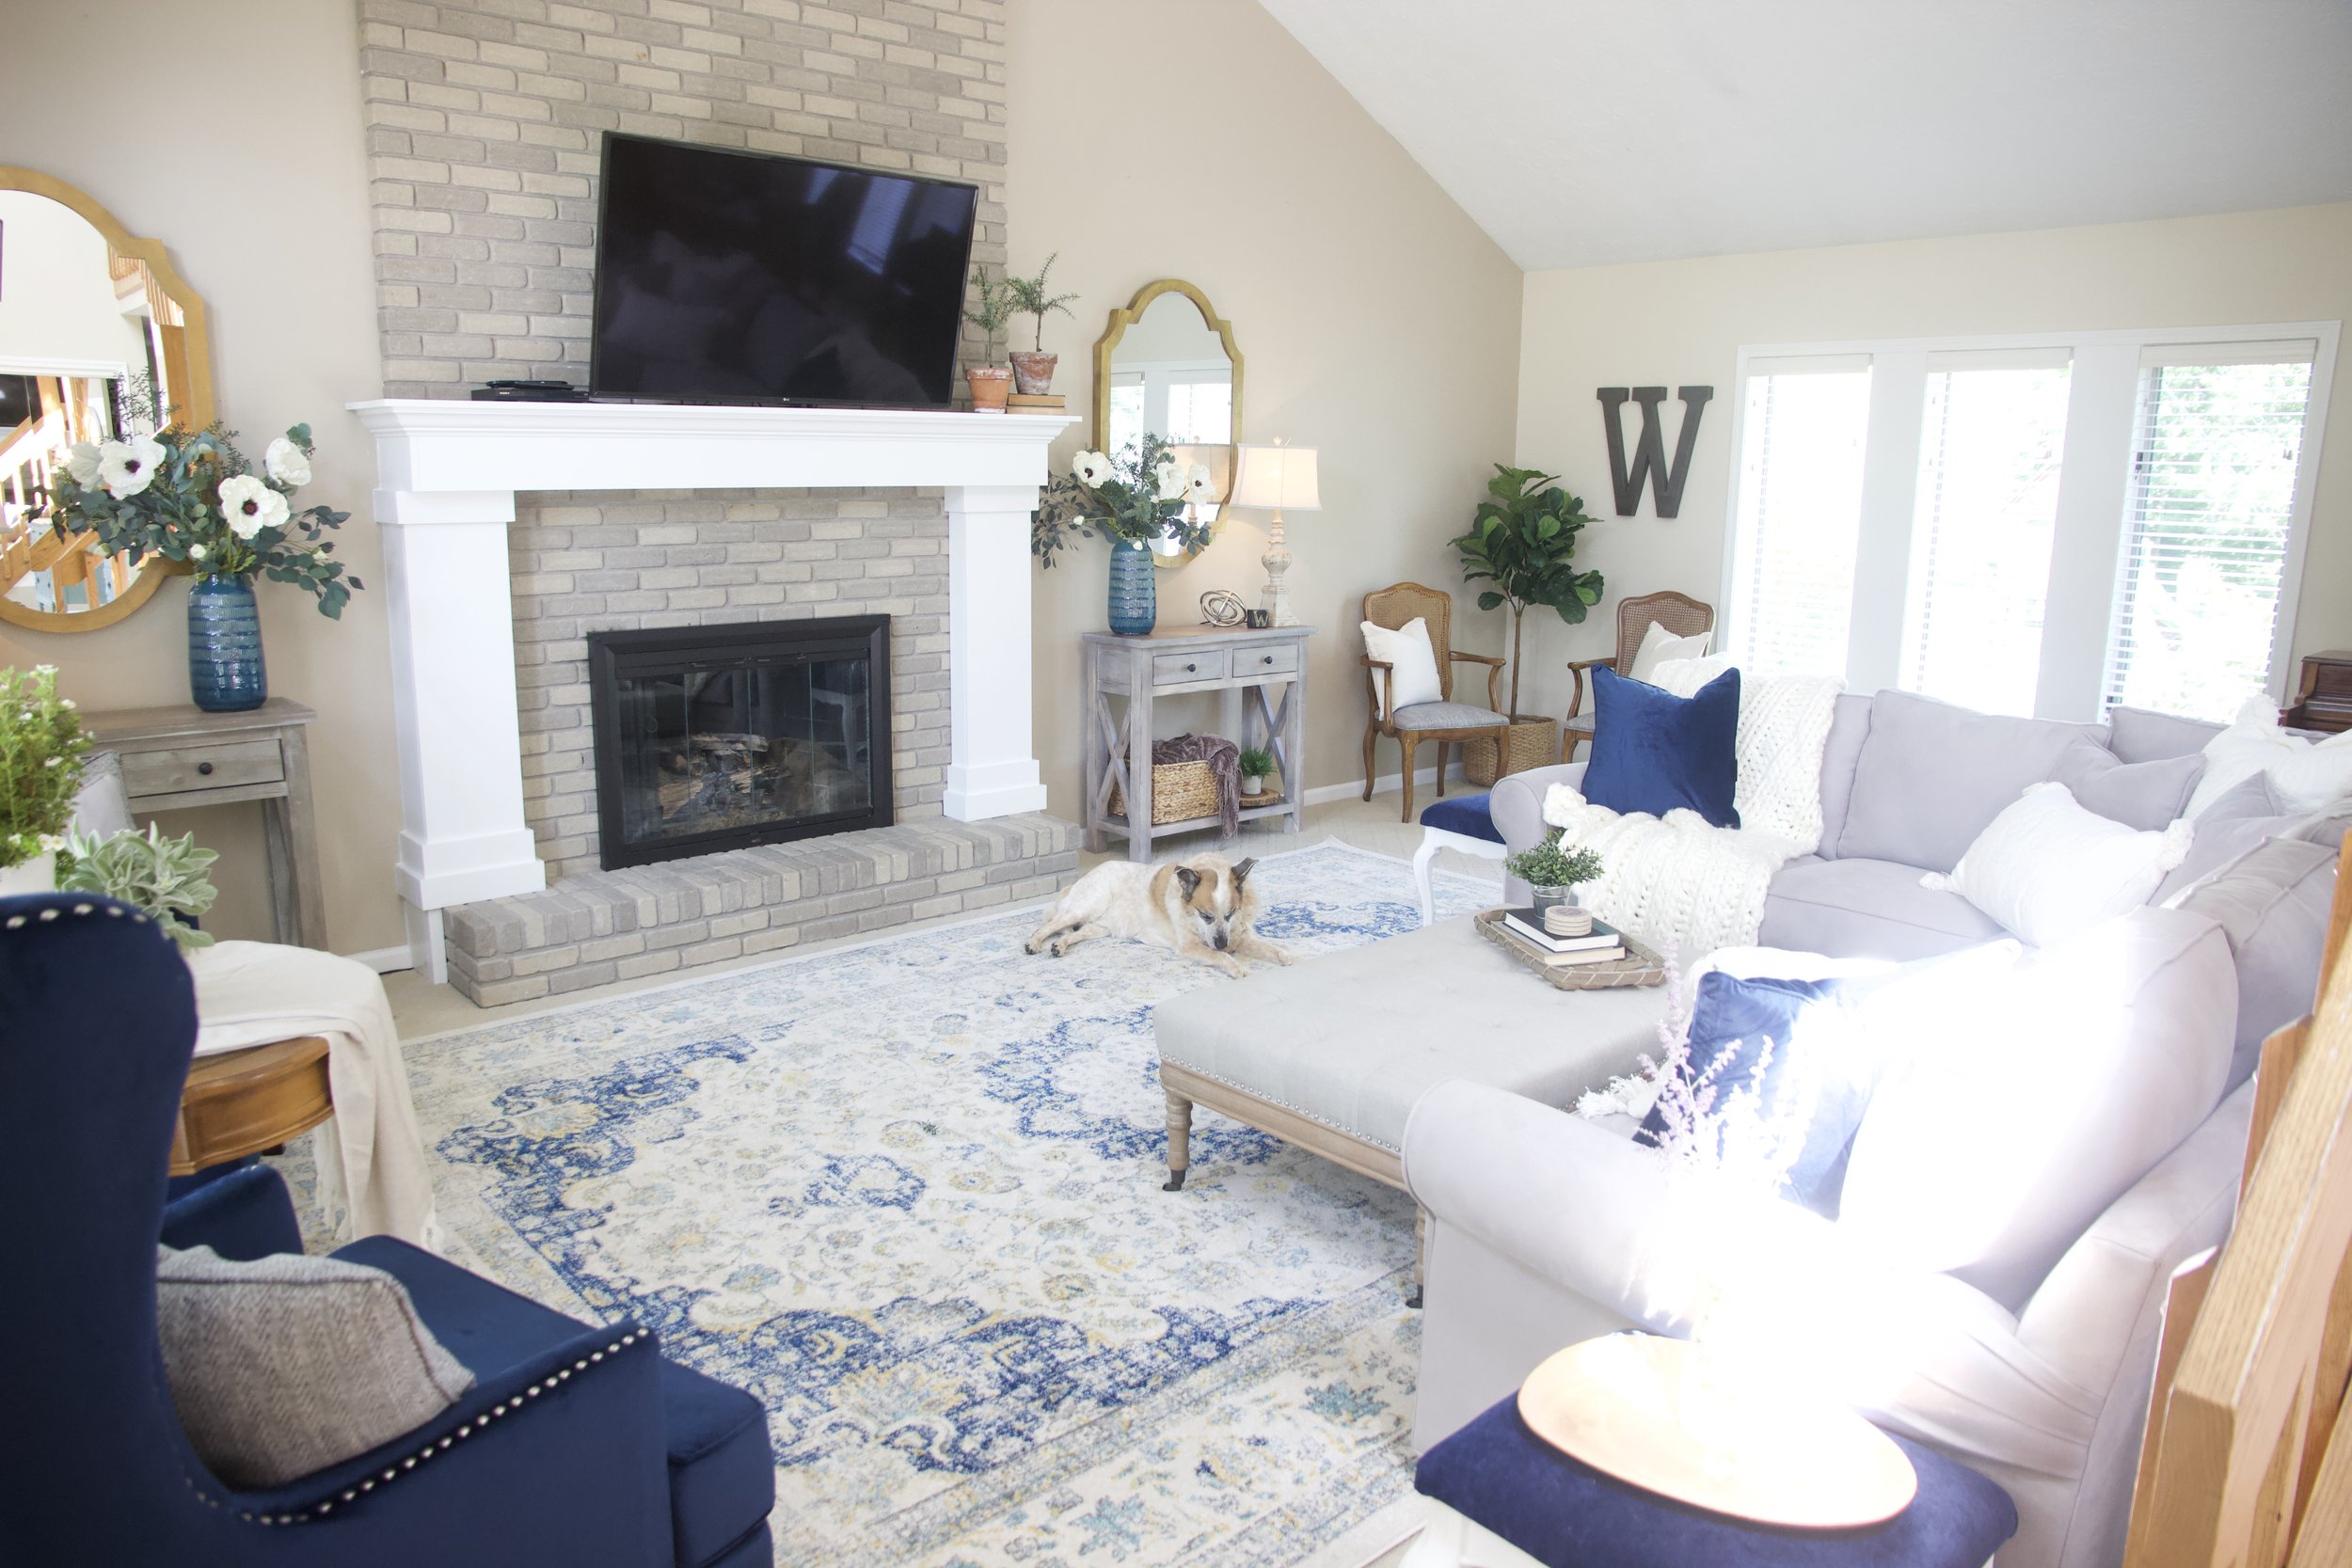
AFTER: Living room.  How amazing is that chunky white mantle?  So good right?  Despite an off-centered fireplace, we made the room feel just right by truly beefing up the focal point and using symmetry for the WIN!  I flanked the fireplace, to increase the effect, with mirrors.

IMG_5297.jpg

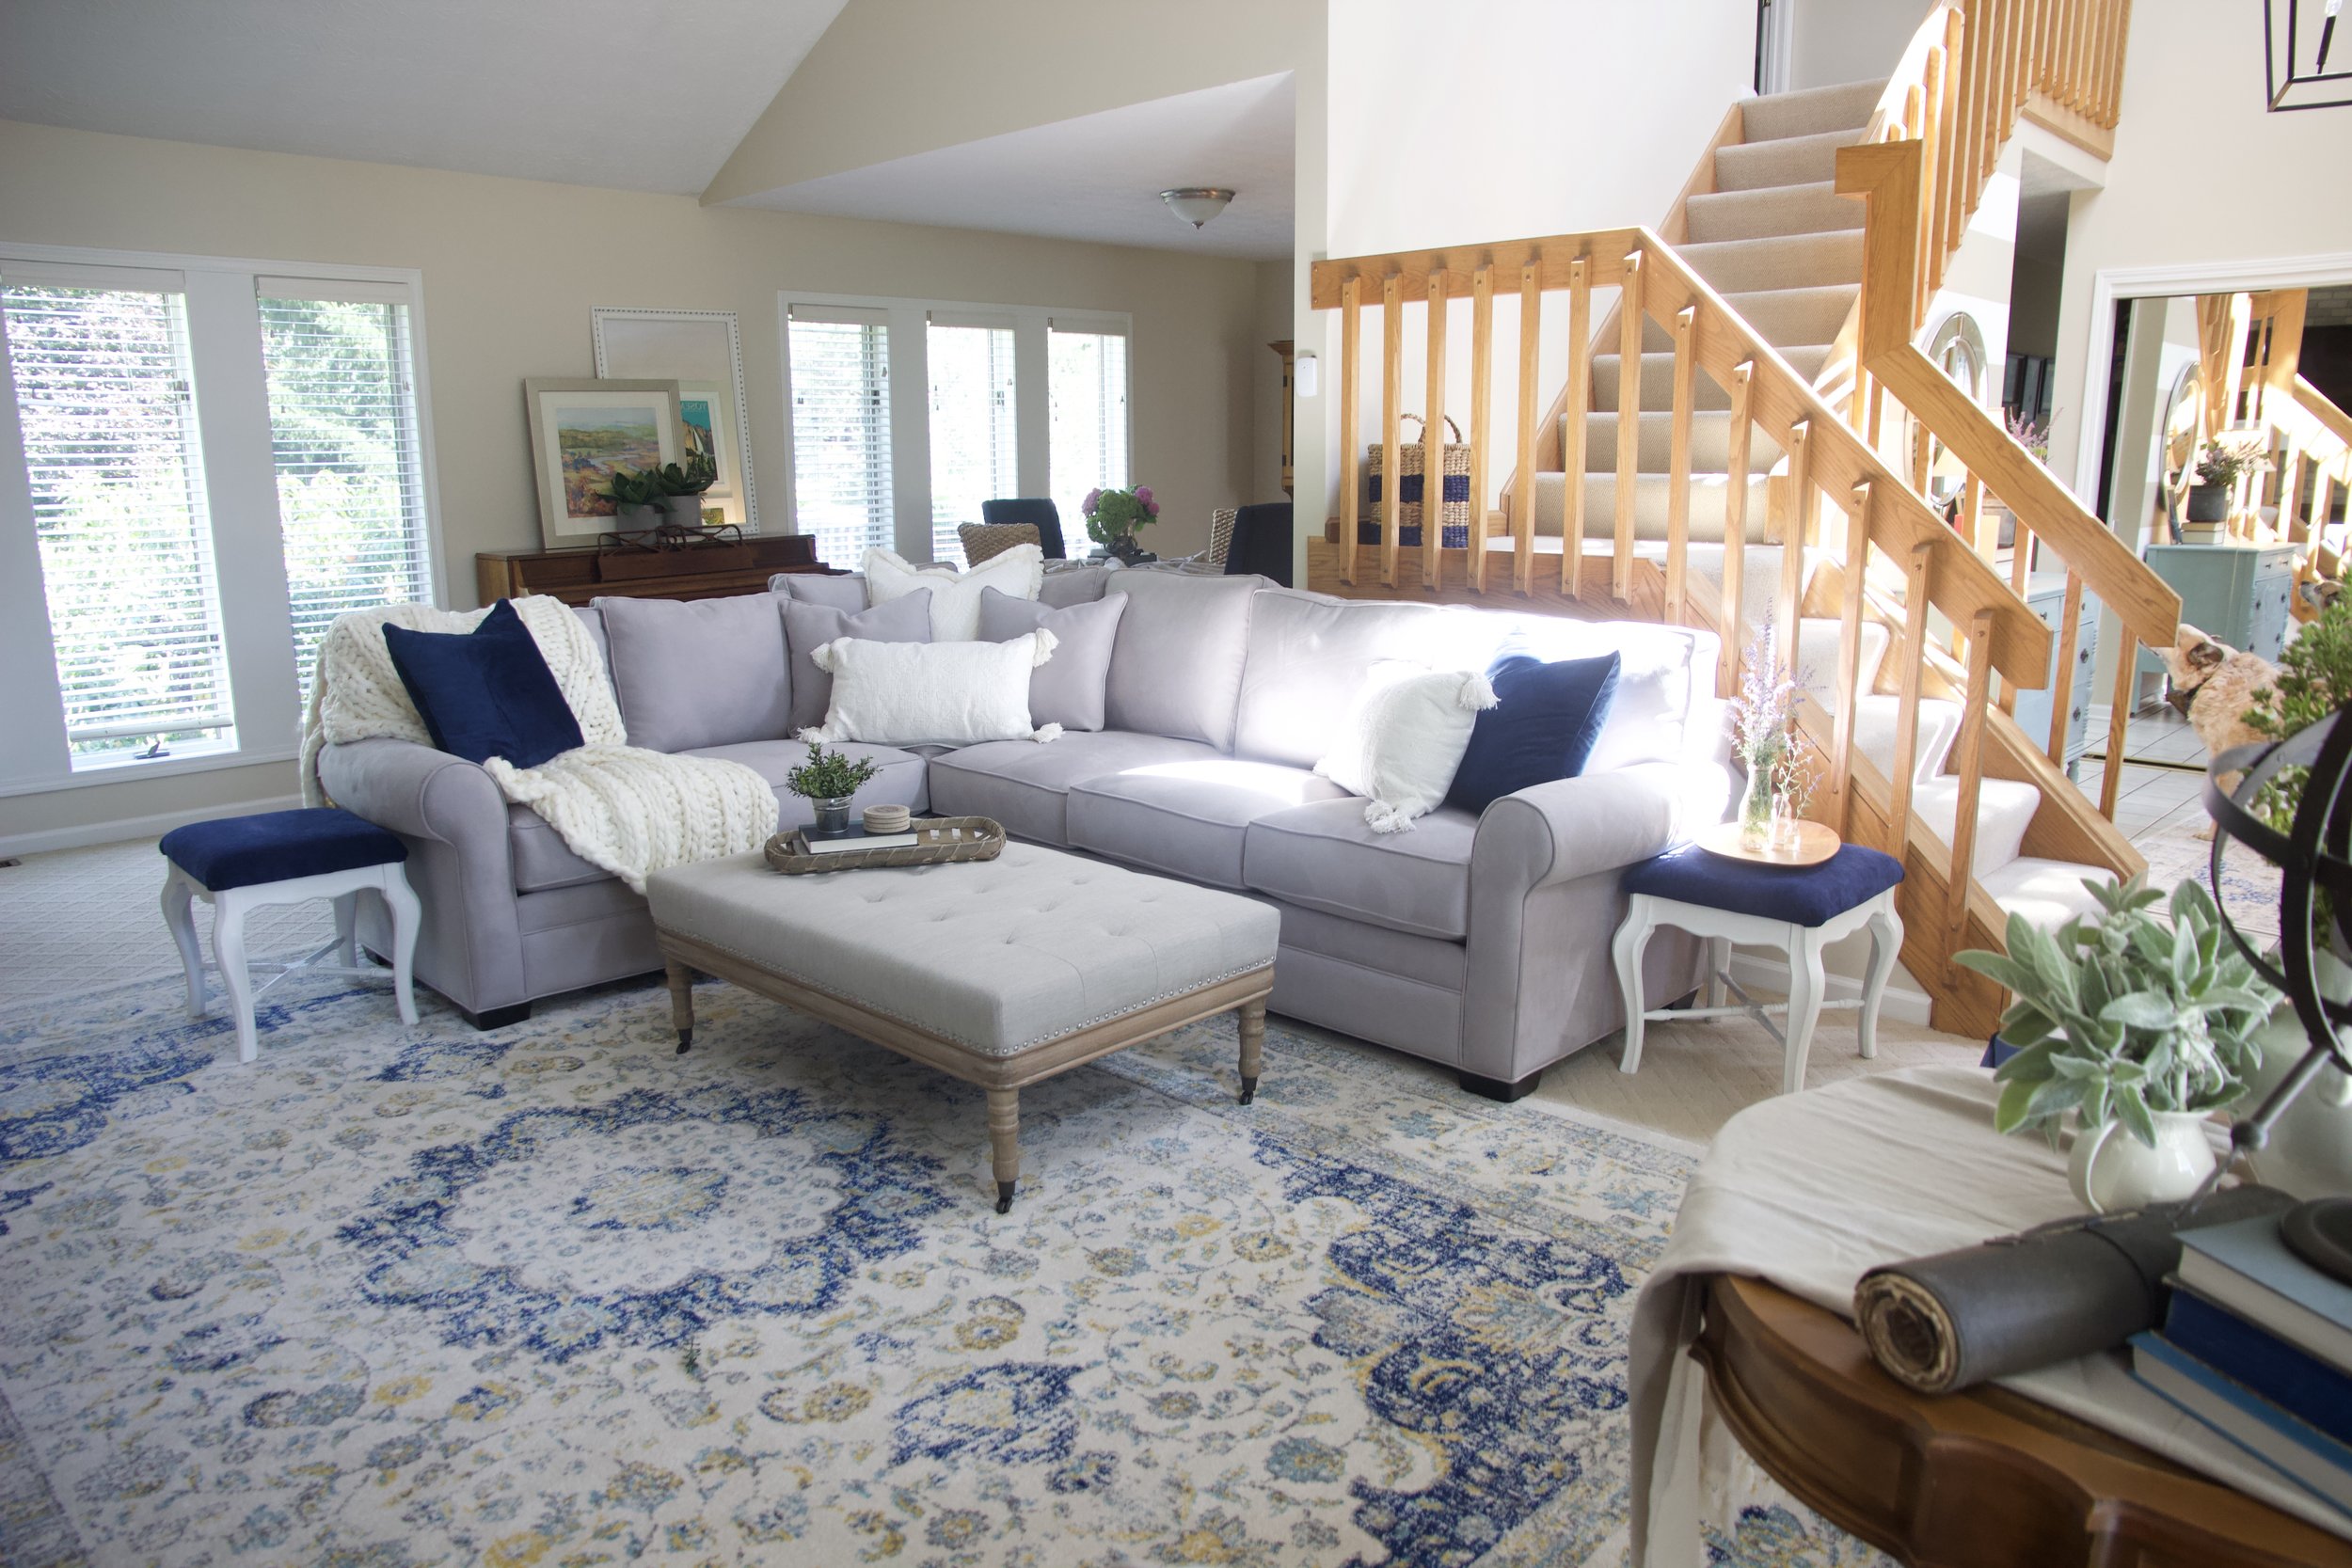
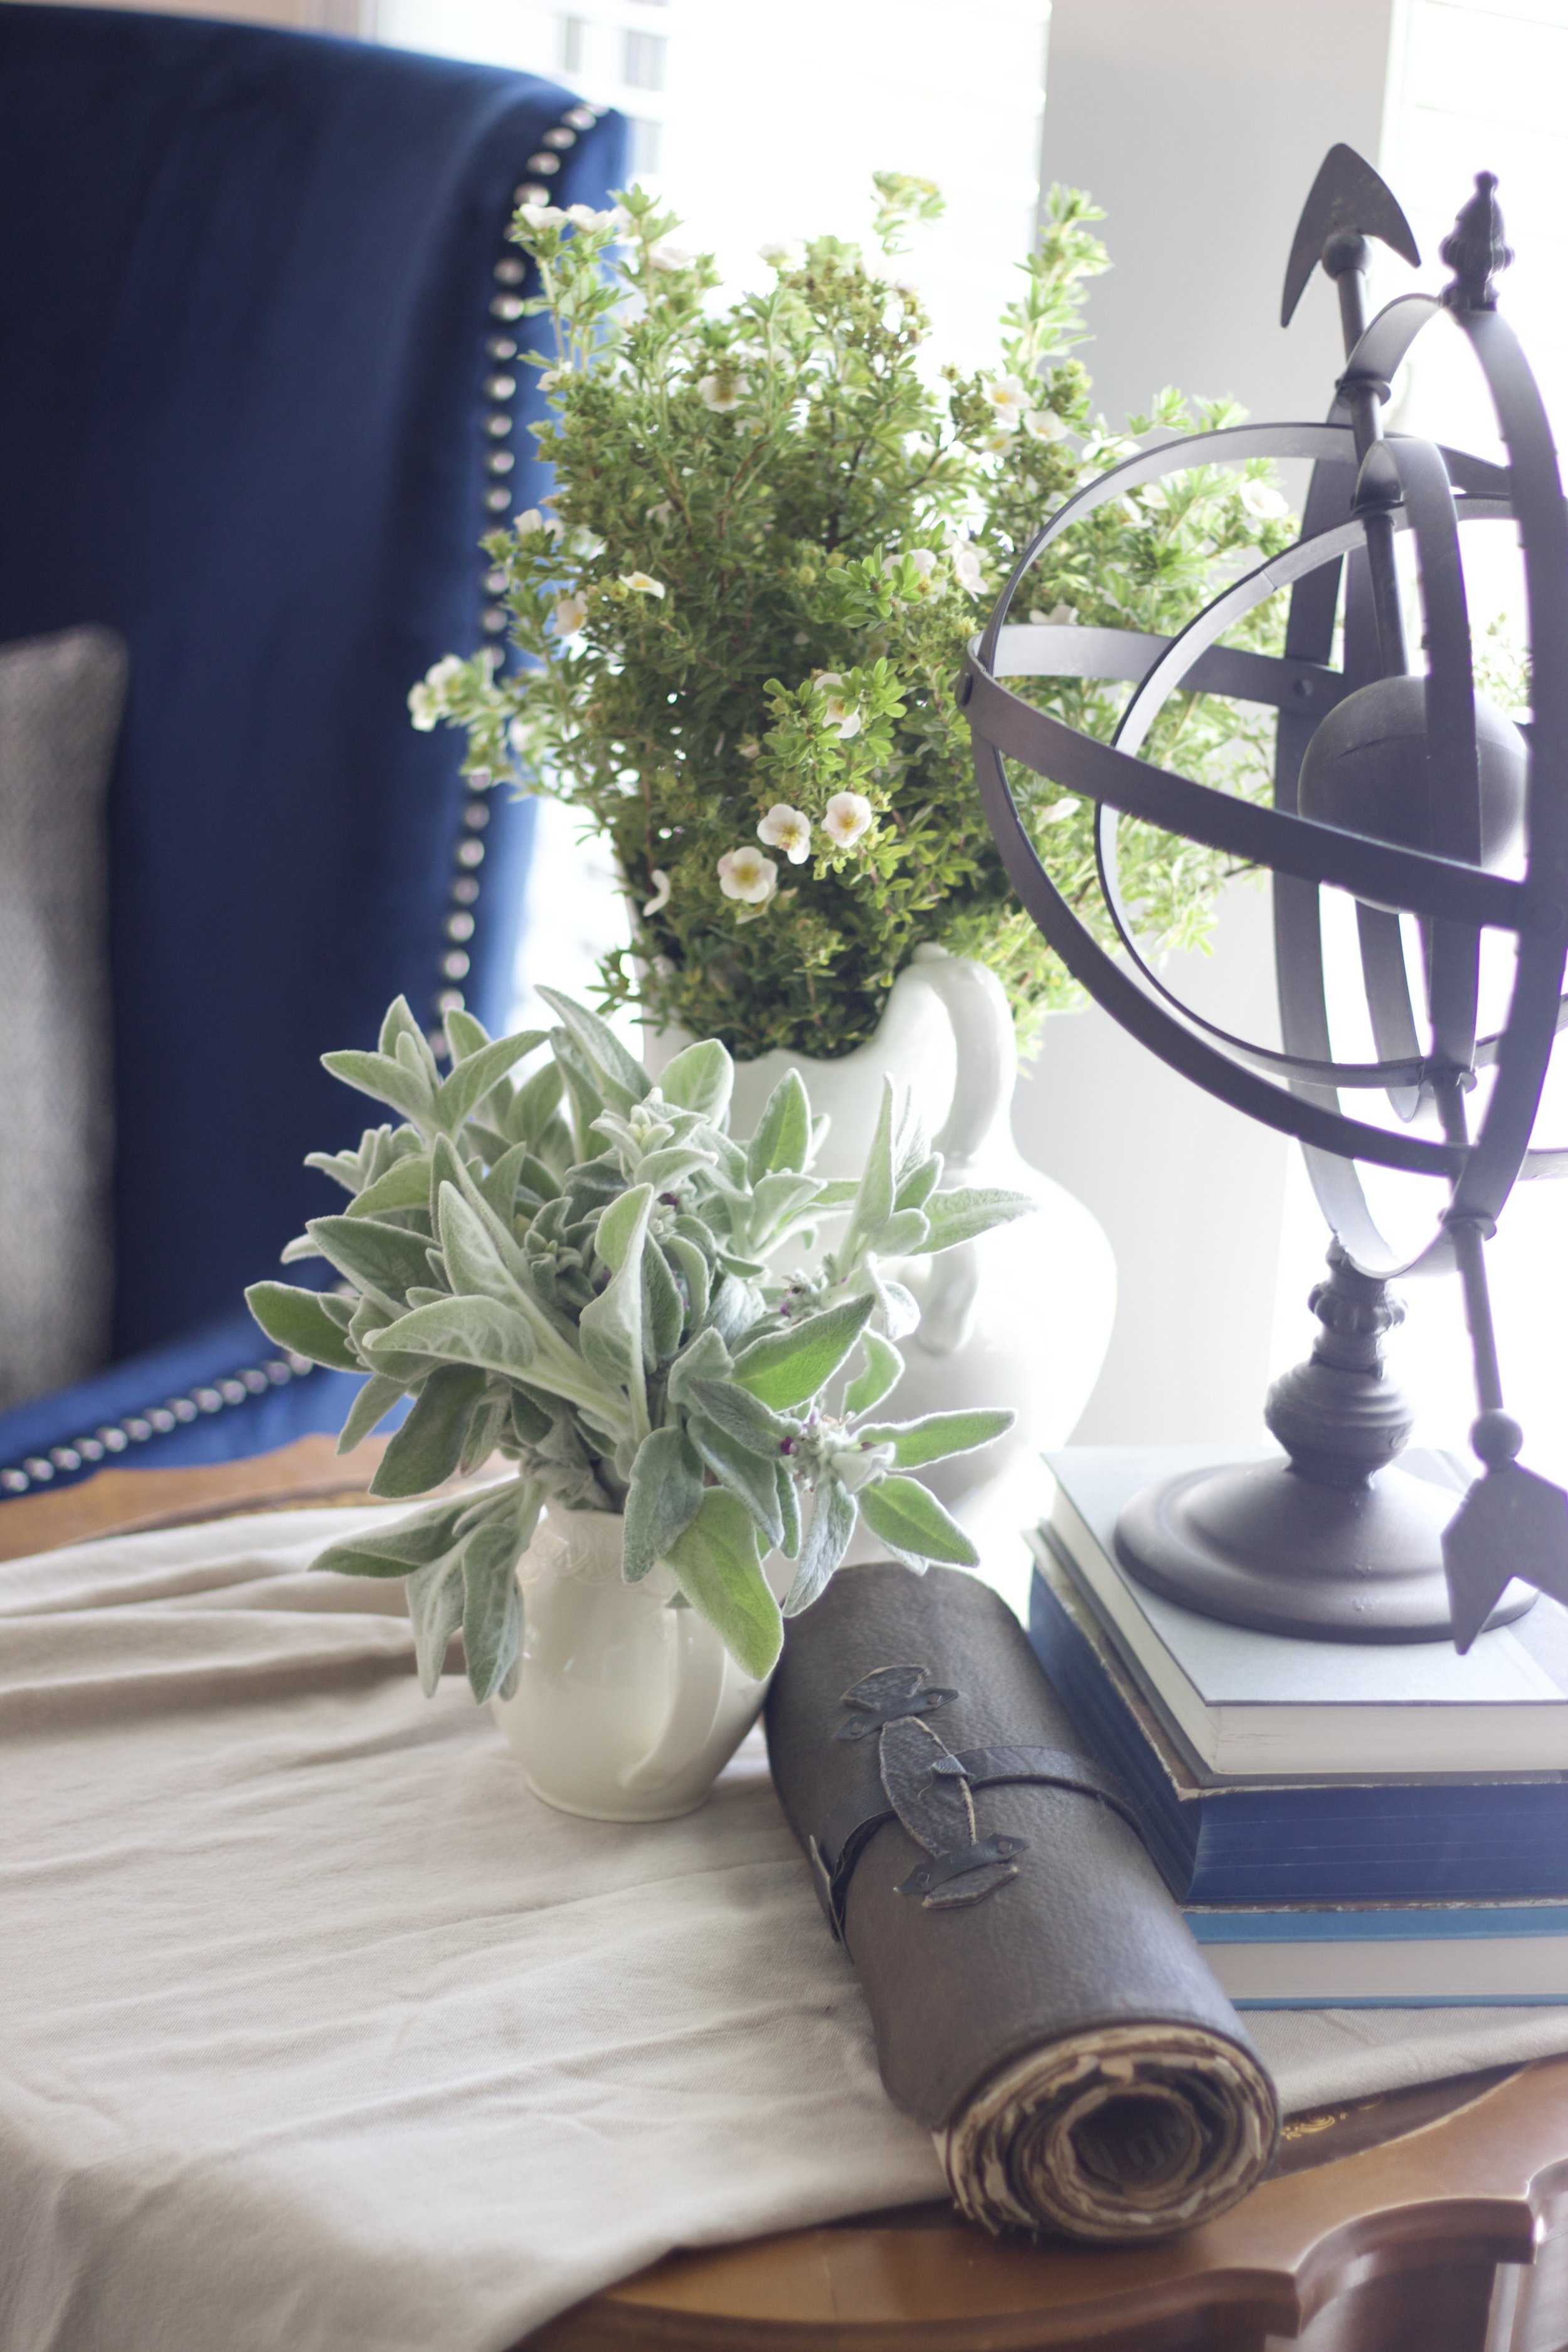
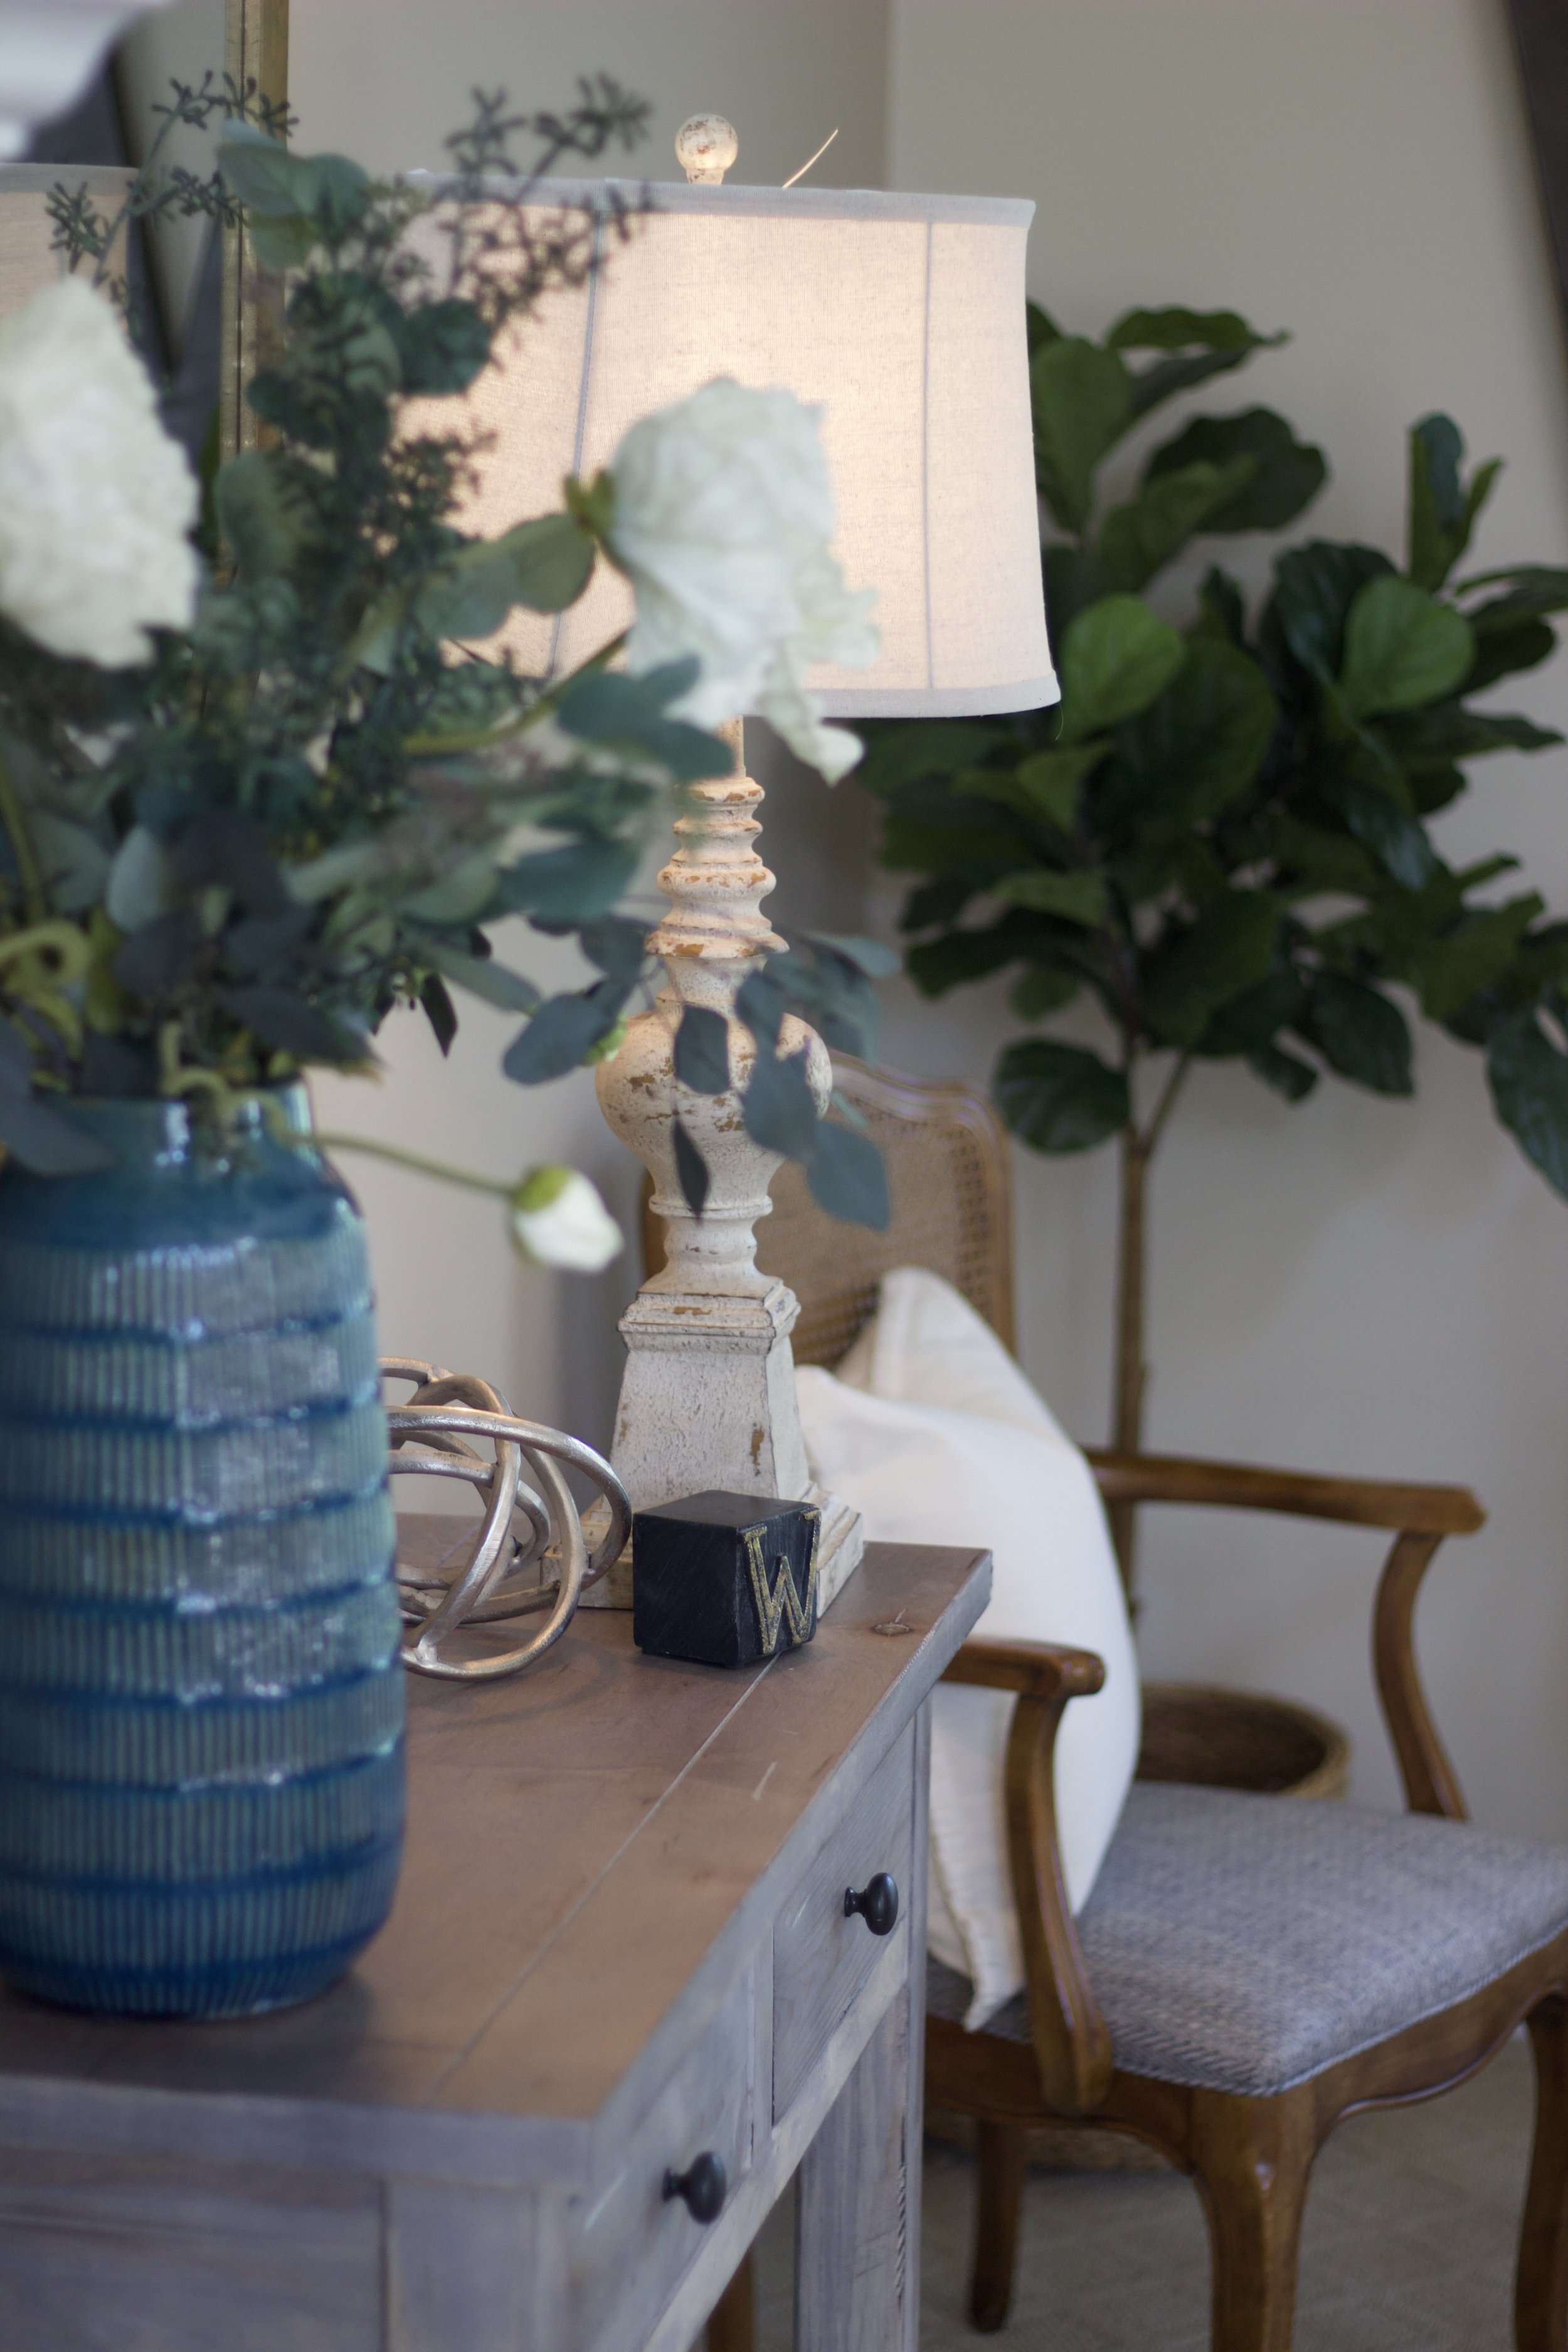
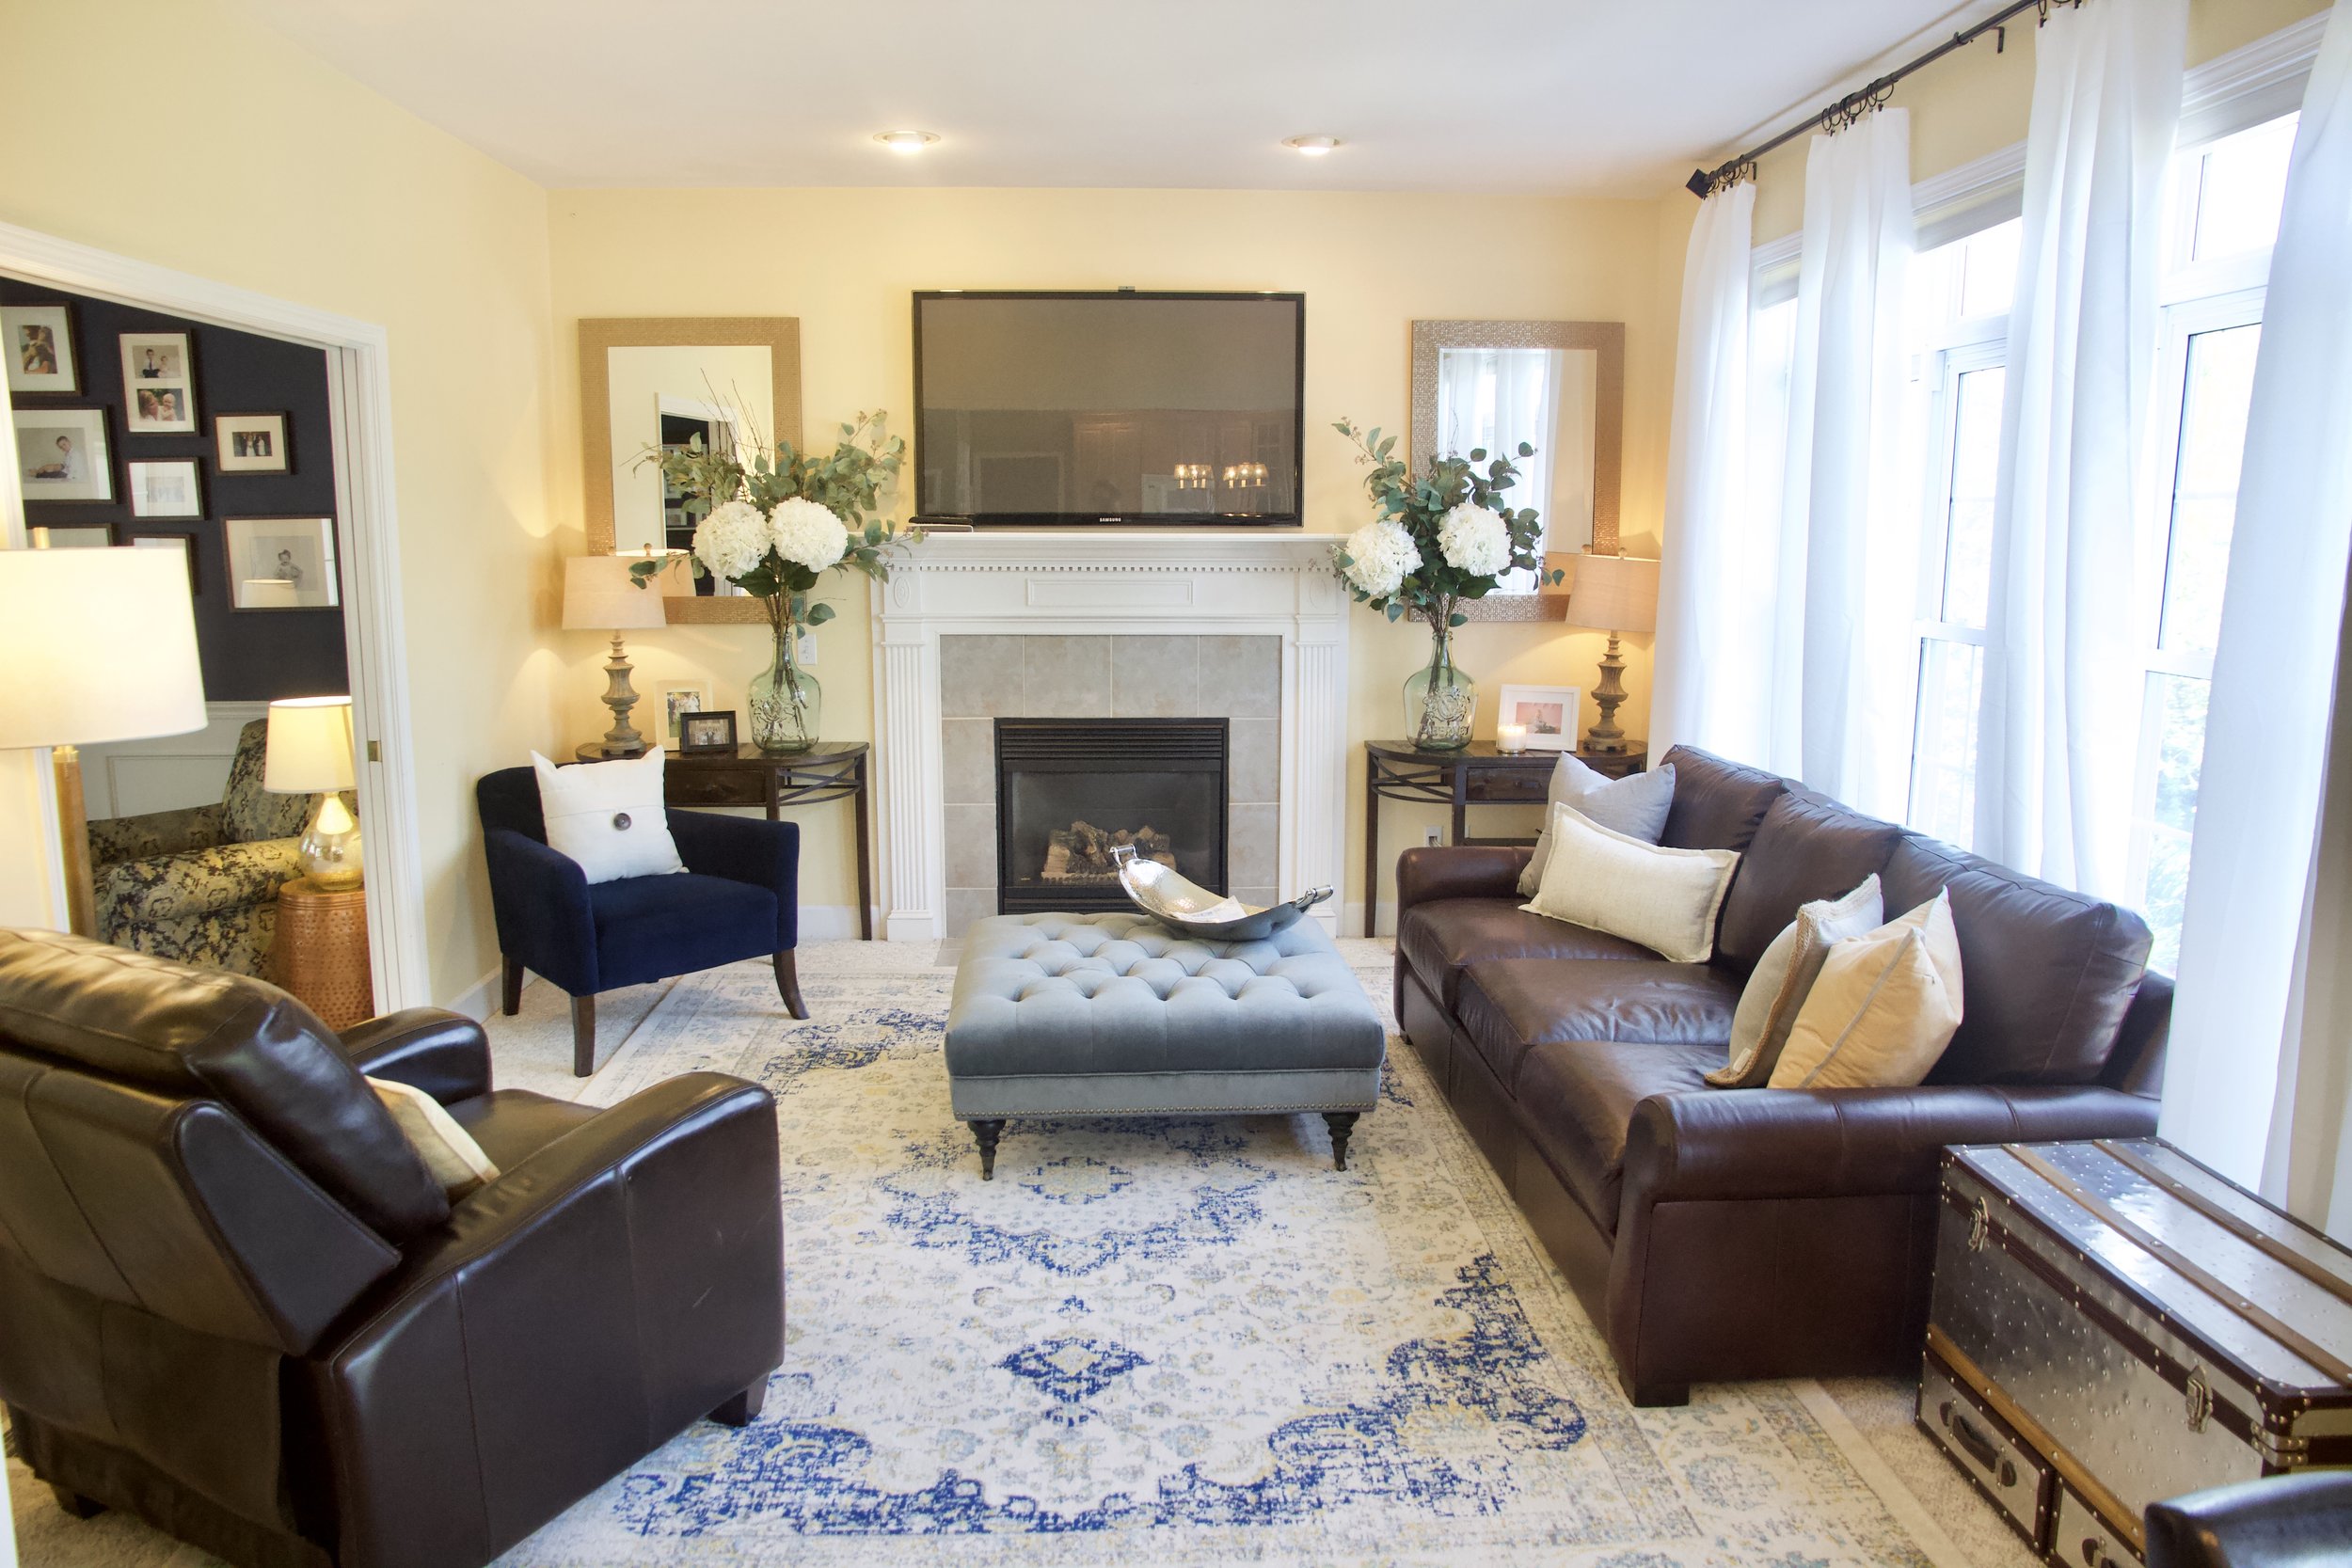
AFTER: Living Room.  This rug has been in a previous design I've done because it has the true ability to bring grey and cream together happily.  Velvet navy chairs are my dear friends weakness.  The navy classic vibe is so so lovely in this space.  Console tables aid in the TV components camoflauge.  A large ottoman will be perfect for all the tootsies during football parties.  Existing antiques and family pieces also made the debut.

fullsizeoutput_1b34.jpeg
fullsizeoutput_1b6e.jpeg

AFTER: The new sectional is perfect for the oblong room.  It also increases the COZY.  New throw pillows, plush handmade throws, and existing footstools keep everything relaxed.

fullsizeoutput_1b3c.jpeg
fullsizeoutput_1b65.jpeg

AFTER:

fullsizeoutput_1b5a.jpeg

AFTER:

fullsizeoutput_1b5f.jpeg
fullsizeoutput_1b69.jpeg
fullsizeoutput_1b5c.jpeg
fullsizeoutput_1b72.jpeg
fullsizeoutput_1b4d.jpeg
fullsizeoutput_1b3f.jpeg
fullsizeoutput_1b5b.jpeg
fullsizeoutput_1b67.jpeg

AFTER: Just beyond the sofa is the old playroom.  This is now the new dining area.  It's still a work in progress, but we were able to use some of the homeowners existing pieces to make the space functional and pretty in the meantime.

fullsizeoutput_1b6d.jpeg
fullsizeoutput_1b4a.jpeg

AFTER: New Dining Area

fullsizeoutput_1b55.jpeg

AFTER: New Dining Area.  The old TV hutch is doing double duty, for now, as a buffet.  Existing family art pieces keep the blue theme.

fullsizeoutput_1b57.jpeg

AFTER: New Dining Area

fullsizeoutput_1b63.jpeg

AFTER: New DIning Area

fullsizeoutput_1b43.jpeg
fullsizeoutput_1b42.jpeg
fullsizeoutput_1b4d.jpeg
fullsizeoutput_1b51.jpeg
fullsizeoutput_1b44.jpeg

I truly love this family.  They work so hard and have loved on us so much through our adoption process and beyond.  

Enjoy "W" family

XOXO

Ashley
Two Room TRADITIONAL Transformation

I was honored with a referral after the wonderful "Dreamy Dining Room" design:

The lovely "E" wanted me to tackle her living room and adjoining play area.  I love using lots of existing pieces and then tying in new and fresh.  With this design, we did zero painting and added a rug so as not to have to replace carpet right away.  This maximized our available budget.  Sometimes having someone redecorate a room is cheaper than replacing flooring.  Redesign makes the whole room feel better, often for even less than the cost of flooring installation.  And it at least buys you time.

I did new curtains, a new rug, new lamps, new end tables, new mirrors, new accessories, pillows, a fresh ottoman, and a new sofa in the "play room".  All the toys were artfully hidden, so that the men can watch the game while the ladies can have conversation in an adult-styled adjoining room.  The room is still filled with kid-safe fabrics that cooperate during day-to-day living.

BEFORE PICTURES BELOW...

BEFORE: LIVING ROOM

IMG_0253.JPG

BEFORE: LIVING ROOM

IMG_0254.JPG

BEFORE: ADJOINING PLAY ROOM

IMG_0255.JPG

AND NOW....

THE...

AFTER TOUR PICTURES:

fullsizeoutput_1982.jpeg

AFTER:

fullsizeoutput_1986.jpeg

AFTER:

fullsizeoutput_1983.jpeg

AFTER:

fullsizeoutput_198c.jpeg

AFTER:

fullsizeoutput_1984.jpeg

AFTER:

fullsizeoutput_198f.jpeg

AFTER:

fullsizeoutput_1977.jpeg

AFTER:

fullsizeoutput_198e.jpeg

AFTER:

fullsizeoutput_1989.jpeg

Thanks Y'all!

XOXO ASHLEY


Dreamy Dining Room

So here is my weekend DINING ROOM design,  and y'all will just love the spring touches!  My client had a totally gorgeous kitchen, with this attached dining room.  She mainly asked for curtains and a fresh rug.  Well.  I love to stretch a dollar, and the budget could do more!  She also wanted a table scape that was kid friendly and extremely practical.  


Here is the BEFORE PHOTO:

IMG_9546.JPG


AND...

THE...

AFTER...

TOUR...

IMG_4518.jpg

AFTER:

IMG_4527.jpg

AFTER:

IMG_4512.jpg

AFTER:

IMG_4519.jpg

AFTER:

IMG_4517.jpg

AFTER:

IMG_4526.jpg

AFTER:

IMG_4515.jpg

AFTER:

IMG_4514.jpg

AFTER:

IMG_4524.jpg

AFTER:

IMG_4511.jpg

AFTER:

IMG_4513.jpg

AFTER:

IMG_4522.jpg

Hope y'all love the reveal!

HAPPY WEEKEND!

XOXOXOXO

Ashley

Big Bedroom, Small Budget

This bedroom design had a tight budget, but came out beautifully!  I'm not going to lie, I wish my bedroom was this large!  Believe it or not, but sometimes there is such a thing as "too spacious" when it comes to design.  Sometimes you don't want to fill the room with clutter, but you don't want the room to feel empty and cold either.

I feel that we accomplished filling a big room, on a "working man's" budget and I wanted to share the BEFORE AND AFTER TOUR with y'all!


BEFORE:

IMG_9548.JPG

BEFORE:

IMG_9549.JPG


THE AFTER TOUR____________


AFTER:

IMG_4473.jpg

AFTER:

IMG_4478.jpg

AFTER:

IMG_4483.jpg

AFTER:

IMG_4472.jpg

AFTER:

IMG_4469.jpg

AFTER:

IMG_4478.jpg

AFTER:

IMG_4465.jpg

LOVED designing for Mr. and Mrs. "Pharmasaurus".  Enjoy your master bedroom y'all!


XOXO

Ashley
Mixing Styles in the Man Room

I was completely honored to decorate for the hipster-est pharmacist I know (and Mrs. Pharmacist) here in New York.  

His and Her Requests?  Manly reading room.  Must be cozy.  Eclectic touches.  Have fun doing it.  While you're at it, a few other touches around the home.  Oh, must be kid-friendly.  Simple budget.

My. Cup. Of. Tea.

So here is the before and after tour.  Can I just say, decorating and design for friends, really is the best.  You know what they like.  Few conversations needed.  Zero pressure.  Maximum reward equals friend saying you're GOAT.  

I'll take it.


BEFORE:

IMG_9086.JPG

BEFORE:

IMG_9085.JPG

AND>>>>>>

....


AFTER!!!!!!!!!!!

fullsizeoutput_35bb.jpeg

AFTER:

fullsizeoutput_35ba.jpeg

AFTER:

IMG_3549.JPG

AFTER:

IMG_3555.JPG

AFTER:

fullsizeoutput_35b9.jpeg

AFTER:

fullsizeoutput_35b7.jpeg


AFTER: Some Fun touches in the family room that I had to take a picture of!  Butcher paper designs and botanicals!

IMG_3558.JPG

A Neutral MakeOver for a BIG family

I am so excited to share a gorgeous before and after with y'all today!

The "J Family" is a young active family that goes to our church.  They contacted me for a fun dining room/living room make over in time for the holidays.  With four beautiful children, a massive extended family, and an active lifestyle; they needed something that was casual and comfortable, but pretty and unique for all their get-togethers.  They needed a MASSIVE dining room table for their beautiful extended family.  But they wanted all the cozy touches so that their huge living room didn't feel so empty.

These jobs are just my favorites.  Decorating for a busy family is so fun.  You want function, you want practical, you want warm.  I get that.  I have a three year old.  I know what it feels like to need "all the things".

HERE is the before and AFTER photo tour!!!!!!


BEFORE: LIVING ROOM

IMG_8550.JPG

BEFORE: DINING ROOM

IMG_8551.JPG

BEFORE: LIVING ROOM

IMG_8553.JPG

BEFORE: LIVING ROOM

IMG_8530.JPG

AND THE AFTER TOUR!!!!!!!!!


AFTER:

fullsizeoutput_ae9.jpeg

AFTER

fullsizeoutput_ada.jpeg

AFTER

fullsizeoutput_aec.jpeg

AFTER

fullsizeoutput_ae5.jpeg

AFTER:

fullsizeoutput_ae6.jpeg

AFTER:

fullsizeoutput_aeb.jpeg

AFTER

fullsizeoutput_af0.jpeg

AFTER:

fullsizeoutput_adc.jpeg

AFTER:

fullsizeoutput_ae4.jpeg

AFTER:

fullsizeoutput_ae8.jpeg

AFTER:

fullsizeoutput_af2.jpeg

AFTER:

fullsizeoutput_ae3.jpeg

AFTER:

fullsizeoutput_ad9.jpeg

AFTER:

fullsizeoutput_af1.jpeg

AFTER:

fullsizeoutput_af2.jpeg

AFTER:

fullsizeoutput_aef.jpeg

AFTER:

fullsizeoutput_ada.jpeg

AFTER:

fullsizeoutput_ae7.jpeg

J's MidCentury Space

It's been awhile over here at the Birchwood Blog.  I have been given the great opportunity to work alongside an amazing company.   And so many days I don't get the chance to blog.  But when I had a gorgeous BEFORE and AFTER opportunity at my girl J's house, I jumped at the chance to decorate and show y'all!

J and her spouse have the prettiest house.  They're crazy talented and have renovated the house top to bottom.  Upon walking in the front door, you realize that the entire space has been opened up and is so very light and bright.

J and her family know they love the midcentury style and modern pieces.  They also love wood accents.  J's husband T is an avid hunter and loves woodworking.  Raw wood and crafted pieces appeal to him.

A strict budget was maintained, and T had already done the handcrafted dining table.  We decided to use the family's sofa because its lines were perfect for our design theme.


BEFORE: Living room

IMG_8147.JPG

BEFORE: Living room

IMG_8146.JPG

BEFORE: Dining Room

IMG_8150.JPG

BEFORE: Dining Room

IMG_8466.JPG


AND...............


AFTER: I accentuated the high ceilings with extra long curtain panels on gun-metal colored rods.  We removed the 5x7 rug and replaced it with a 9x12 rug and thick pad.  It opened the space right up!  We replaced the TV console with a larger TV cabinet, added a gorgeous large ottoman, added 11 curtain panels with rods, replaced the rug, and purchased two recliners.  We added accessories, lighting, greenery, plants, art, and new throw pillows and blankets.

fullsizeoutput_2c8a.jpeg

AFTER: I purchased a painting that tied our color scheme together.  Teal ended up being our accent color because it goes perfectly with holiday colors and seasonal decor, yet shows off the family's funky eclectic side.  

fullsizeoutput_2c89.jpeg

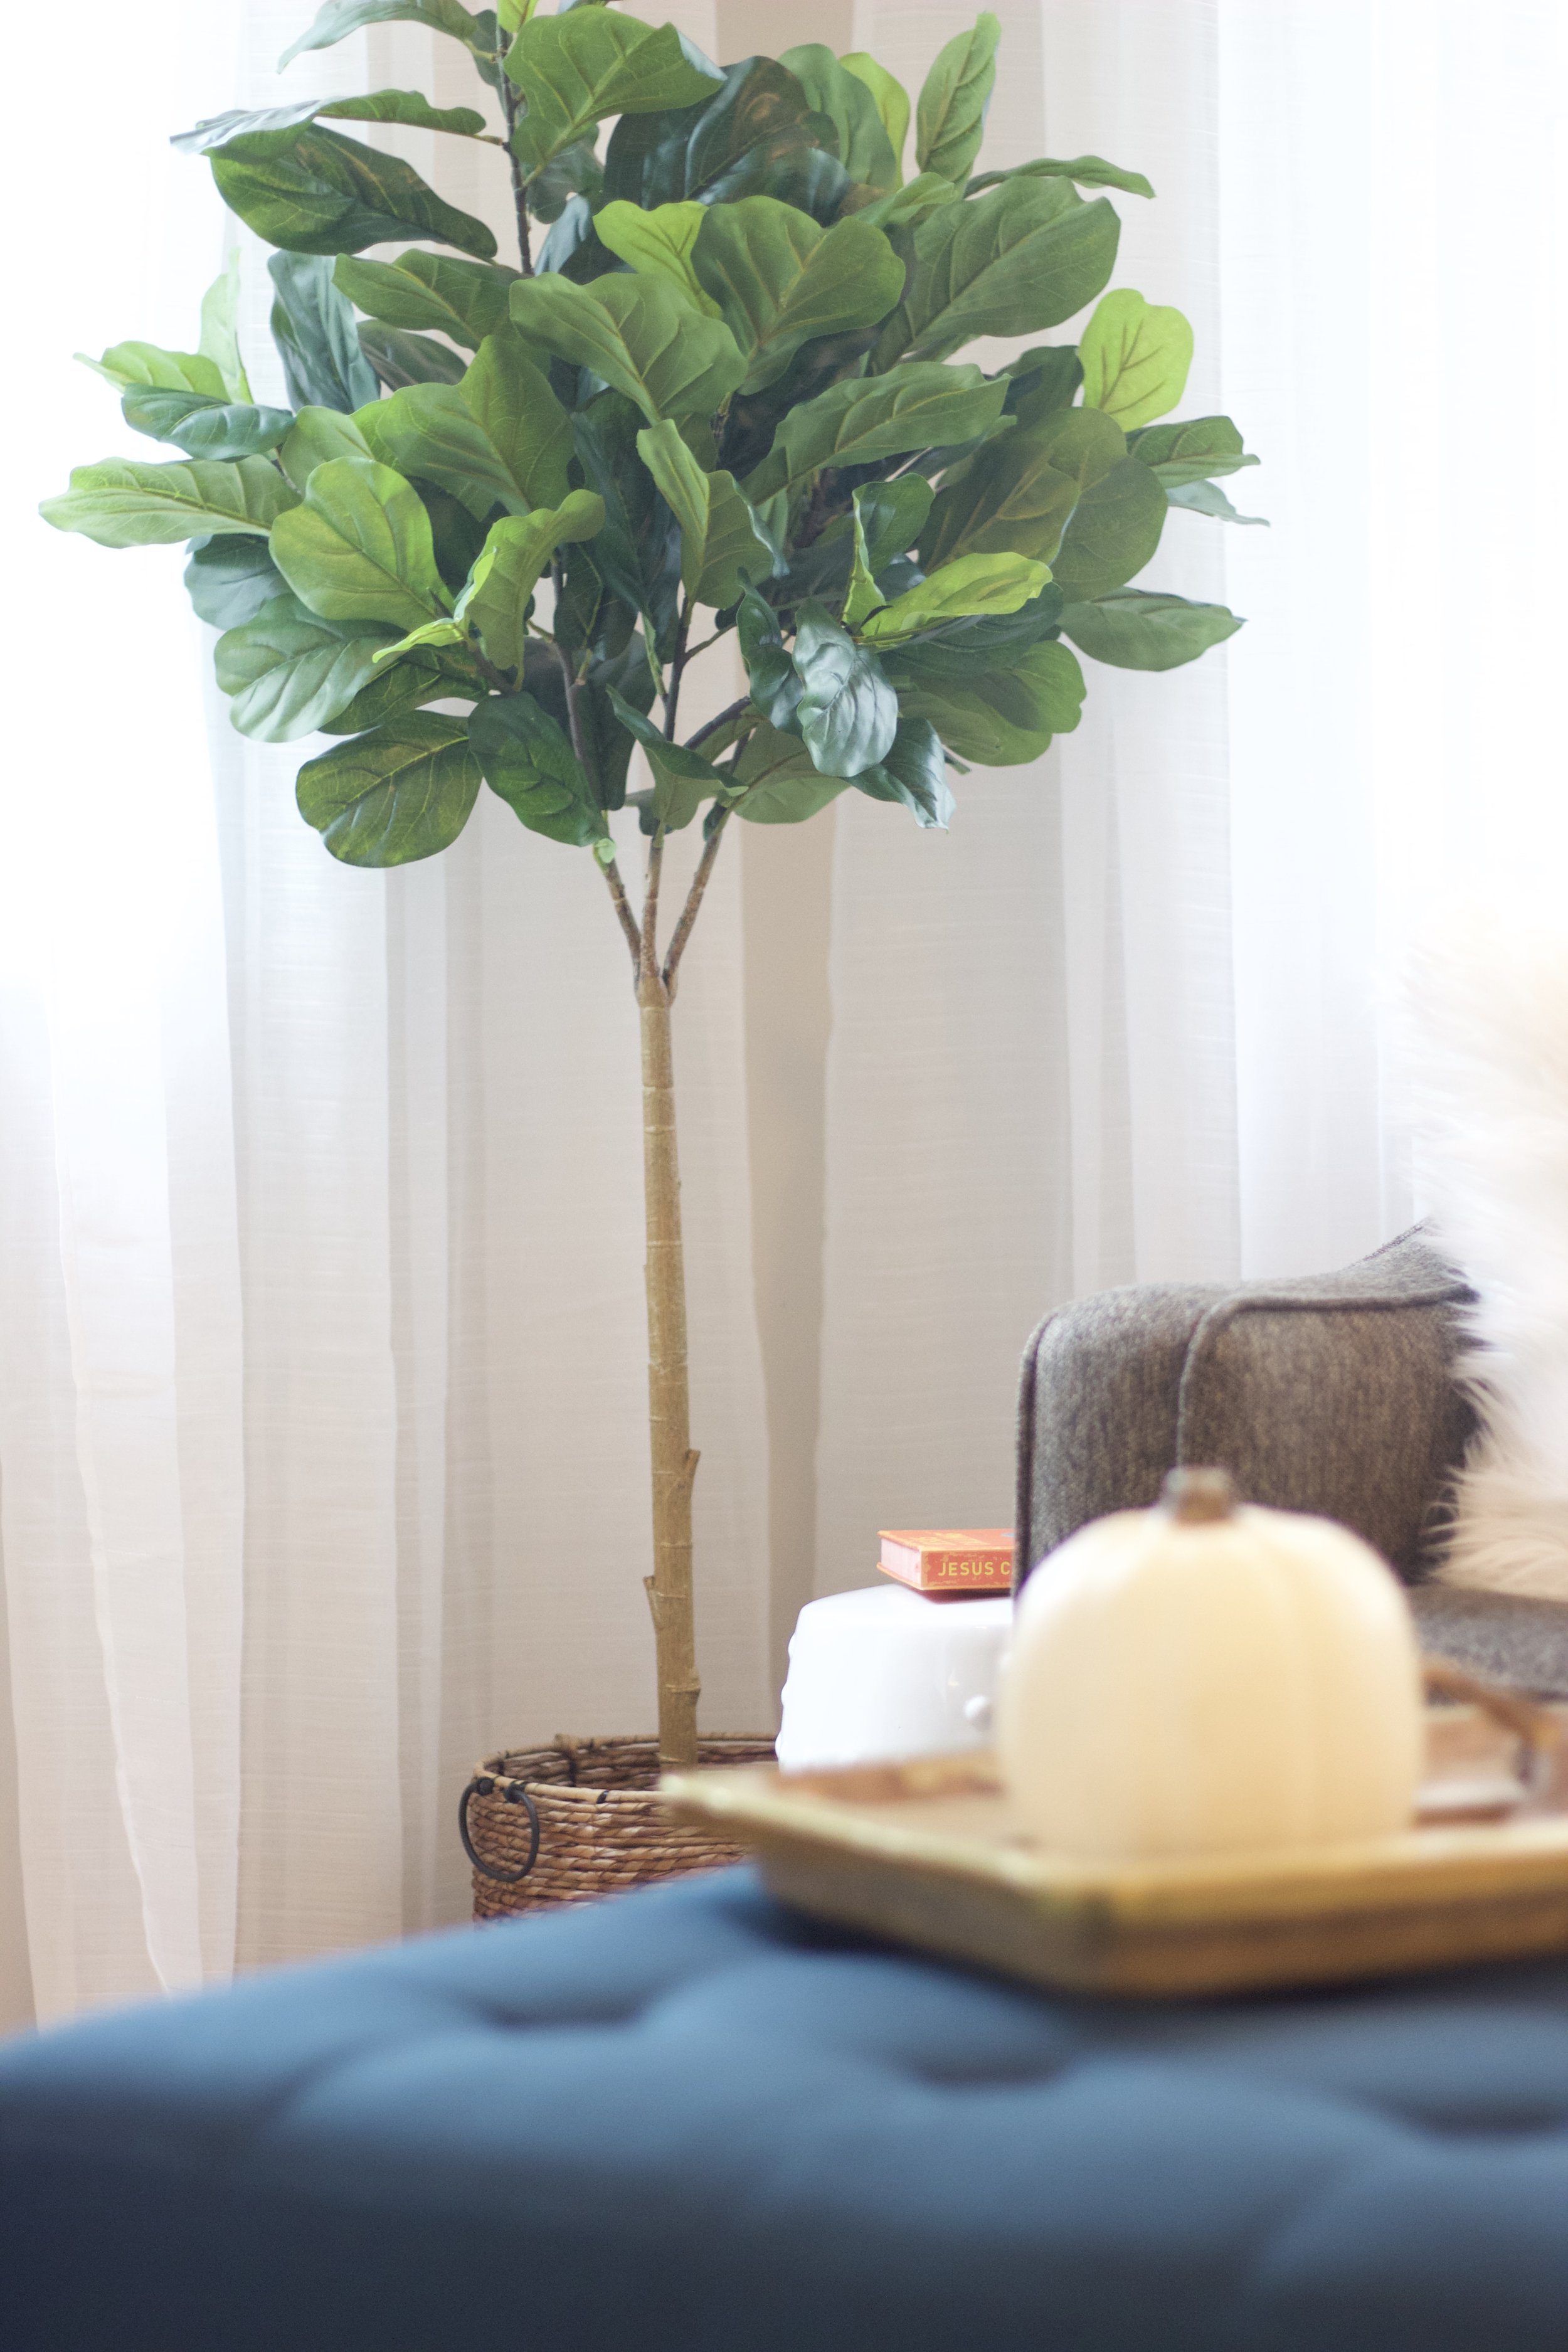
AFTER: We brought in plenty of greenery to warm up the space.

fullsizeoutput_2c78.jpeg

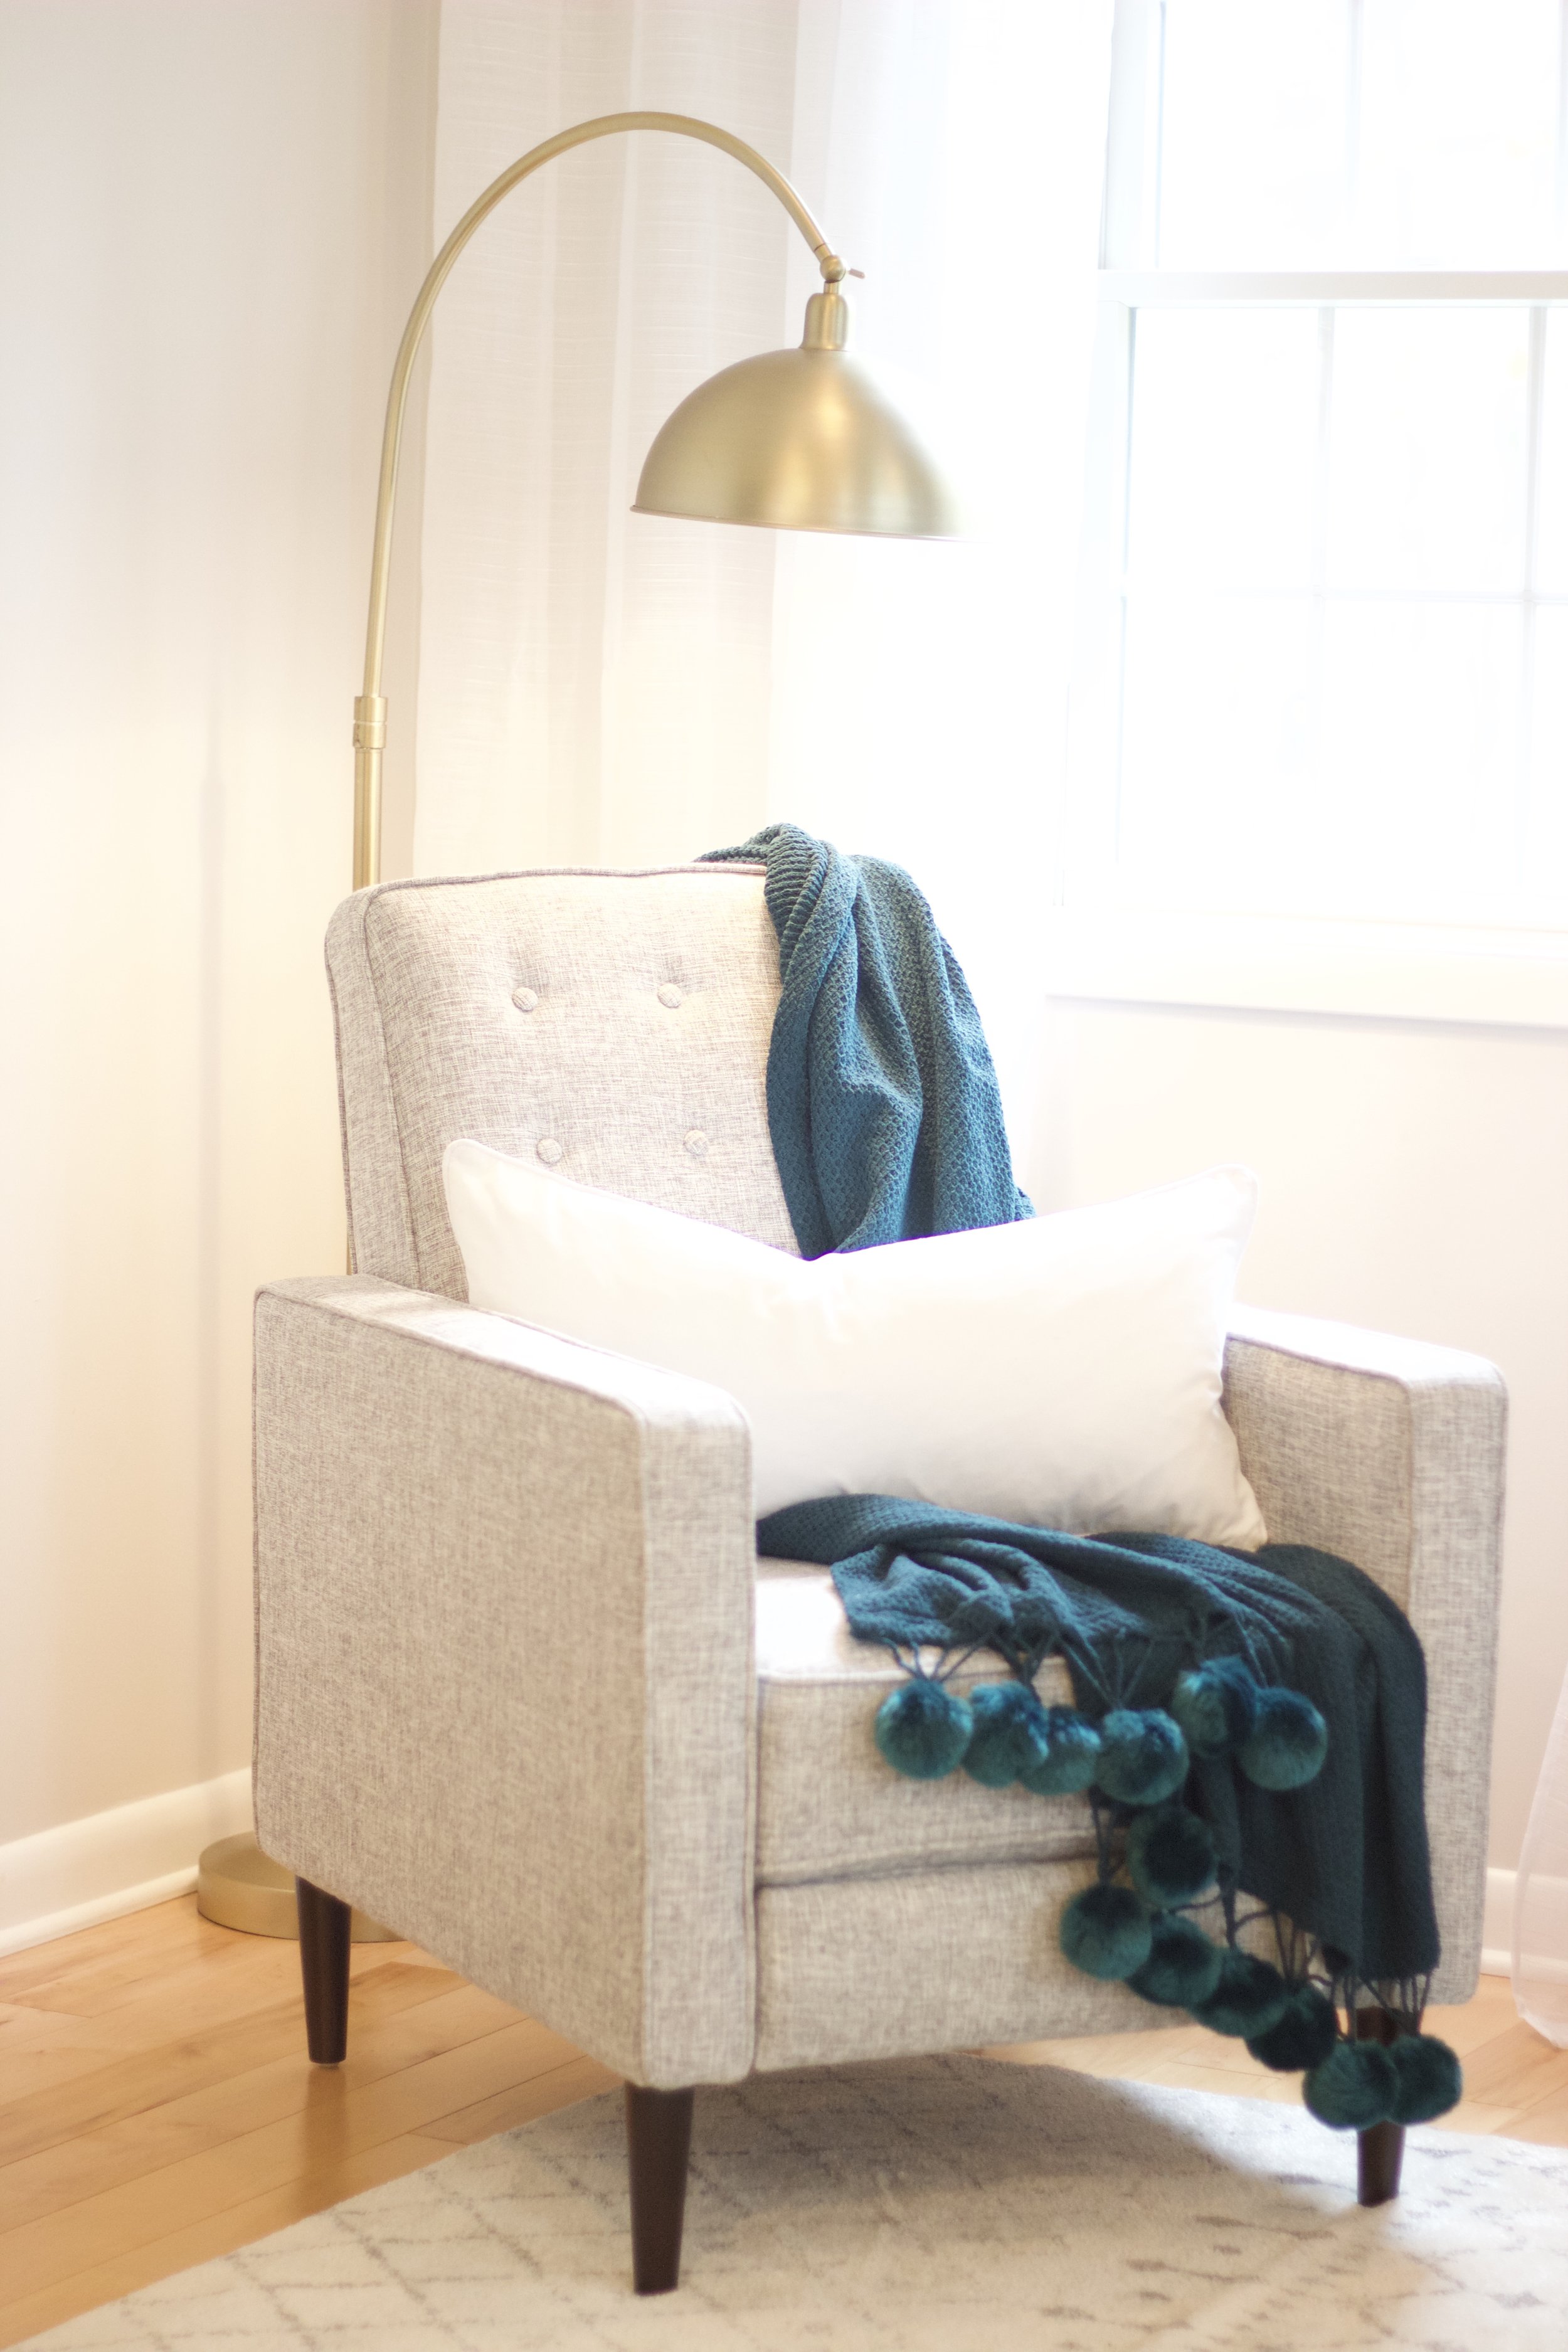
AFTER: I found mid-century reclining chairs that look beautiful in the space.  The gold goose-neck reading light, makes this corner super cozy.

fullsizeoutput_2c86.jpeg

AFTER: I brought a storage buffet from the dining room into the living room so as to add a place for coffee mugs and special decor touches.

IMG_8518.JPG

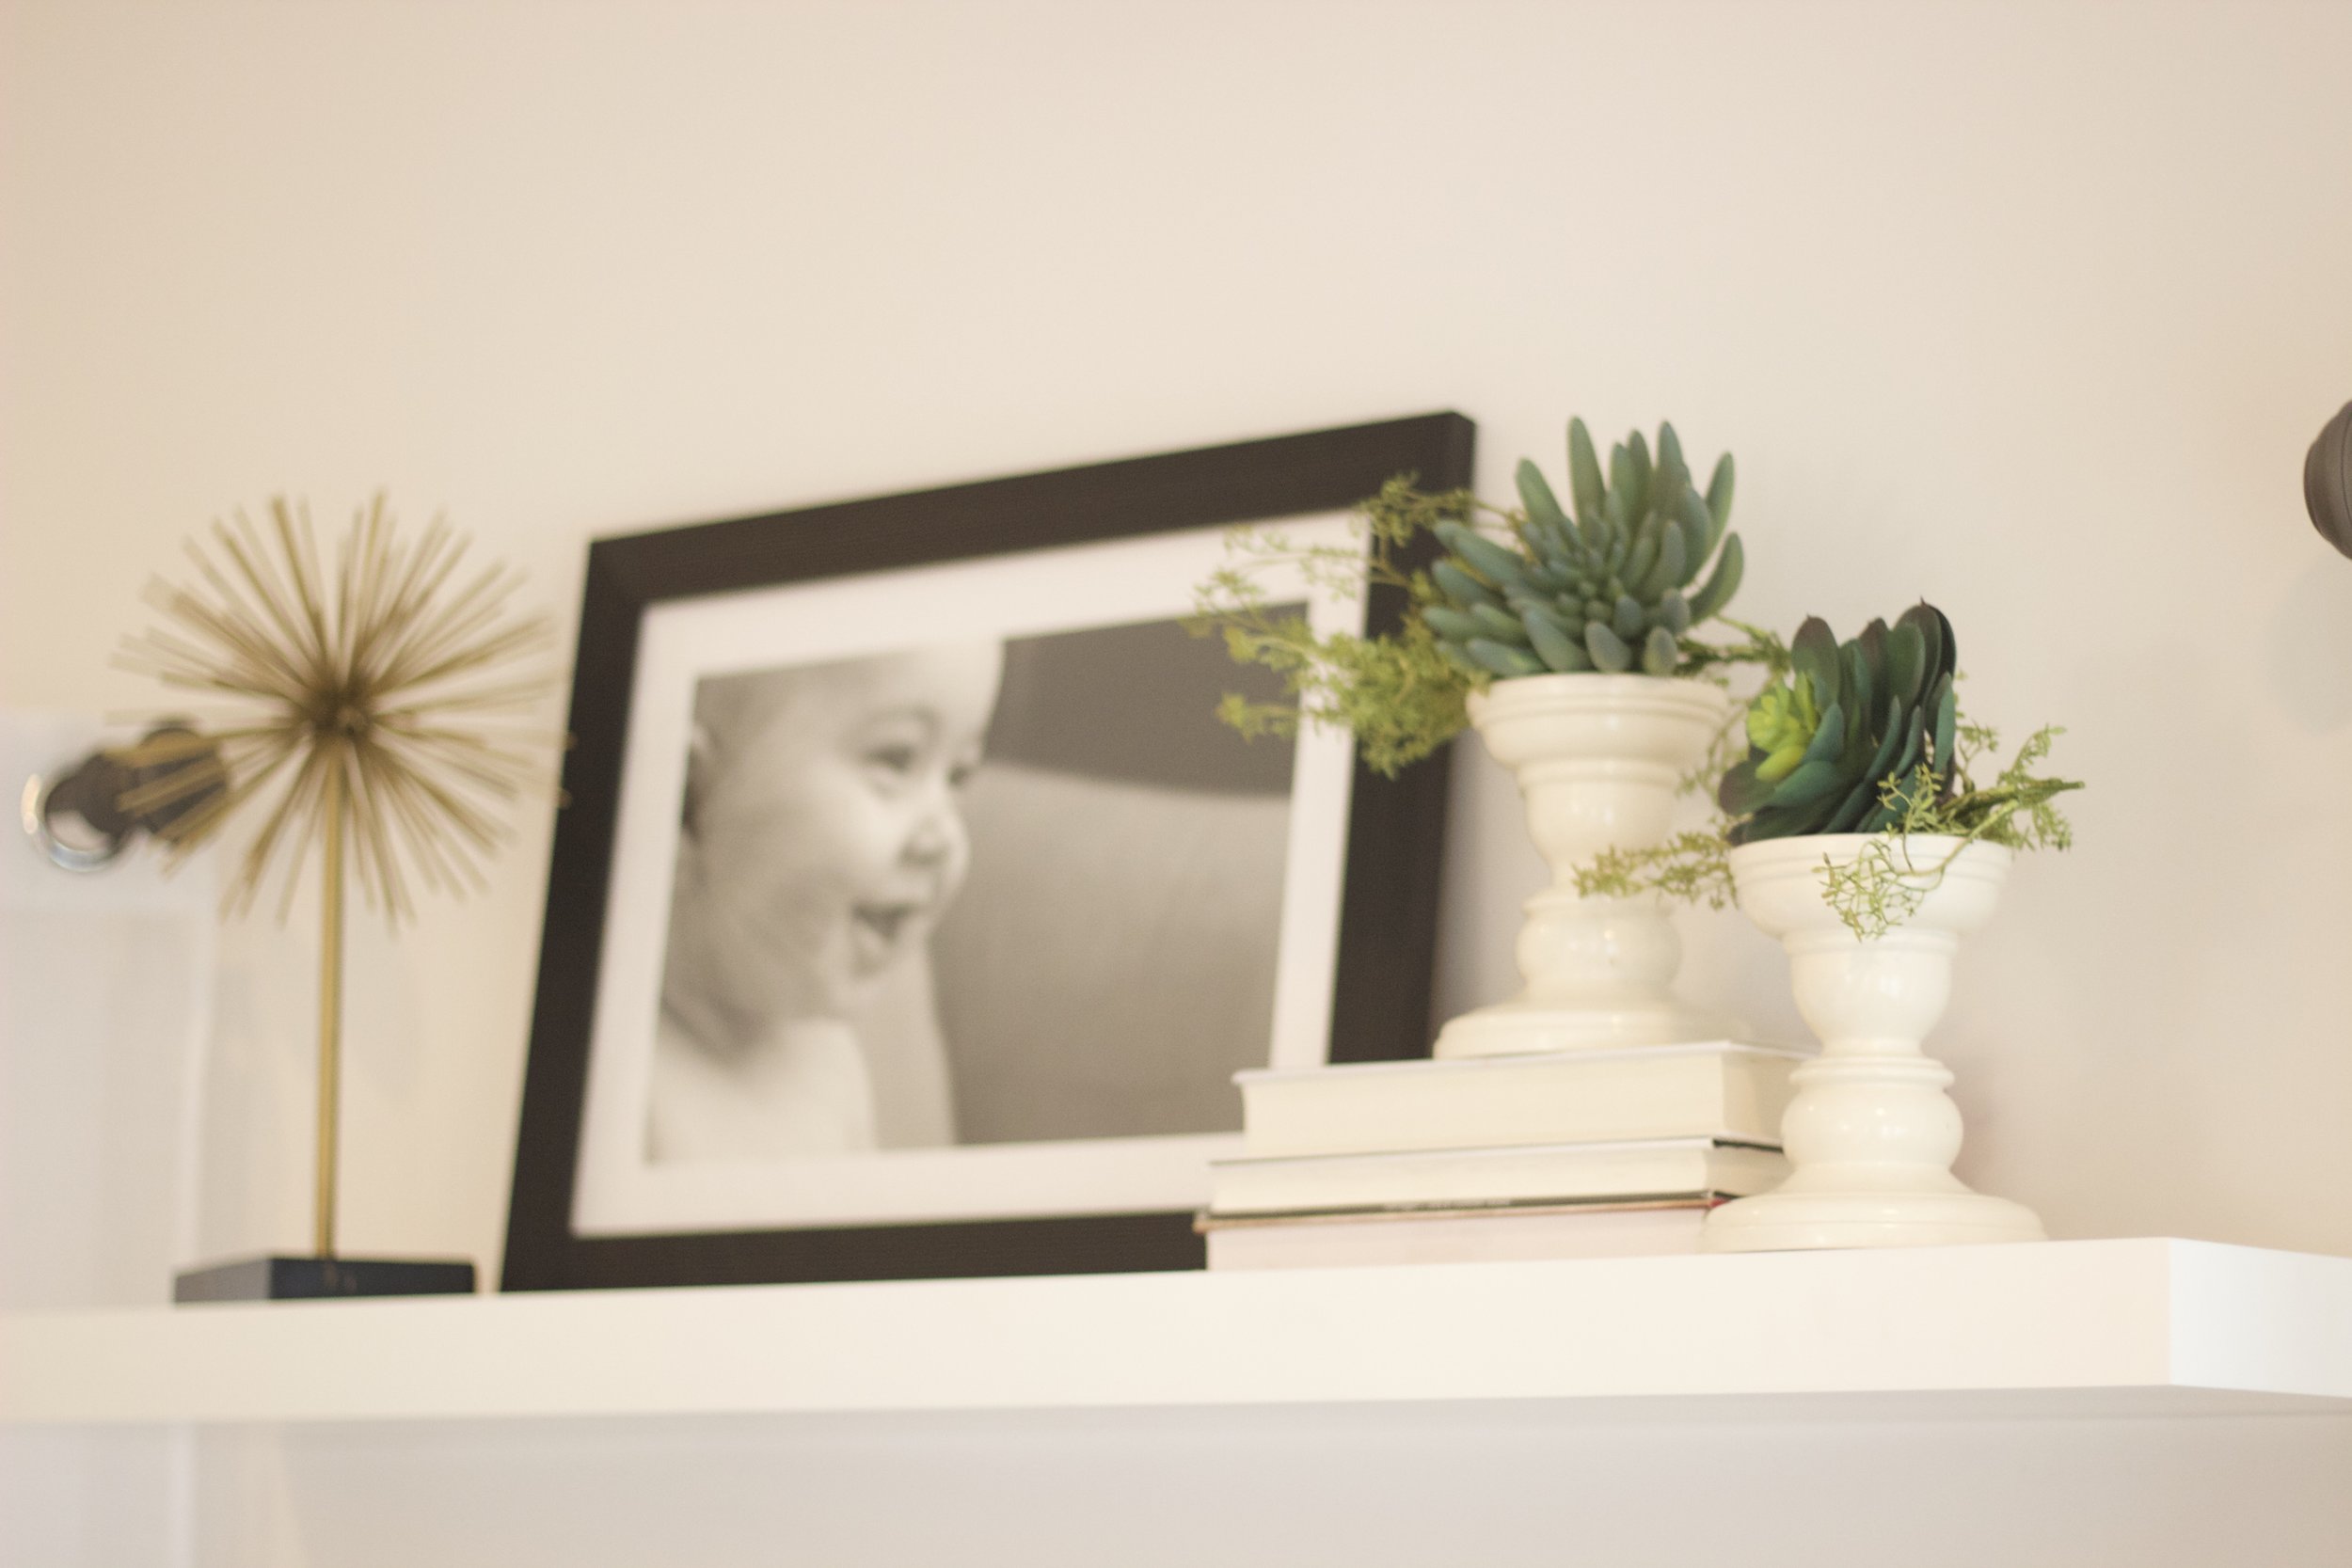
AFTER: This floating shelf over the TV lends itself perfectly as a place for family photos and splashes of color.

fullsizeoutput_2c8c.jpeg

AFTER: The dining room got all new curtains as well.

fullsizeoutput_2c7d.jpeg

AFTER: In the foyer/dining area, we punched up the color and simplified the hook rack.

fullsizeoutput_2c7a.jpeg
fullsizeoutput_2c8d.jpeg

AFTER: J asked for a command center for her family.  We gave her a cute wood cubby as well as hanging metal pockets for invitations and family notes.

fullsizeoutput_2c84.jpeg

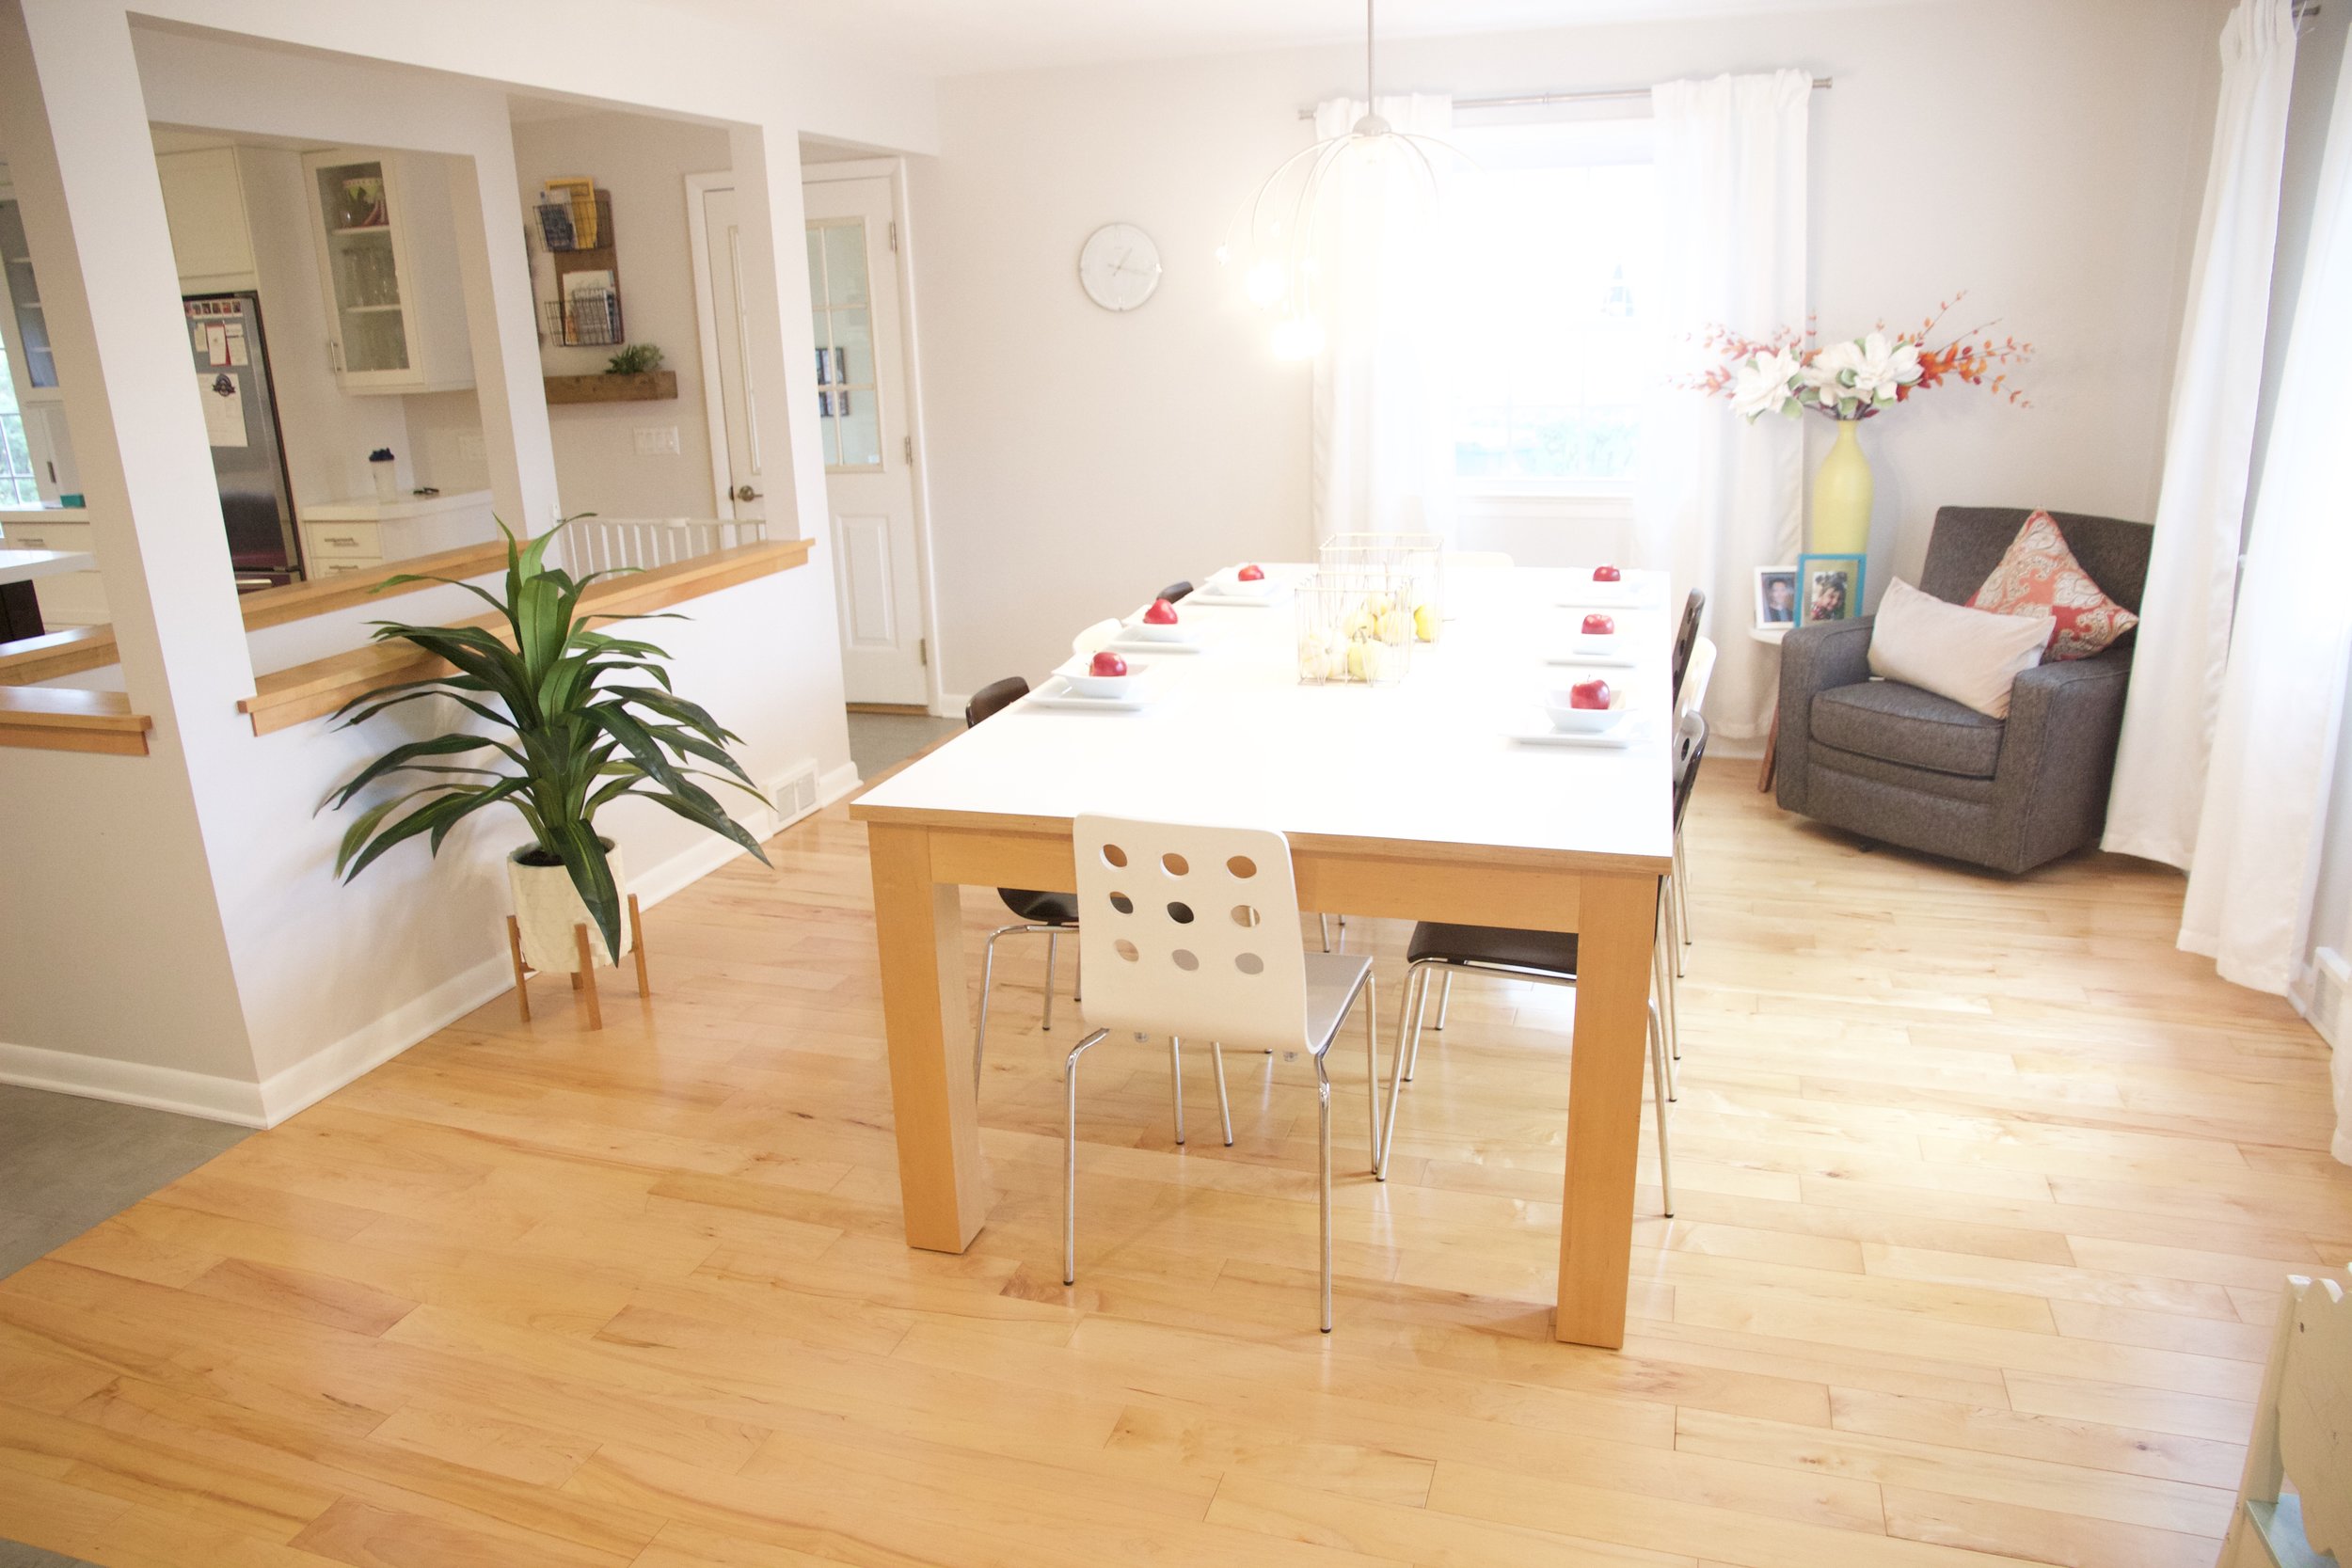
AFTER: The dining room.

fullsizeoutput_2c83.jpeg

J described design day as a "blind date".  And she was right.  I had never designed for her before.  However, she trusted me with her home and the vision for the space.

Thank you J for allowing me to decorate for y'all.  It was such an honor!  Your home is so gorgeous and I love that you and T use it for family and friends.  Your heart for others and for your church is so special to me!  I hope you make many happy memories with your sweet babies and your small group in these spaces!


XOXO 

Ashley


Gigi's House

Ahhhh Gigi's.  Who can live without the great-grandmas in this world?  Not I!  My great-grandmother was my hero.  She was like no other.  Her spirited laugh and feisty personality made her the most lovable woman you'll ever meet.  She could cook like no other and she was always thrilled to sit and play some competitive card games.

Well my daughters have a very spirited great-grandmother as well.  Her name is Gigi.  Like my own great-grandmother, Gigi is a fabulous cook.  She is a spirited card-player.  And she has serious spunk.  Did I mention, she is FULL BLOWN ITALIAN.  Yep.  Drew's grandma is a pint-sized Italian woman with a knack for the garden and a New Yorker accent.  She can grow a basil plant to roughly the size of a tree, and then make you the meanest 'macaroni pesto' you've ever had.

So when she asked me to decorate her living room in upstate New York, I didn't refuse.  She had a few stipulations.  Bright and airy.  Lots of pictures of grand-kids and great-grands.  Keep it cozy.  Piece of cake.  We whipped up this design job in less then a month!  Here is the big reveal!


BEFORE:

BEFORE

BEFORE

BEFORE


And now for the AFTER TOUR!!!!!


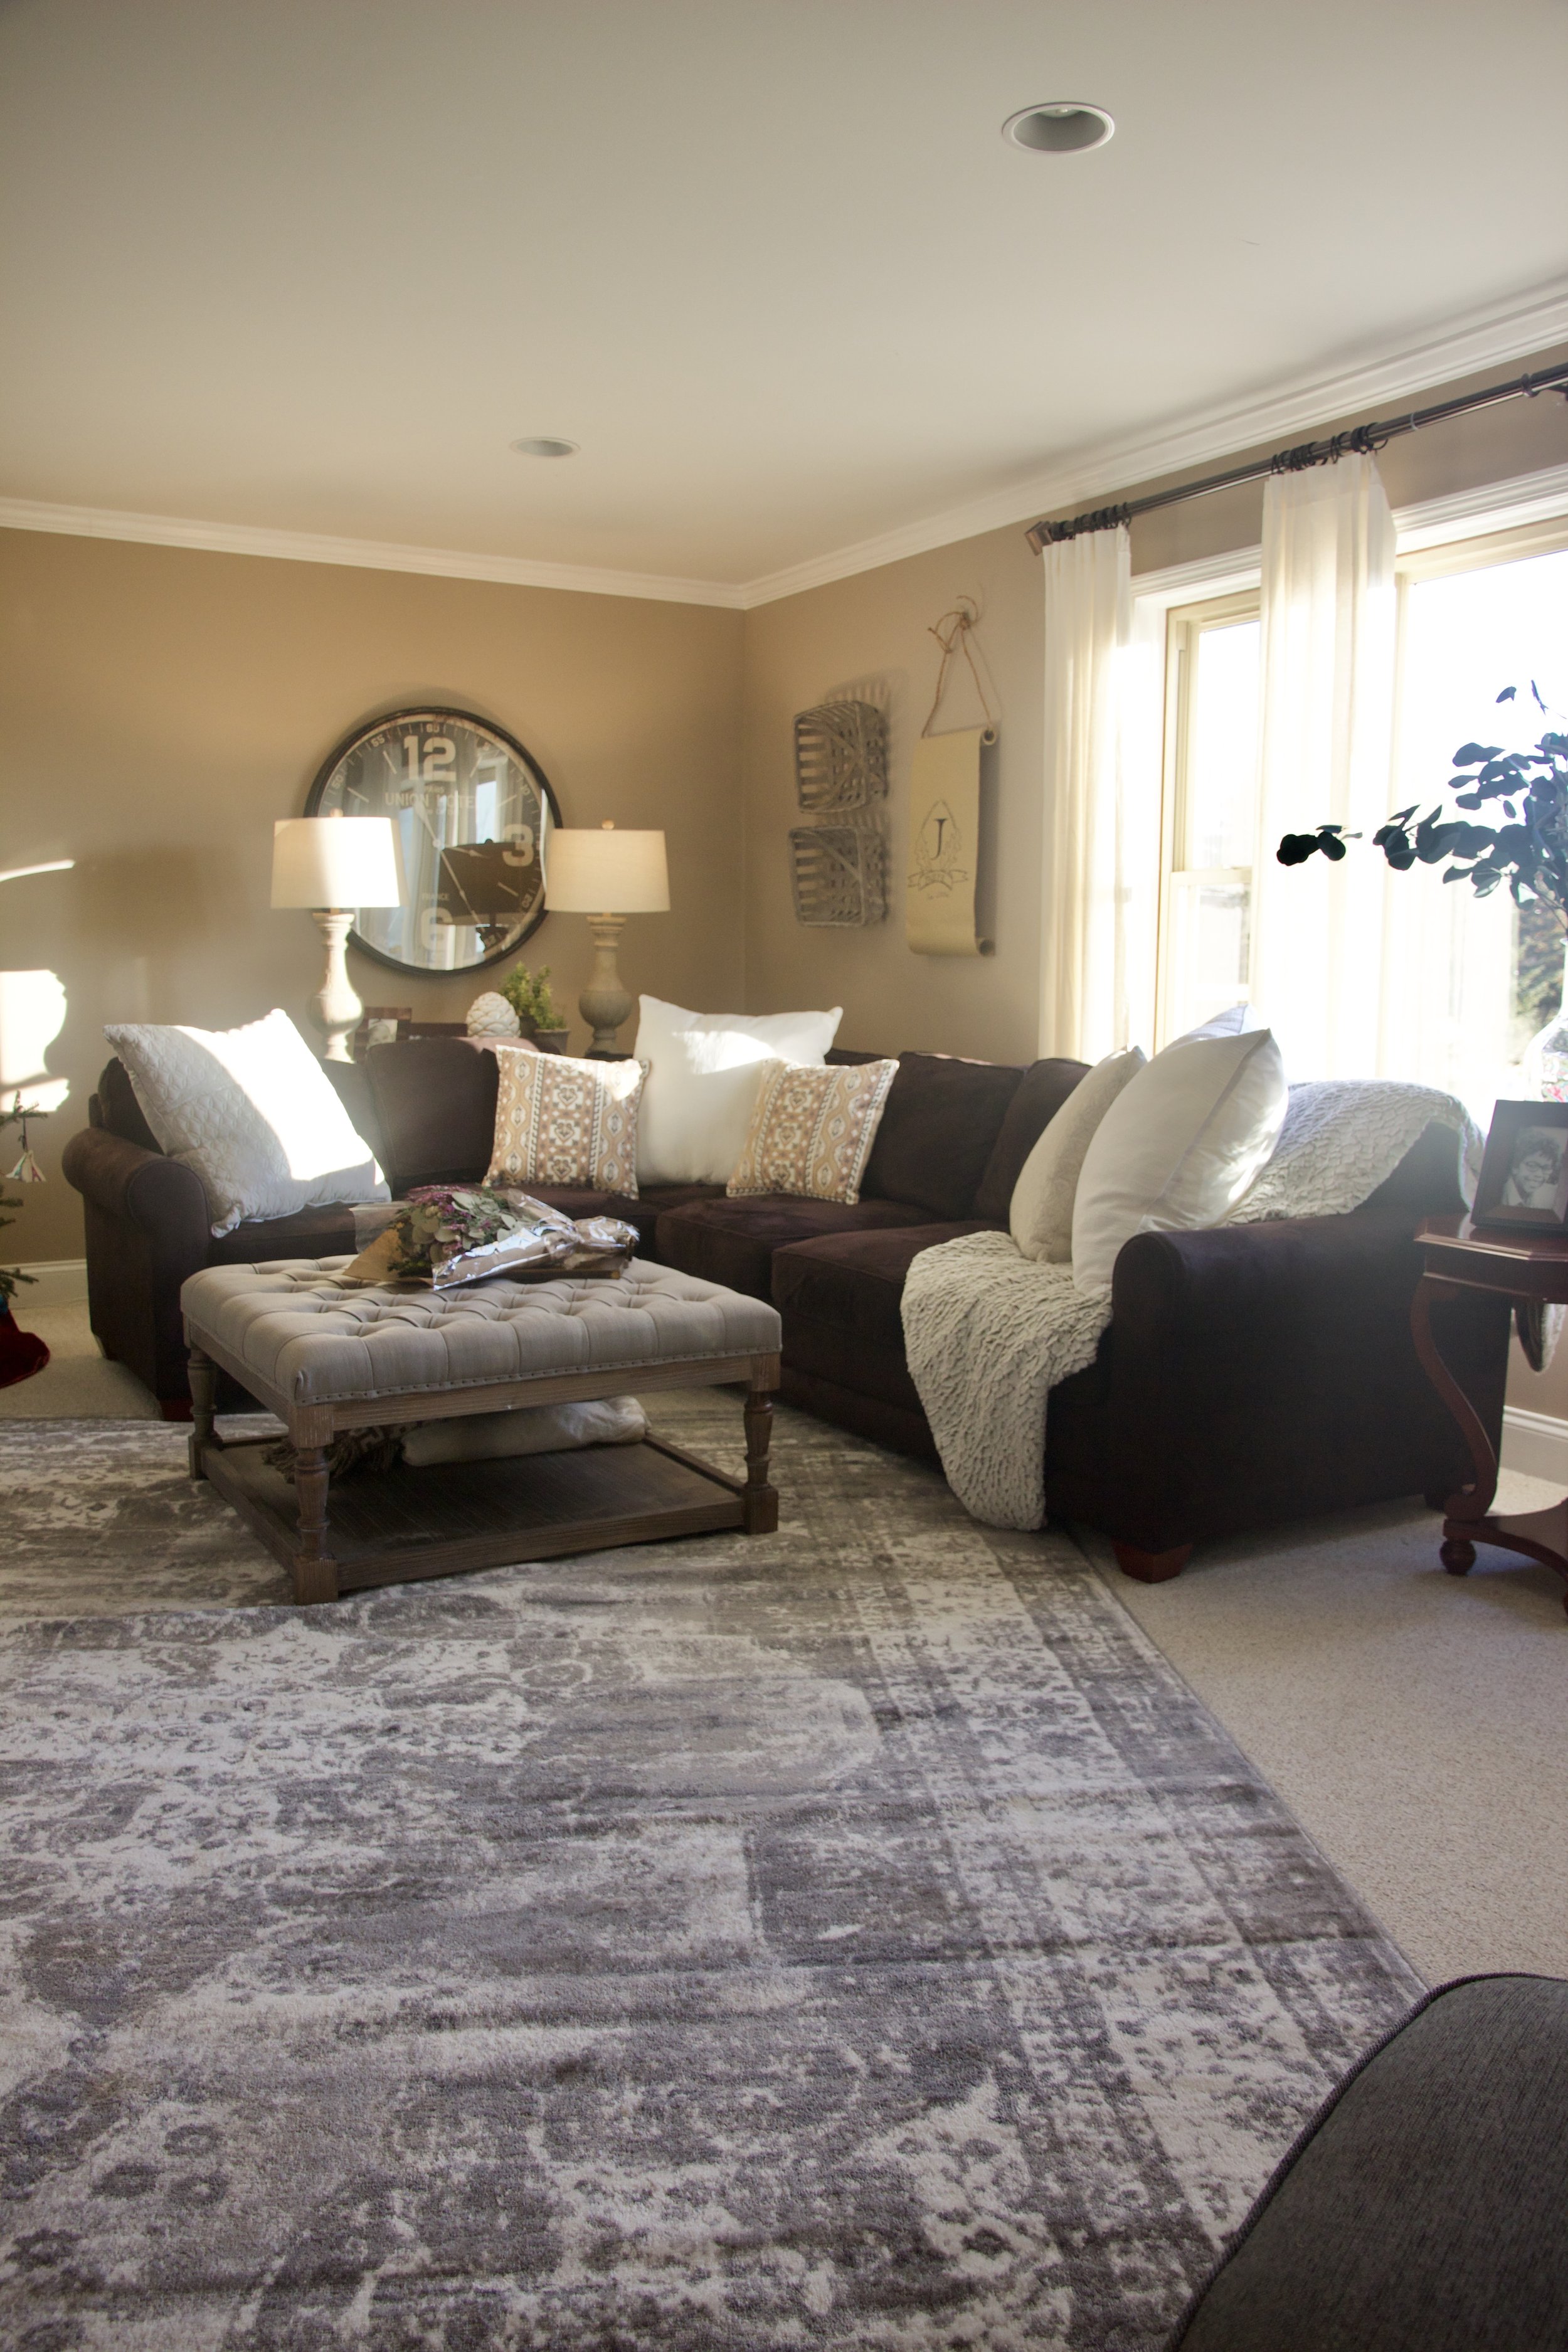
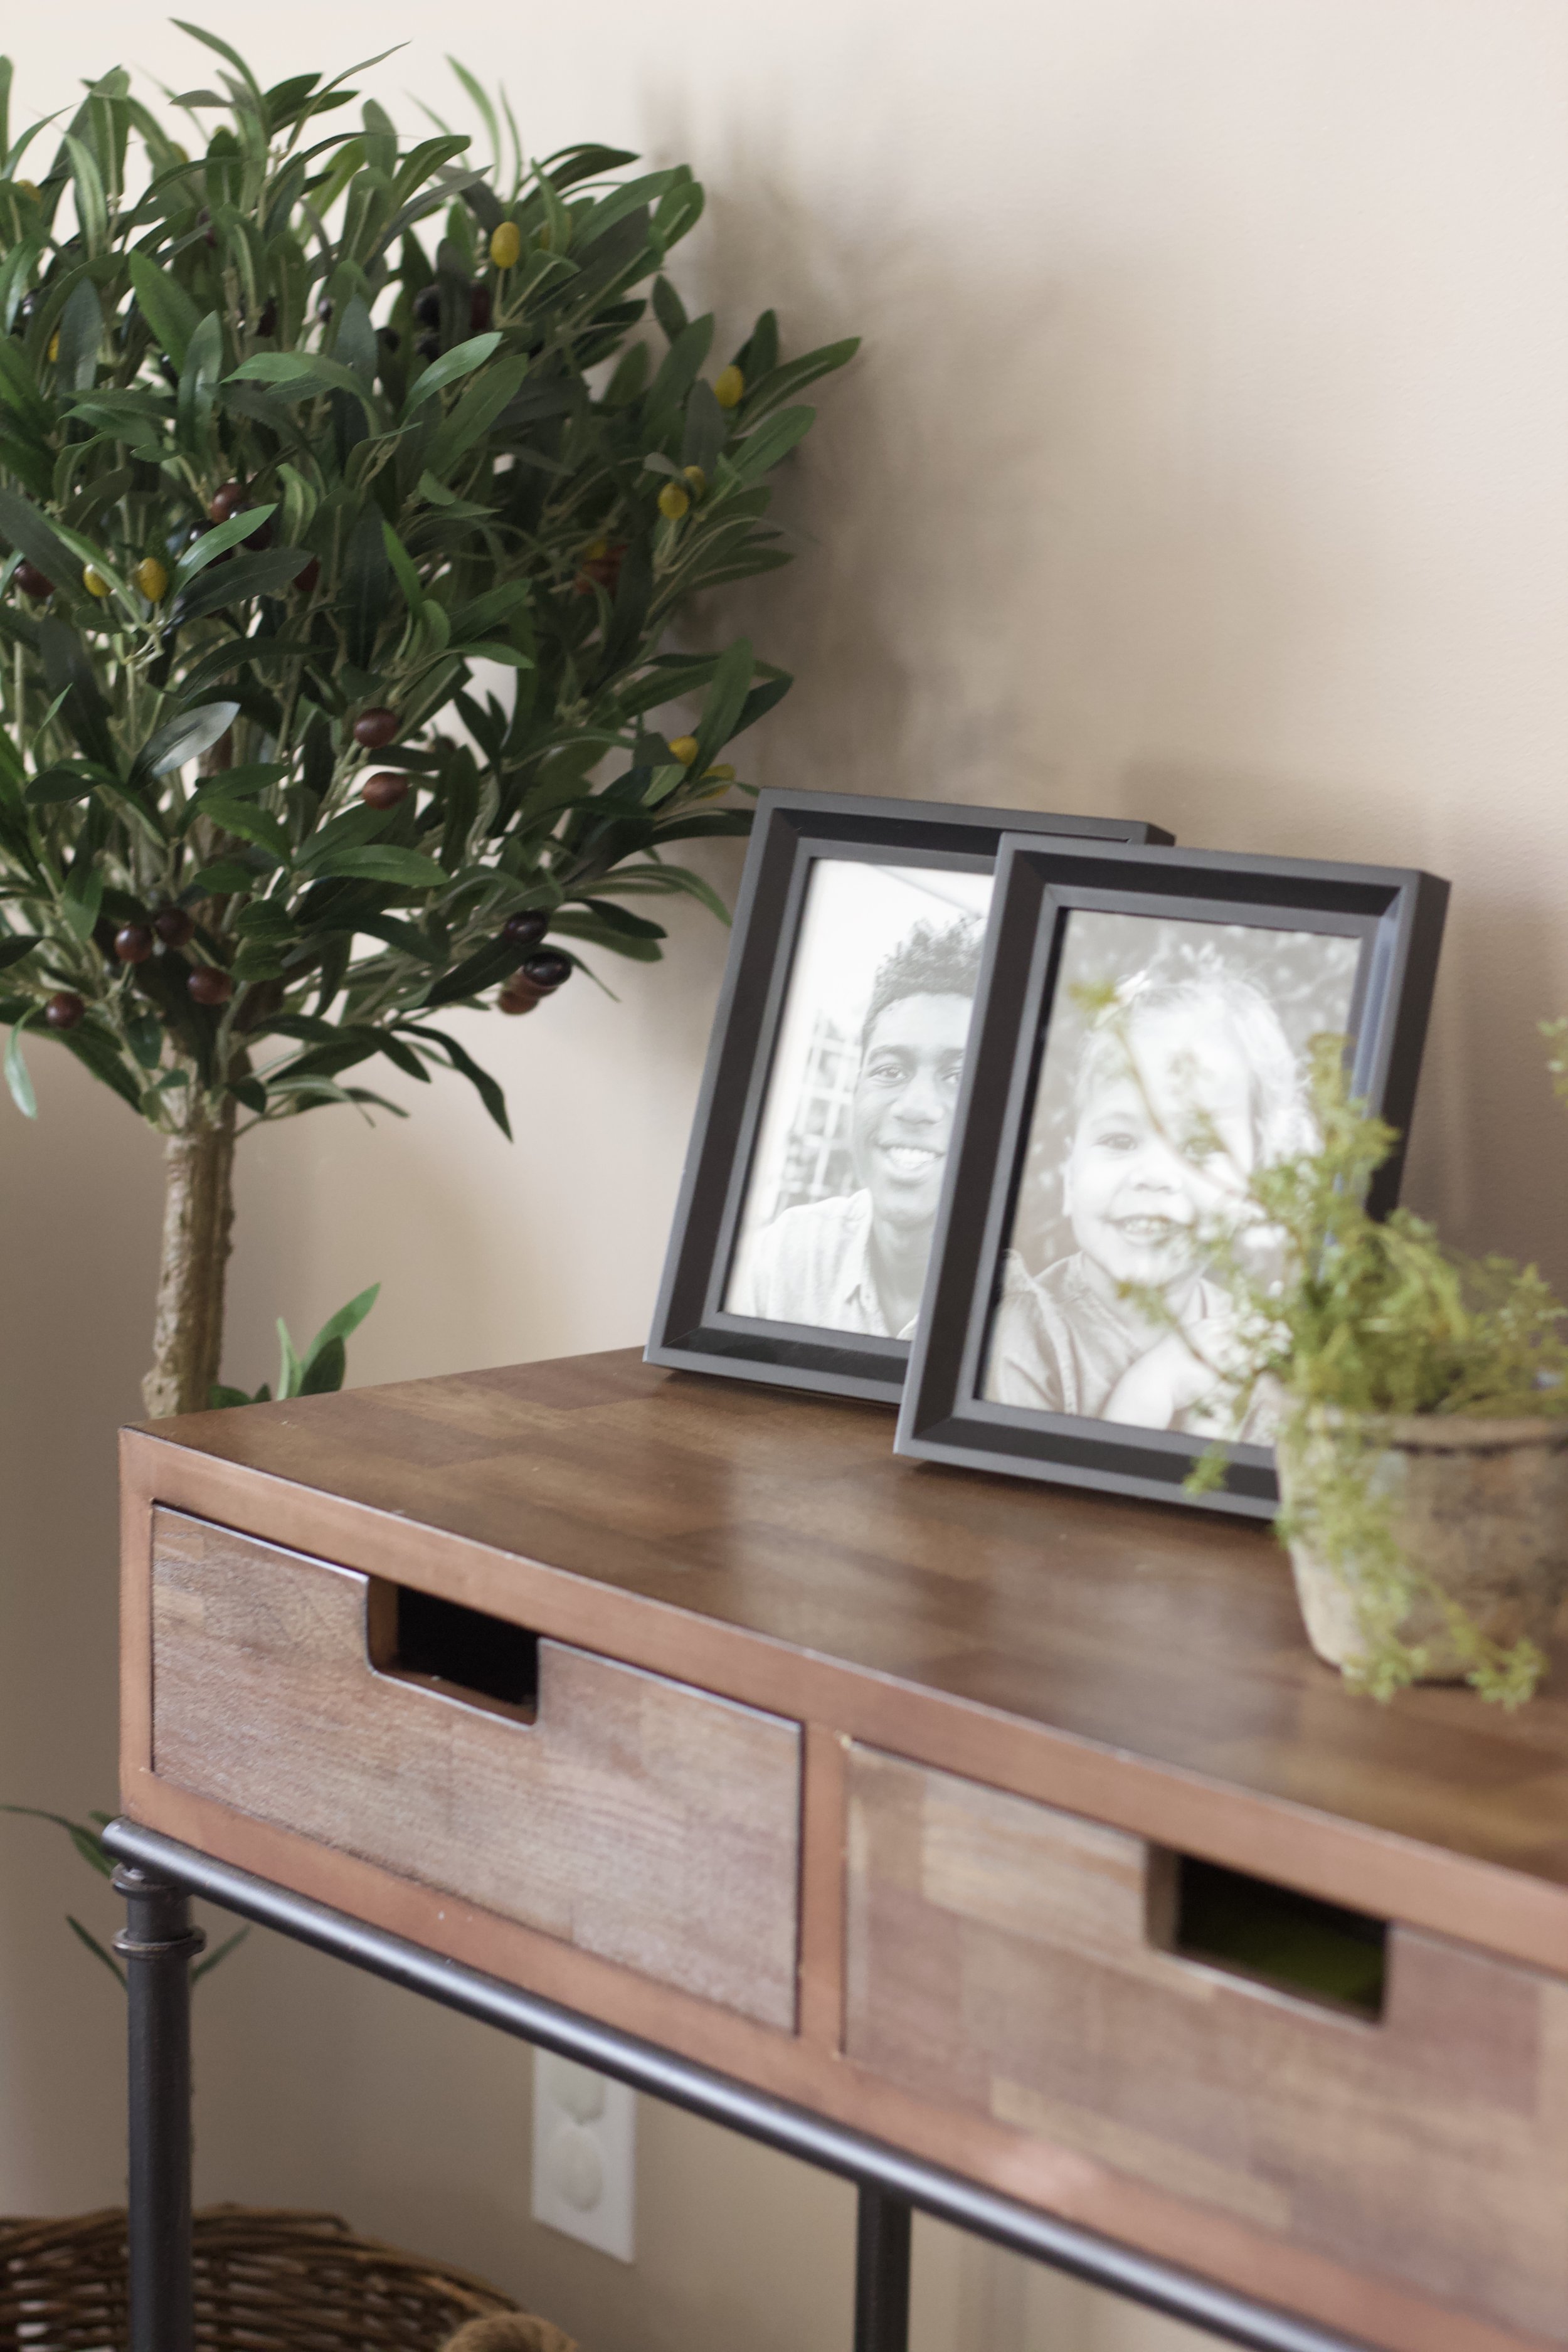
AFTER:  Gigi got two new recliners.  They're a great scale for this cozy living room.  New photo frames showcase kids and grandkids in the hallway.  We relocated the black bookcases because they were taking up a lot of the living room.  The two new area rugs match, making the space feel cohesive.

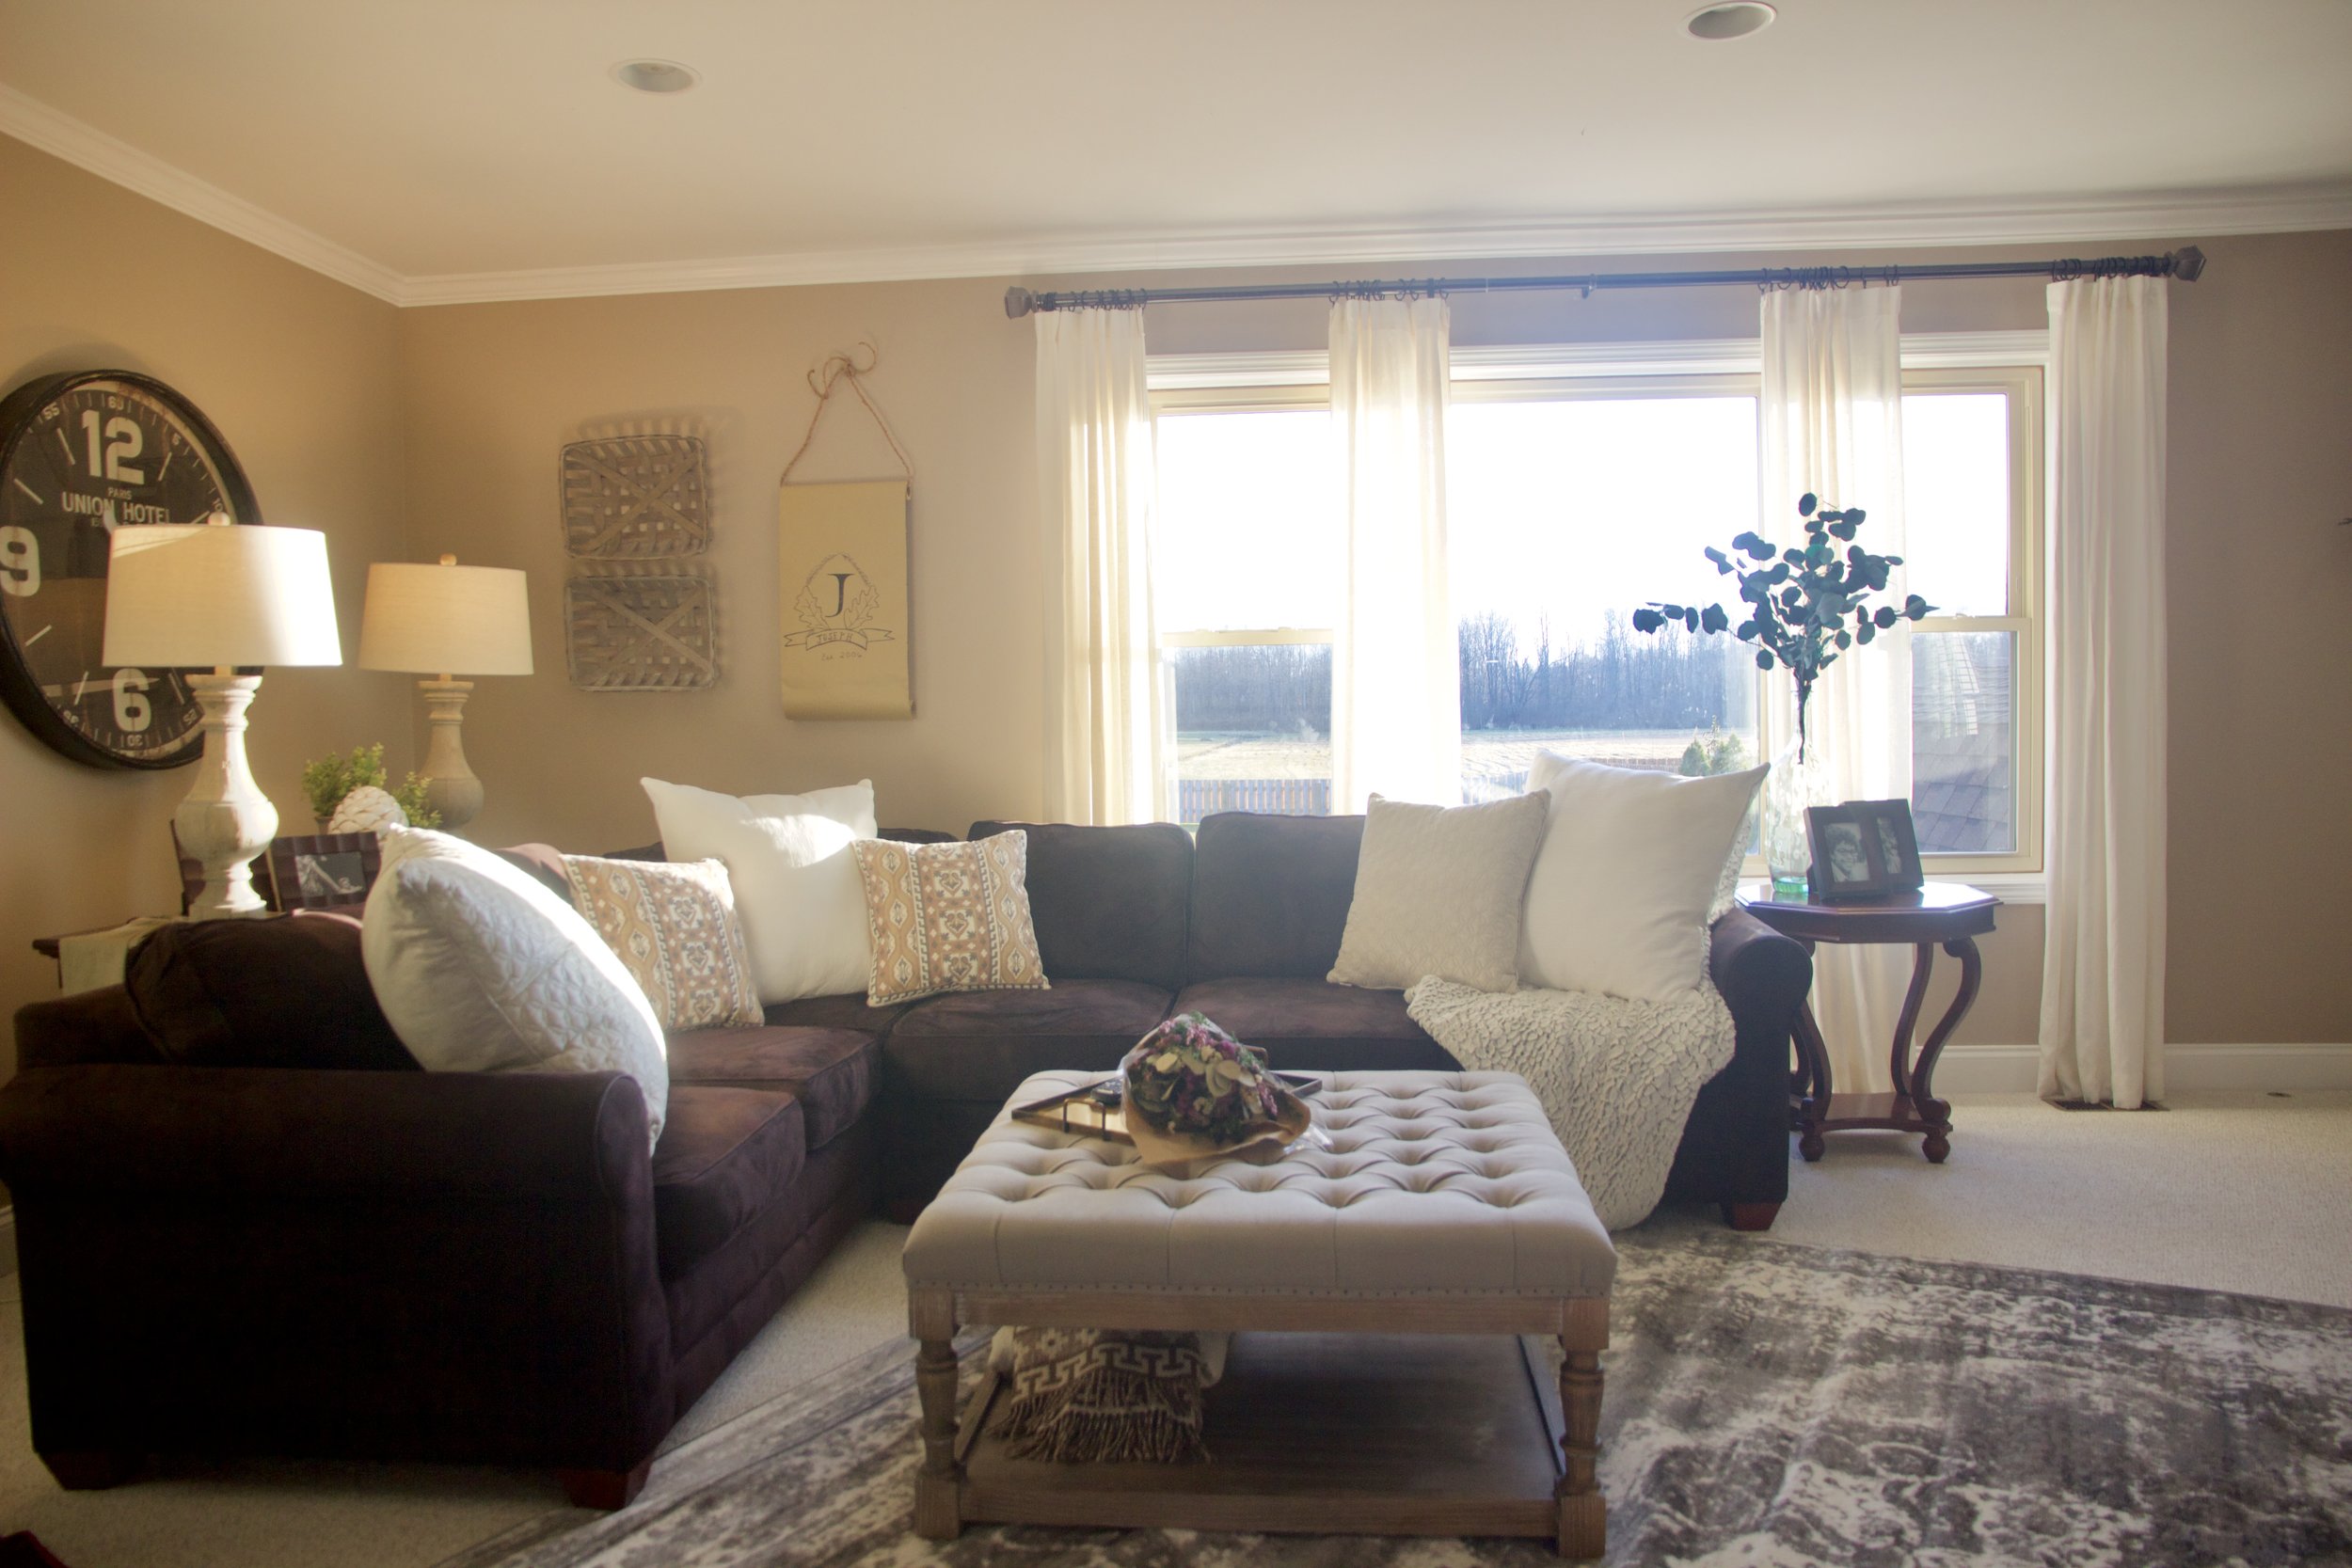
AFTER:  The huge picture window looks twice the size and extra bright.  I doubled the size of her rod and brought in four plain white panels instead of two floral ones.  We did the 'old curtain trick', and hung the rods as high as possible.  The TV was placed on this gorgeous chest that Gigi already owned.  Matching end tables and matching mercury glass lamps flank the original sofa to give it new life.  Bible verse inspiration art was hung and the extra dining chair was placed in the living room.  Easily accessible for a card game on girl's night.

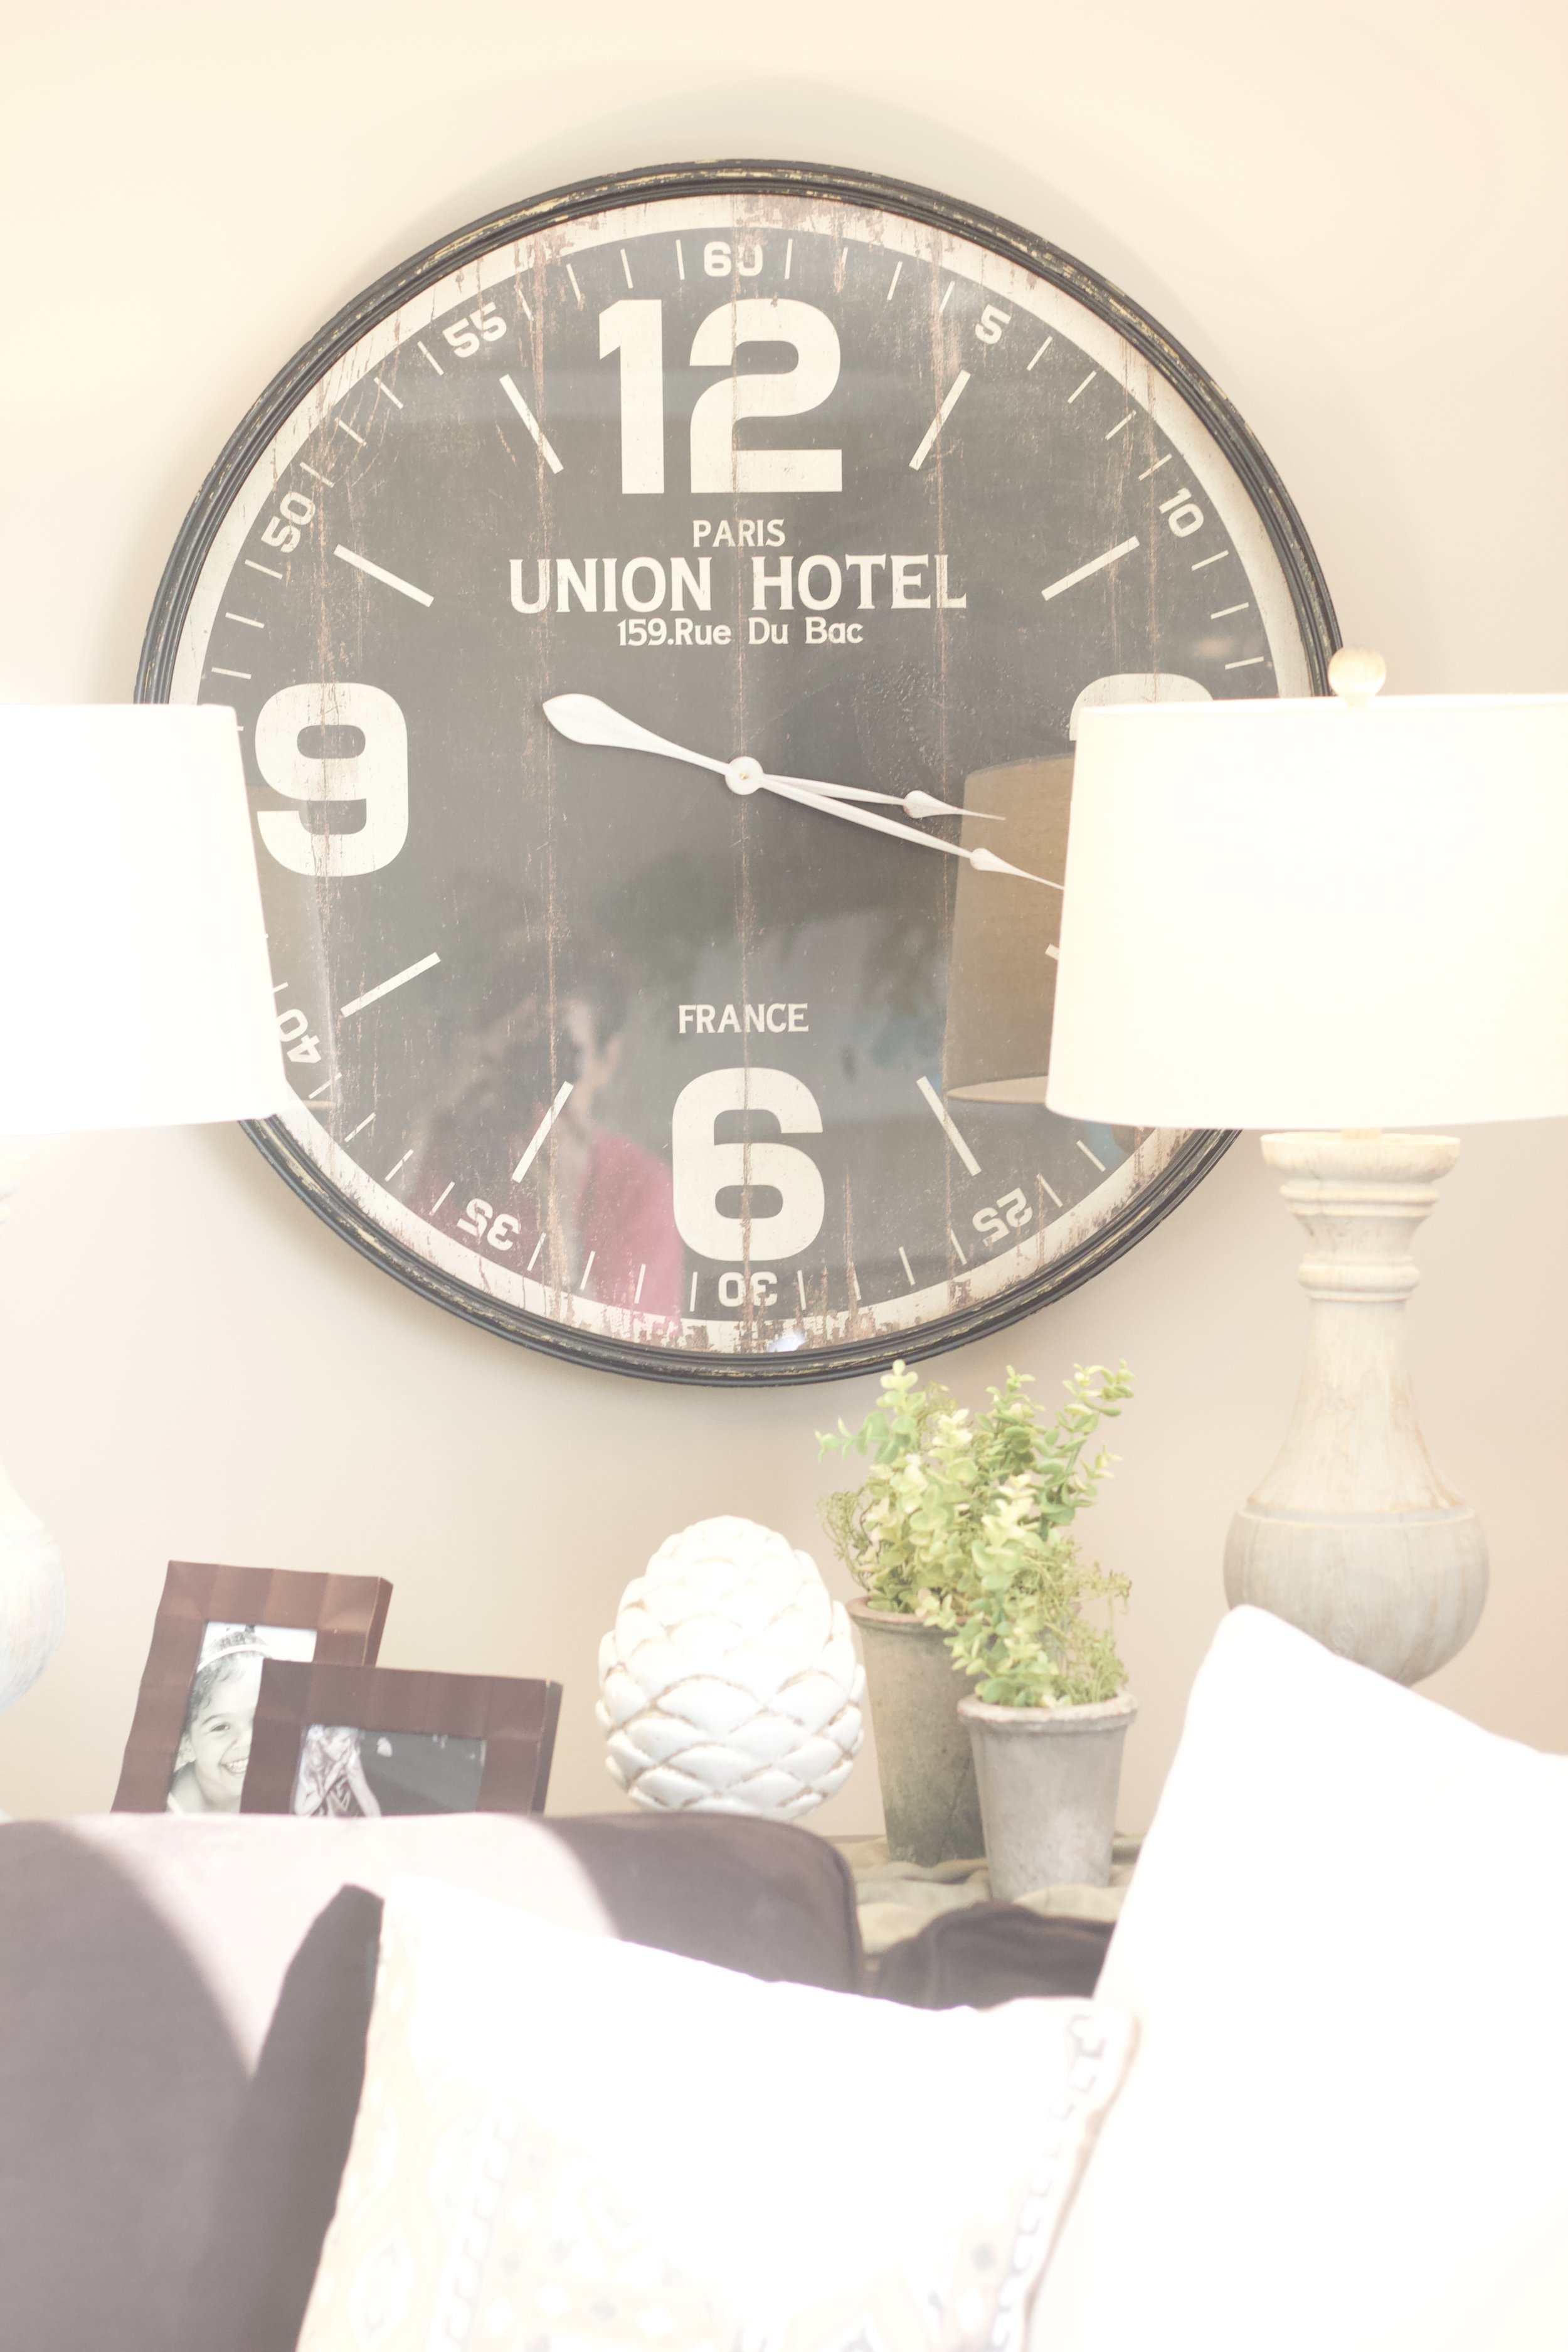
AFTER:  I turned the end base cabinet on it's side to allow the living room to feel larger (it was a moveable cabinet).  We hung Gigi's existing clock in the dining room for some drama.  The table was turned the opposite way and two new area rugs were brought in for added cheer.

AFTER:  Gigi also requested a dining room shelf.  We were able to give her one and display some of her gorgeous white dish wares.  A boxwood wreath adds a pop of green.  I used new florals in one of Gigi's vessels for a fresh table scape.  I bought Gigi a new tray and we were able to use her existing light.

AFTER:  The new tufted ottoman is a much smaller scaled piece which suites the room.  Gigi's existing vase and tray, house new fun florals.  How gorgeous is this distressed rug?

AFTER:  A menagerie of brand new pillows freshen up the space and add a pop of color to the sofa.

AFTER:  Artichokes are Gigi's favorite.

AFTER

Another exciting re-design!  That's a wrap y'all!  

XOXO from New York!

My Dining Room BEFORE & AFTER

I'm squeezing in a little BEFORE & AFTER for y'all!  It's my own personal dining room!  I have been so busy helping some other clients, that personal projects have went on the back burner.  However, usually what happens when I work on a client's house, I get inspired for my own house.  Funny how that works out!

Here is our BEFORE photo of our dining room.  Our dining room probably wasn't originally supposed to be a dining room.  It was probably a sun room or family room.  But we opted to use it as a massive dining room because our living room is plenty large.  I encourage you as a reader to try and make every room in your home useful.

There are many qualms with this room.  I really didn't like the color of the brick fireplace.  So we decided that would be painted.  I also asked darling husband to build a mantle because there was no mantle.

  The room is also extremely large.  This made it feel really cold.  I wanted something on the walls to warm the space up.  The buffet I planned to use,  had been our daughter's dresser and really needed an upgraded paint job.

We will still have plenty to do.  I would eventually like to save up for a chandelier.  And eventually we will make a table and benches.  

I included some fun photos of my Easter/Spring tablescape as well!  Those antique Homer and Laughlin dishes were $35 for the box at a yard sale in high school!  

For now our Goodwill chairs and yard sale table will do!  Enjoy the AFTER photos!

AFTER:

We did Queen Ann Wainscotting.  It's almost 6 foot high.  But I love it.  We also added a chalkboard because the wall was so so vast.

AFTER:  I hung curtains and decorated my new mantle!  Darling husband used barnwood that we found in our basement!

AFTER:  Who doesn't love a dining room fireplace?  I found this English print at a thrift store.  I love finding cutting boards at thrift stores as well.

AFTER: My $1 mirror got a coat of gold paint.  

AFTER: The table scape is all thrifted items!  

AFTER:

AFTER:

AFTER:

AFTER:

AFTER: These German paper-mache eggs were my Great Grandmother Mary's favorite.  They are a favorite German tradition and we love them!

AFTER:

AFTER:

AFTER:

AFTER:

Thanks for tuning in!  I pray you have a blessed Easter and a wonderful time celebrating with family and friends!

Love Y'all!

Ashley

CiCi's Place

SO.  If y'all remember right, I have a dear Cici (She's a bonus mom) and she lives in Georgia.  She and RB have taken care of Drew and I since we were 22 years old.  They sold us our first ever home.  Then they took a pack of teenagers to that same house, circled it, and prayed over it, before we ever moved from Baltimore to Atlanta.  

They have dropped food on our doorstep, taken us for our first-ever view of the Gulf of Mexico.  They've been in the hospital every time Drew had a life-threatening catastrophe.  They've prayed and cried with us through the angst of not getting pregnant.  They've sat in the hospital while I was in labor.  They've moved us a million times.  We've all shared about 394 bowls of grits at Flying Biscuit.  And 4,493 chips at Chili's.  They have poured concrete and helped us design porches and decks and every other big renovation-dream you can think of.  They've never stopped encouraging Drew in his calling and they've never ceased in pulling my dreams out of me.  

RB's famous words: "Ash, what's your dream?".  And Drew always got the same question.  Every time we were all out to eat (weekly).  Every time we were sitting around a bonfire.  Every time we were up way too late in their living room: "What's your dream?".  

I'll stop and take a minute to say, that if you don't have friends that ask you this question weekly, then try and find that next level with your friends.  Or find new friends.  RB and Cici are the type of friends that don't believe in stagnation.  Not with personal spiritual walks, not with Drew's calling to be a pastor, and certainly not with passions and God-given creative talents.  

Let me stop and say...that this is a like being in a pack of dreamers.  Mostly RB and Drew (Holly you're in there too).  Cici and I tend to be the "let's just get it done" girls (you too Kass).  But dreaming is biblical.  And wasting time isn't.  RB and Cici are the type of people who want to see everyone succeed.  There is no one quite like these two.

Anyway.  It's an honor to decorate whenever they need someone to "play around the house".  So during our leisure trip to Georgia, I got to play in their upstairs for a bit.  And it's my love language so I'm usually hard-pressed not to do it.  Prior to flying down, Cici, Kassie and I had FaceTime'd paint colors.


LIVING ROOM BEFORE:

KEEPING ROOM BEFORE:


AND here are the After photos!!!


LIVING ROOM AFTER:

Cici had also FaceTime'd from the store when she was picking out sofas.  She loved this set and I completely agreed.

LIVING ROOM AFTER: This make-over really was a re-design.  Most of the accessories I had helped her pick 2 years ago when we re-did her basement.  We decided to use all those pieces this time.  These lamps had already been updated 2 years ago when I painted them and found new shades.

LIVING ROOM AFTER: 2 years ago I had painted, aged and glazed this round table that was a family heirloom.

LIVING ROOM AFTER:  2 years ago I had also had Drew build Cici multiple pieces including the orchard ladder and TV table.  We also re-used the home-made wreaths I had made her.

LIVING ROOM AFTER:

Drew's tv table is also filled with Cici's dad's books.

LIVING ROOM AFTER:

KEEPING ROOM AFTER:  

Drew had made Cici this table 3-4 years ago.  We also decided to paint the mantle.  Drew had also made Cici this chalk board.  The bookcase was hiding in the basement but we brought it up right away.  I used Cici's family crocks to make centerpieces and we used simple architectural pieces to simplify the fireplace.

KEEPING ROOM AFTER:

KEEPING ROOM AFTER:

Cici found these copper bottles at an antique store.  I love them!  She has such a good eye!

KEEPING ROOM AFTER:

KEEPING ROOM AFTER:

KEEPING ROOM AFTER:

An eclectic mix of family heirloom chairs sit comfortably on a highly-durable grass rug.  Cici and RB do have a grandbaby (and a bonus grand daughter).  Durability and easy functionality is still the most important.

Love you two!  

See y'all next time!  We'll dream up something else to decorate during our next Atlanta visit (wink wink!)

XOXO Ashley

J's Far-Away Make-Over

Moving to New York hasn't seemed to put much of a damper on all my relationships back in Georgia.  What's the old proverb?  "Absence makes the heart grow fonder."  Well thank you Jesus, It has quite literally rang true.  Especially since I really don't like to say "goodbye" to anyone.

So when a dear friend from Georgia called with a design request, I couldn't possibly turn her down.  It would just have to be quite a few Skype dates and lots of phone calls and texts.

We finalized the whole job with a fun trip to Georgia that involved two days over at J's place.  And some R&R for me and my brood too.  Prior to the trip southbound, we ordered furniture, had the entire first floor painted a pretty color, and talked a lot about stylistic details.

So without any further ado, please enjoy J's before and after tour!

Here are the BEFORE PHOTOS...

BEFORE: Keeping Room 

BEFORE: Keeping Room

BEFORE: Breakfast Nook

BEFORE: Kitchen

BEFORE: Kitchen

BEFORE: Formal Living


And now...

the...

AFTER TOUR!!!!!!!!!!!!!!!!!!!!!!!


AFTER: The Keeping Room

What is a Keeping Room you ask?  A keeping room is an area adjacent to the kitchen. Keeping rooms date back to Colonial times when families would sleep in that area when the rest of the house was cold.  (Definition of Architectural Design Terms - Glossary of Real Estate Terms)

This perfectly describes what J wanted for their Keeping Room.  A very relaxing place to sit in front of the massive windows, yet completely privy to whatever hustle and bustle goes on in the kitchen.  As a family of five, the kitchen is obviously everyone's favorite room!

We picked a gorgeous neutral color for the walls.  We found a fabulous sectional where the whole family could sit and relax together.  We swapped out the coffee table for a cozy foot-friendly ottoman.  We also did an indestructible rug (dogs and kids approved).  

fullsizeoutput_4db.jpeg

AFTER: The Keeping Room

We used old touches to really give J the look she was wanting.  Her favorite designer is James Farmer III.  A southern gentleman, Farmer classically combines elegant English countryside with a twist.  Think magnolias, plaid fabrics, gold-leafing, fox-hunts, and hydrangeas.  

AFTER: The Keeping Room

AFTER: The Keeping Room

AFTER: The Breakfast Nook

J had this gorgeous french country yellow hutch that she very-much loved.   I filled it with silver platters and vintage serve ware.  The fresh still-life art repeats the yellow color.  This gorgeous farmhouse table was a gift to the family.  We swiftly brought it into the breakfast room.  The wood tone is very rustic and the thinner longer table seemed more suitable for the space.

AFTER: The Breakfast Nook

AFTER: The Breakfast Nook

A new centerpiece!  J requested a single statement piece that could quickly be moved out of the way.

AFTER: The Breakfast Nook

AFTER: The Keeping Room

English transferware, and other blue and white "Staffordshire Blue-type" pieces recieved front row seats in the new design.  How southern?!

AFTER: The Kitchen

Fresh paint and new accessories make the kitchen feel spacious and clean.

AFTER: The Kitchen

AFTER: The Kitchen

AFTER: The Kitchen

J really wanted some of her glass-front cabinets to have a more relaxed french country feel.  We replaced glass with fabric on this set of cabinetry for a truly custom English countryside look.

AFTER: The Kitchen

AFTER: The Kitchen

AFTER: The Kitchen

AFTER: The Kitchen

AFTER The Formal Living Room.

AFTER: The Formal Living Room

The stately living room also got fresh paint.  J's husband, a West Point graduate, had many special pieces we used in the space.  The mantle now hosts a mirror as well as a West Point print.  

AFTER: The Formal Living Room

By moving the sofa, the space feels so much more open.  We also replaced the coffee table in this room.  A leather bench was brought from the bedroom for a new textural element, it serves as an ottoman.  J wanted to keep her current sofa and chairs.  We replaced the rug and purchased all new throws and pillows for the sofa and tufted red chairs to give them an up-to-date wardrobe.

AFTER: The Living Room

In true English southern style, we flanked the fireplace with new floral arrangements.  I composed them using mostly moss and magnolias.

AFTER: The Formal Living Room

I found a beautiful vintage typewriter in J's bedroom that we immediately brought out for the sofa table.  It also received a little floral arrangement of it's own.  Who says typewriters can't have flower crowns?

AFTER: The Formal Living Room

J's favorite things include these two poppy prints.  I decided to showcase them in the bookcases.  They were followed by vintage books, and other family heirlooms.
AFTER: The Formal Living Room

AFTER: The Formal Living Room

AFTER: The Formal Living Room

AFTER: The Formal Living Room

AFTER: The Formal Living Room

J's home is truly gorgeous.  I feel that we really were able to pull off the southern English style, mostly with the help of re-vitalized and re-introduced antiques and elegant pieces that J already owned!  Never doubt the forgotten pieces of furniture or accessories lurking around your basement or un-used spaces; I may be able to help them find their new purpose!

Love you J!  Thank you for the beautiful opportunity to decorate and perform design in your home!  I so enjoyed it!


Fireplace BEFORE and AFTER

We bought our first house north of the Mason Dixon a week and a half ago and let me tell ya, it felt good.  We just love being homeowners.  Can I get an Amen?!  Paint what you want, smash what you want, redo what you want.  It's all yours.  It's like getting your own apartment, or first 'own' bedroom.  You're just really really excited.

We sold Taylor's Wood in March of last year.  It has almost been a year since we got to dig into some of our own projects.  The Lord has been good though.  I've had so many design jobs this past year.  It has completely filled my creative hole.  And doing y'alls projects is SOOOO much fun!!!!

However, call us crazy, but 2 hours after closing, Darling Husband had found a crowbar and we had BIG plans.

Here is our living room/fireplace BEFORE photo.

IMG_0006.jpg

What a blessing of a 'Before' picture.  Natural light, gorgeous floors.  What is WRONG with us?  Well.  I think we have an illness.  Mostly me.  I'll take the blame.  And it's this: I love to take perfectly good spaces and redo them.  To maybe make them a teensy tiny bit better.  Take something that is already 'wow' and go to 'woah'.  That is the fun.  So stinkin' fun.

In other news, the fireplace re-do was going to be a tiny bit functional too.  Y'all.  We are about to be a family of FOUR... and I prefer TVs, electronics, and wires 'out-of-reach'.  Two-year-olds know how to climb on entertainment centers.  So to make life easier, we started our fireplace reno project ASAP.

I envisioned a wood paneled fireplace that extended to the wall (the fireplace stopped short of the wall with the brick, about a foot).  I wanted a rustic barn wood mantle (the existing fireplace had no mantle).  And I wanted all cords and wires concealed (the nearest electrical outlet is on the adjacent wall).

We started by doing some highly "not to code" electrical work.  We used concrete screws to attach 2x2s to the brick, making sure to leave tiny spaces for our highly official surge protector to run behind, what would eventually, be pine wood paneling.  

I know.  We are so legit.  Y'all... don't judge.  Just either steal our brilliant idea, or mentally make a note to NEVER accept electrical advice from us.  I never claimed to be smart.  Just savvy.  And I like pretty decorating.  And I like being a visionary, even when its dangerous.  I live on the edge.  What can I say?

Below is our gorgeous puzzle of electrical wires and 2x2:


The 2x2s, when thoroughly attached with cement screws to your existing brick, lay a perfect grid for safely screwing in the wood paneling 

As you can see, we then started attaching the pine paneling.  We began at the ceiling and worked our way down.  We needed eight 1x12s for our fireplace front.  We have a 3 sided fireplace and we paneled 2 sides.  As you can see, we carefully matched the paneling on both sides.

Code requires the wood paneling to stop short 6 inches on all sides of the opening of your fireplace.   We left a gap where our beautiful surge protector faced out.  We needed to access all those outlets with our mess of electronic crap (sorry male folk, that is what it is to me.  If it were up to me, this mantle would be covered in decorative knick knacks).  Insert marriage and compromise.  My darling spouse will be all the brawn behind my fabulous fireplace facelift, presuming he gets a 50 inch black box and sound system contraption placed atop my gorgeous new mantle.  Life is full of compromise.  I still think I get the better end of the deal anyway.  And he's pretty cute.  So we made the deal.

To finally act like safe adults, we placed 4-6 'easy to access' screws in each pine board so as to access our electrical 'guts' of the operation.  See, I told you we were cautious and unenterprising.  And you were worried about that blasted surge protector.  Pish Posh.    

Next we prepped for the mantle.  We didn't have any ACTUAL barn beams.  We had barn boards.  Easy, we would make a wood frame to cover, on all sides, with our barn boards.  Basically, you fake it to make it.  It actually worked out because the hollow mantle could house extra cords.  Below you can see the 1x1 we used to create our little frame.

First coat of paint.  My all time favorite, Benjamin Moore 'White Dove' in satin finish.  Bless my soul.  This color could have also been named 'Perfection White that Isn't Cream or Yellow'.  Or they could have named it 'The Color of Warm Steamed Milk in my Toasty Coffee'.  It's just brilliant, okay?
Here you can see my darling husband master-minding the cords.  A brilliant little knot-hole in the piece of barn board affixed to the top of our mantle frame, helped run HDMIs and Optic cords perfectly!  

Next we attached the TV wall bracket.  Finally, an easy step.

A second coat of paint, and hanging the TV, along with screwing on the front board of the mantle frame box, finished the project.  We are pretty pumped with the results.

This project took about 8 hours.  It cost $300, much cheaper then a furniture store TV entertainment center.  We bought the lumber at Home Depot and already owned the can of paint, the barn wood, as well as the TV bracket and surge protector.

The results are pretty cozy!   

"1 Year Anniversary" Master Bedroom Masterpiece

M is back at it again!

So my wonderful client M called me back in the serendipitous month of August for her master bedroom re-design!  I say all that because you may remember M.  Her 3 part re-design was my first EVER to go live on the blog!  EEK!  Exactly one year ago, this month, I was at her place having the TIME OF MY LIFE!  And after that, well, y'all know the story.  The Birchwood Blog launched!  See below for M's other room re-designs completed by The Birchwood Blog a year ago!

M also has referred out my name a lot.  She's an avid blog-follower and treats me like a princess.  So...even though we are moving in a few weeks to New York, she talked me into one last 'HURRAH'! 


Below are M's 'Before' photos of this week's design job:

BEFORE:

BEFORE:

BEFORE:


And a few short weeks later, some paint, elbow grease, and healthy decor budget, we finished!  I hope you LOVE her "AFTER tour" as much as we do!


AFTER:  Curtains!  My favorite thing in the world!  

AFTER:  New paint on the walls as well as fresh paint on this mid-century chest of drawers helped brighten things up!

AFTER: I couldn't say 'no' to this architectural-inspired shelf!  It was my favorite part of the new design!

AFTER:  Fresh bedding in a darker tone was perfect for the growing family!  

AFTER:

AFTER:  M wanted cheerful florals.  She already owned these antique lamps.  They had to stay in the room, M and I are both in LOVE with them!

AFTER: We took off M's original mirror that was attached to this dresser.  We purchased 2 framed mirrors instead to add width and light in the room.

AFTER:  We also brought in two additional lamps to increase the light and add elegance to the dresser.  

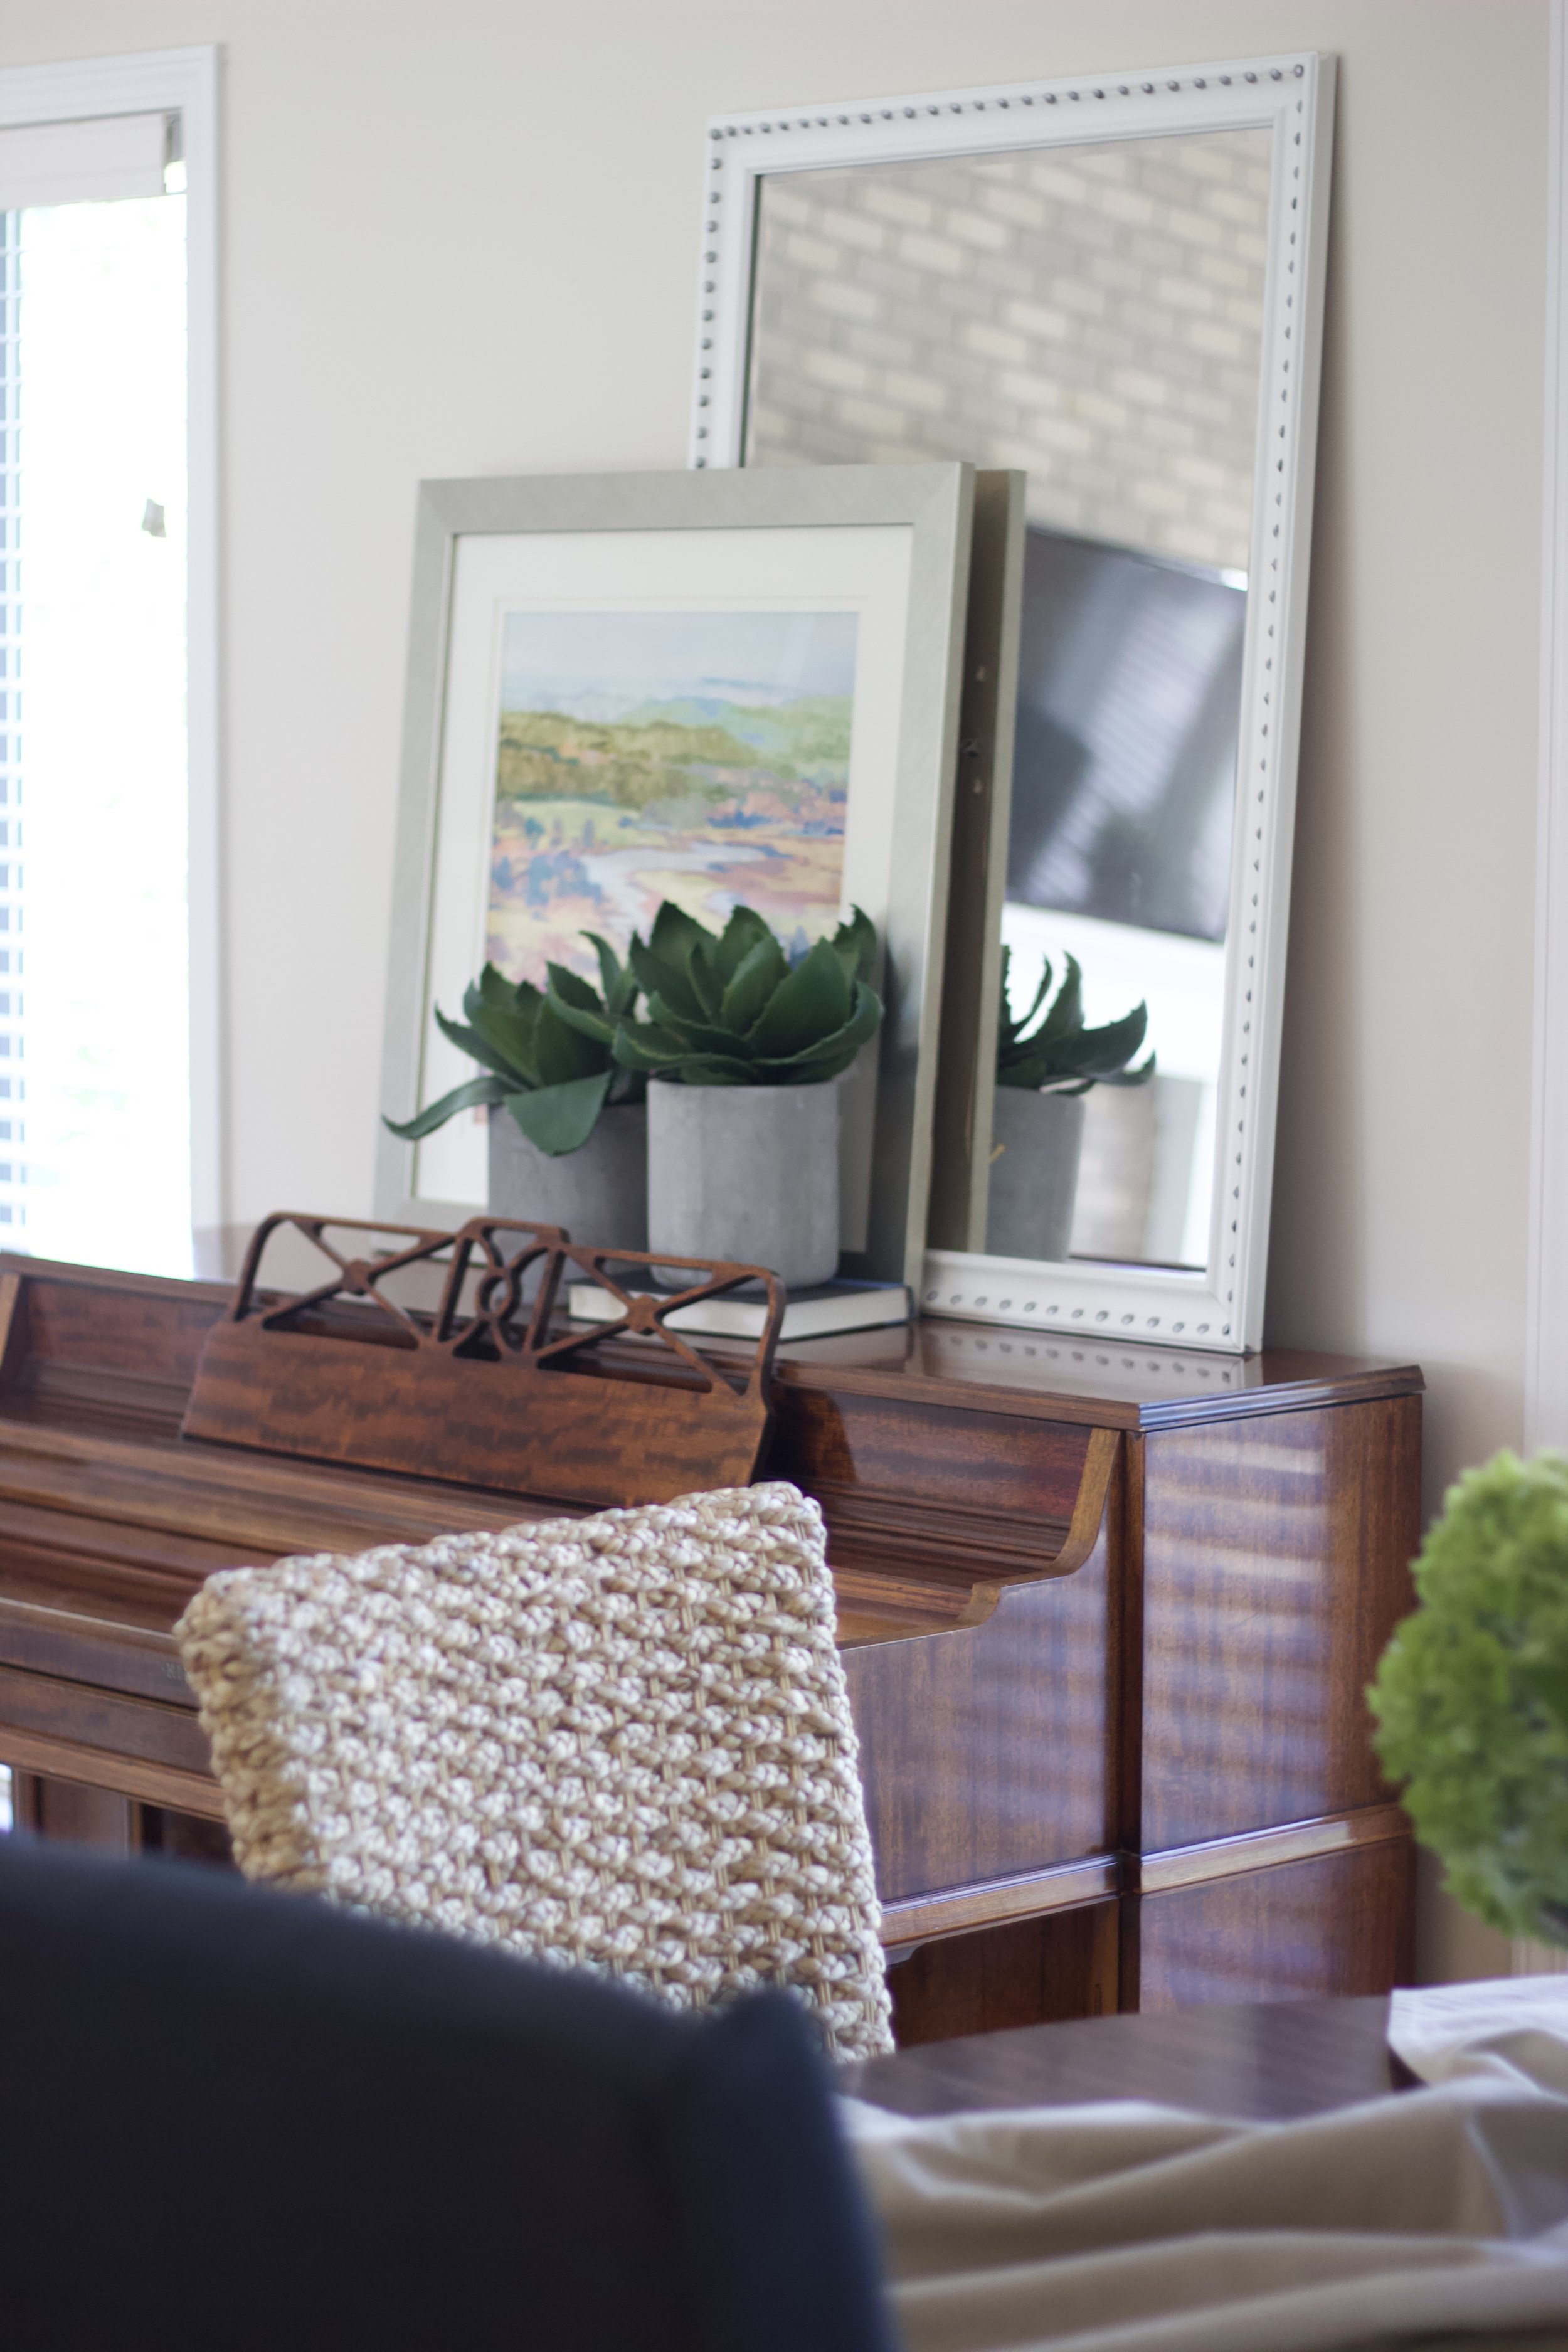
AFTER:  Faux succulents were an easy option for this busy family.  M wanted details she didn't have to fuss with.  I completely agree.

AFTER:  Most couples enjoy a TV in the bedroom.  It makes marriage-movie-nights extra cozy.  We added a collage wall for visual interest and to minimize the abruptness of the electronic's presence in this romantic rendezvous.  

AFTER:  Some hand-made Birchwood art inspires this corner nook.  A stuffed chair is usually necessary for any master suite.

AFTER:

AFTER: Vintage styled sconces frame the bed, an antique mirror M already owned, functionally is situated on "her" nightstand.

AFTER: Grey neck scarves add whimsy and break up the wood-toned surfaces of the room.

AFTER:

M!  You will always have a special place in my heart when it comes to the subject of design.  You were the first ever client we worked for.  Thank you for putting a lot of trust in me and always being so wonderful!!  I wish you and H all of the best in this romantic room!  Celebrating your marriage brings my heart such joy!

XOXO

Ashley